We will remind you about our theme update notification and features.
1.Start
1.1.Installation
Follow the steps below to get started with your WordPress Theme
- Now Login to WordPress admin dashboard.
- Go to Appearance> Themes > Add New > Upload theme.
- Upload blog-personal.zip and Activate themes.
1.2.Installing Plugins
When you click on “Activate” button to activate blog-personal Theme, you will see the a notice offering you to install required and recommended plugins.
Click “Begin installing plugins”, on the screen that appears, next select the plugins you want to be installed, pick “Install” in Bulk Actions select box and click “Apply” button. For optimal user experience install and activate all recommended plugins.
1.3.Import Demo Data
After installing the Theme One Click Demo Importer plugin we will get the option of import demo nav at the dashboard.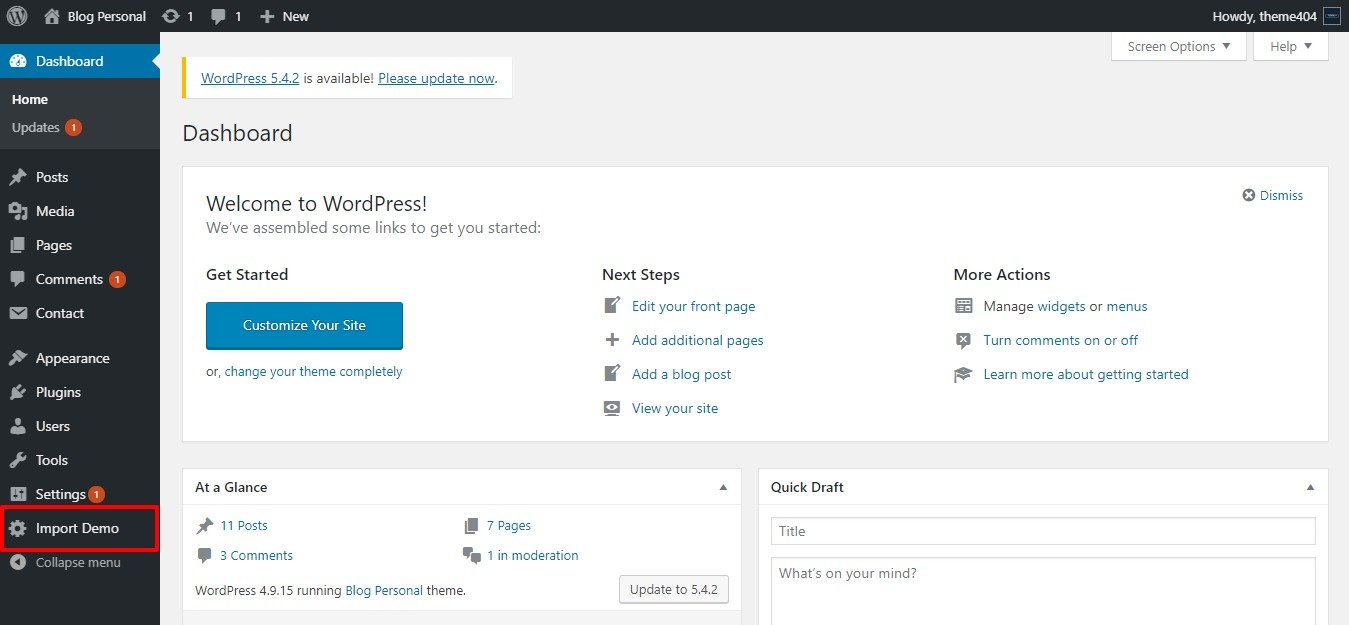
Steps to import demo data:
-
- Click on import demo nav you can see the all available demo.
- hover on your favorite demo we will see import demo option.
- Click on the Import and follow the process as shown in the video. Link is here:

2.Site Title and Logo
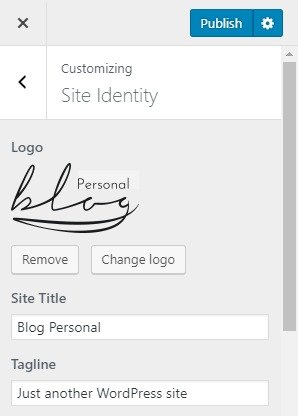
This option allow you to define the site-title and logo , fav icon for your site and with various various options related to site identity
- Logo: Main logo of the site.
- Site-title: Main site title of the site.
- Tagline: Tagline (i.e:Description) of the site.Just below site title.
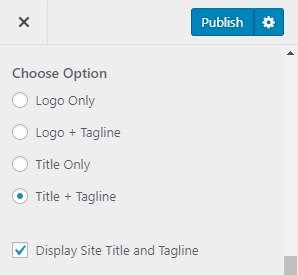
- choose Option: You will get four different option from where you can choose to display any one of them.
- Logo Only: Choosing this option displays the logo only.
- Logo + Tagline: Choosing this option displays the logo and tagline.
- Title Only: Choosing this option displays Title only.
- Title + Tagline: Choosing this option displays Title and tagline.
- Display Site-title and tagline: Help you to enables/disables the site title and tagline from the site.
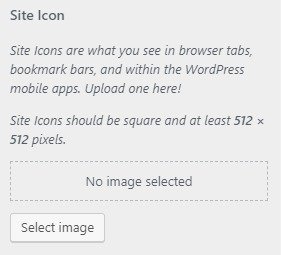
- Site-icon: Site Icon is used as a browser and app icon for your site.Icon must be square and at least 512px wide and tall.
3.Create Post and Page
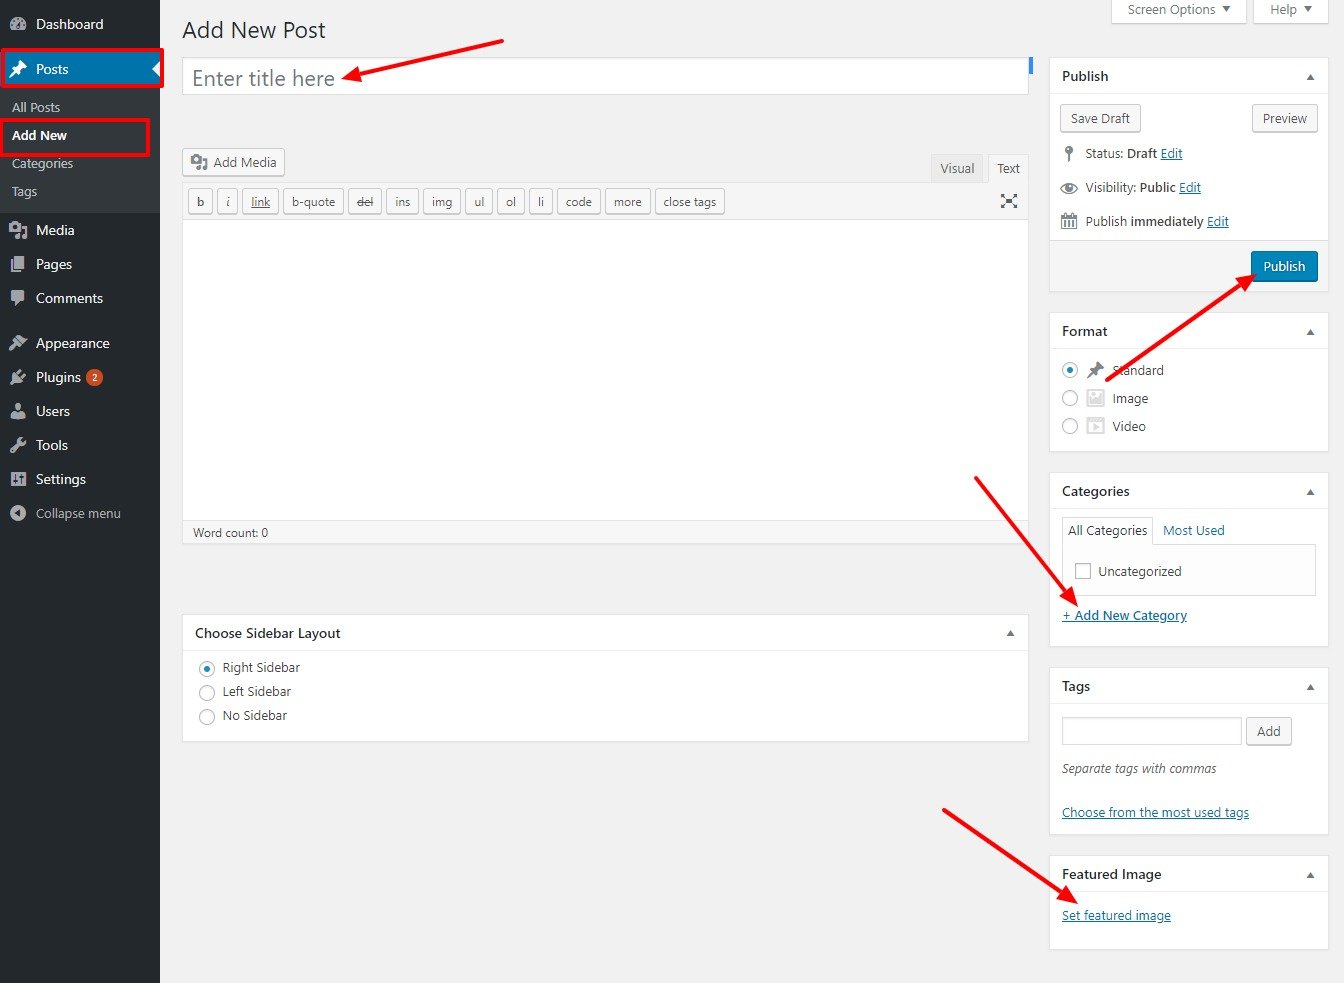
Step to Add New Post
- Go to Post,Click Add New.
- Add Title,Content,Feature Image and Categories.
- Cick on Publish.
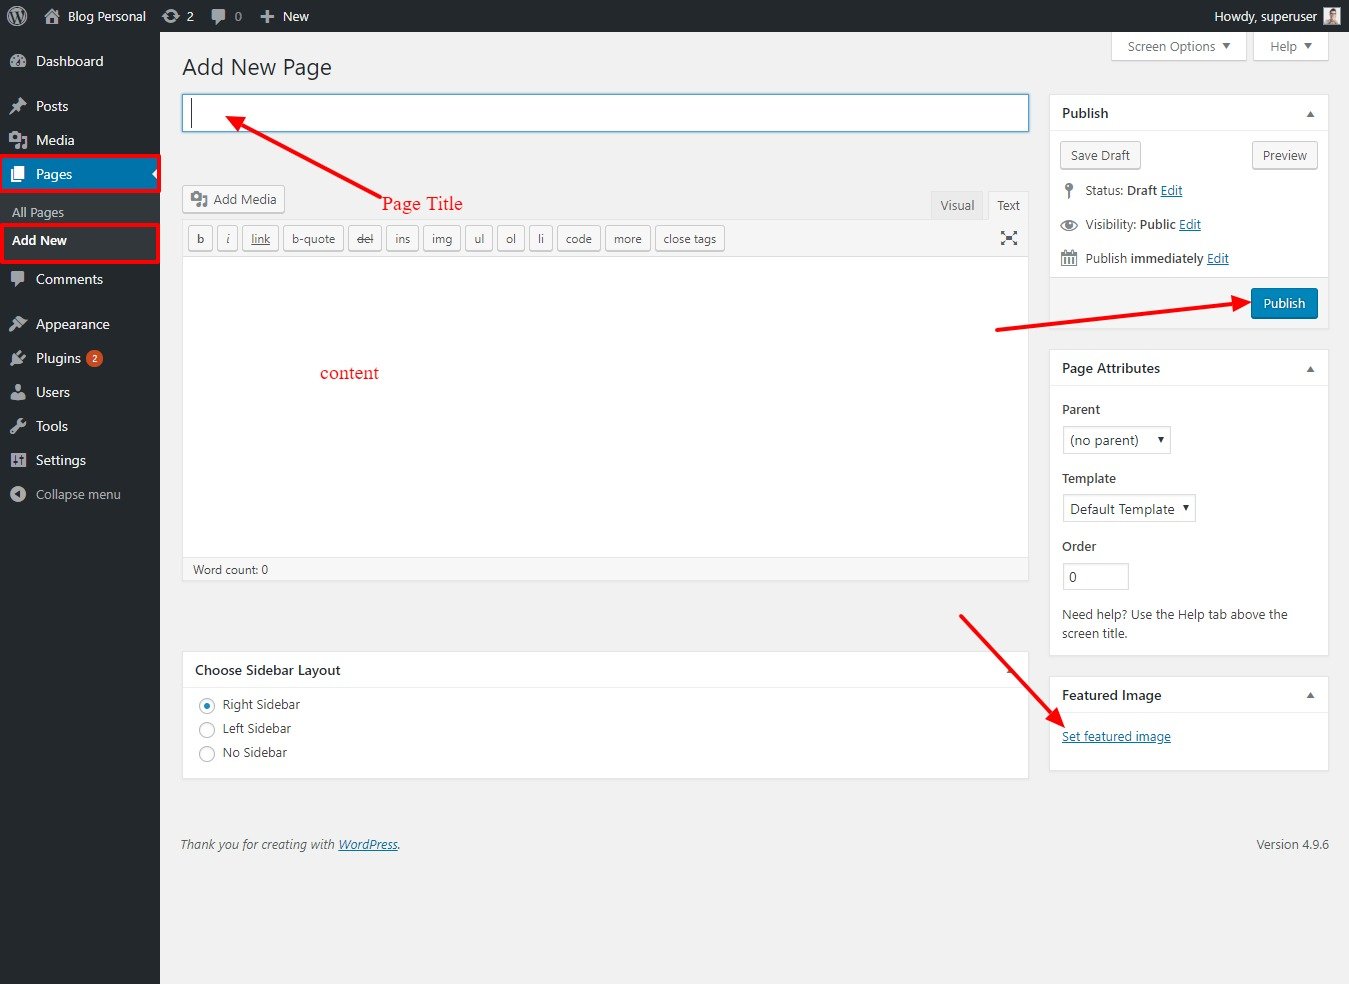
Step to Add New Page
- Go to Page,Click Add New.
- Add Title,Content and Feature Image.
- Click on Publish.
4.Homepage Setting
By default, your homepage will also display your post feed, listing all of your latest posts for visitors to see.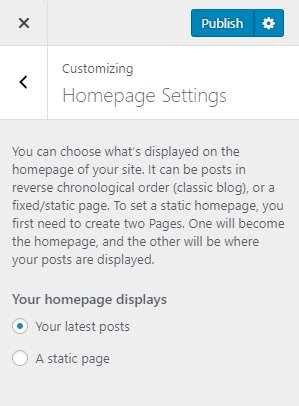
But If you would like to instead have your homepage be a static page then your front page will display the content from the page you selected as Front Page. However the page you selected in Posts Page will become your blog page..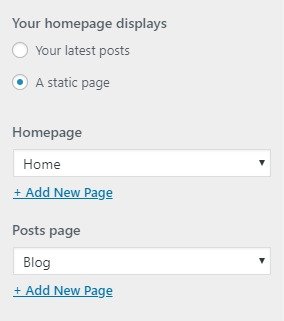
5.Theme Options
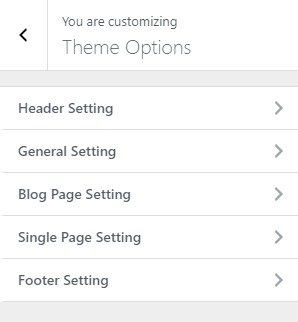
- Go to Appearance > Customize > Theme Options.
- you will get different options and Setting as shown in screenshot.
5.1.Header Setting
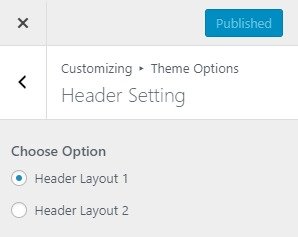
Header setting will give you options to control the looks of the header part of your site.
- Go to Appearance > Customize > Theme Options > Header Setting.
- Choose Option: You can choose the header layout for your site.
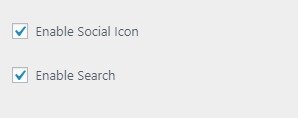
- Enable Social Icon: You can enable social icon on header part of your site.
- Enable Search: You can enable Search part on header part of your site.
5.2.General Setting
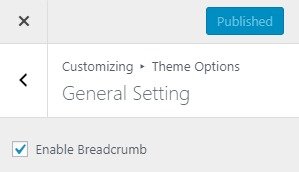
General Settings tab allows you to Customize sidebar and Breadcrumb setting. go to Appearance > Customize > Theme Options > General Setting .
- Enable Breadcrumb: You can enable Breadcrumb in inner page of you site.
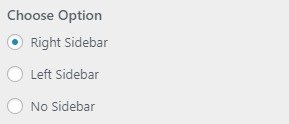
- Choose Option:this option allow you to set the sidebar.
- Right Sidebar: Sidebar display at the right part of your side.
- Left Sidebar: Sidebar display at the left part of your side.
- No Sidebar: Their will be no Sidebar in your side.
5.3.Blog Page Setting
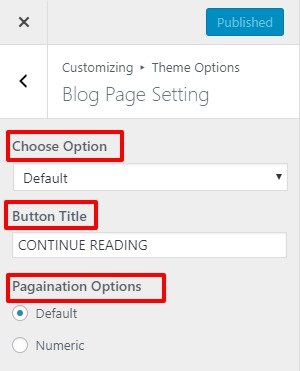
Blog Page Settings tab allows you to Customize blog page. go to Appearance > Customize > Theme Options > Blog page Setting.
- Choose Option: This option allows you to choose different layout of Blog page.
- Button Title : You can edit blog page button title from this options.
- Pagaination Options: You can choose pagination layout.
- Numeric: This is for numeric pagination option.
5.4.Single Page Setting
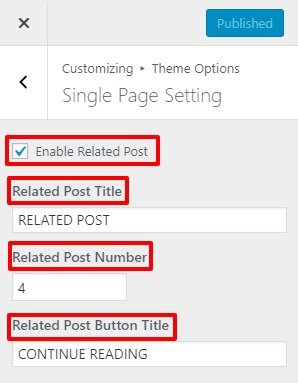
Single Page Settings tab allows you to Customize Single page. go to Appearance > Customize > Theme Options > Single page Setting.
- Related Post Title: You can customize related post title on your single page.
- Related Post Number: You can customize related post number on your single page.
- Related Post Button Title: You can customize related post button title also in your single page.
5.5.Footer Setting
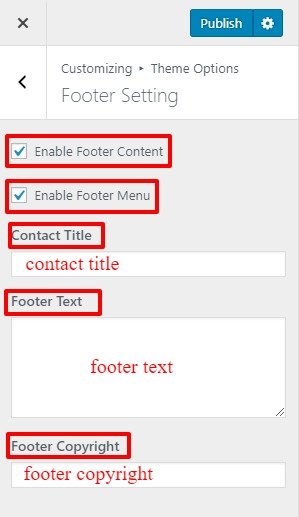
Footer Settings tab allows you to Customize Footer part. go to Appearance > Customize > Theme Options > Footer Setting.
- Enable Footer Content: You can enable footer content on your site.
- Enable Footer Menu: You can enable footer menu on your site.
- Contact Title:You can put contact title on your footer part.
- Footer Text: You can put extra footer text on your footer part.
- Footer Copyright: This changes the copyright text of Footer Content.
6.Menus
Step to create a menu
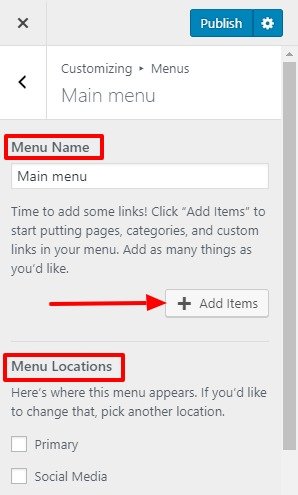
- From Customize section, go to Menus.
- From Menus, click ‘ Add a Menu’ button and you will be able to create a menu.
- Now, click Add Items and you will be able to Add or Remove Menu Items according to your requirement.
- Select the Menu locations.
- If the preview looks fine, save the changes by clicking on Save and publish button.
7.Widget
Widgets are one of the most important aspects of this theme.Eight special widgets are specially built for the front page so that most of your content can be categorized easily and be accommodated to feature in the front page.
- From Customize section, go to Widgets.
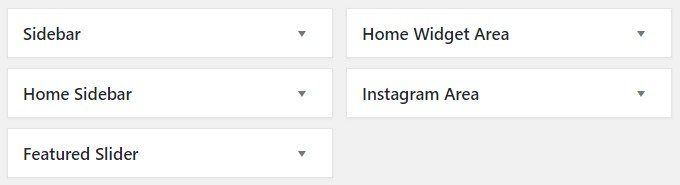
- From Widgets, you will see different sections to add widget where you will be able to Add a Widget or Remove widgets by going to particular widget section.
- And the added widget will be displayed in particular section that you have added.
- Note: Make sure to add proper widgets in proper widget area for best result.
Available Widget Area
7.1.step to customize available widget
The widgets that are available in the theme are described below:
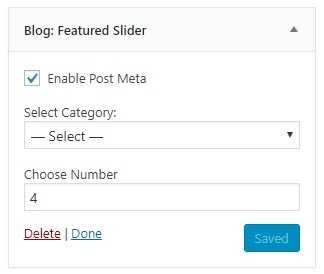
- Blog: Featured Slider : You will find options and settings in this widget. Now setup the widget according to your need. See the below image.
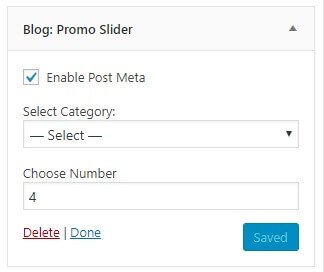
- Blog: Promo Slider : You will find options and settings in this widget. Now setup the widget according to your need. See the below image.
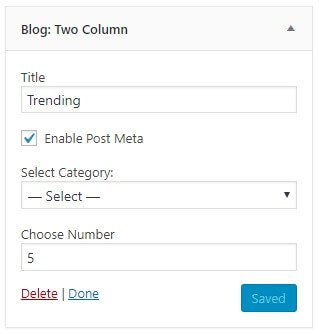
- Blog: Two Column : You will find options and settings in this widget. Now setup the widget according to your need. See the below image.
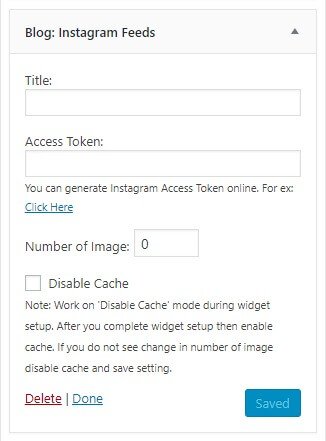
- Blog: Instagram Feeds : You will find options and settings in this widget. Now setup the widget according to your need. See the below image.
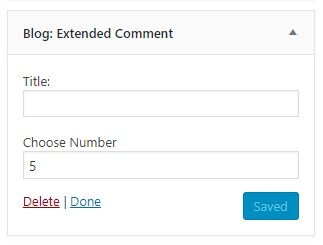
- Blog: Extended Comment : You will find options and settings in this widget. Now setup the widget according to your need. See the below image.
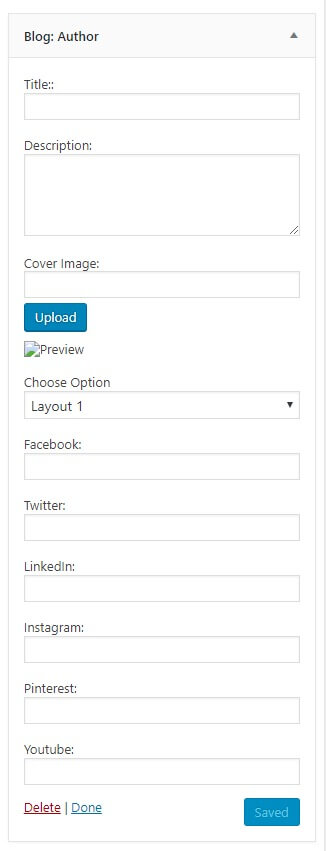
- Blog: Author : You will find options and settings in this widget. Now setup the widget according to your need. See the below image.
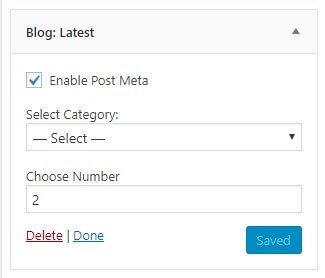
- Blog: Latest : You will find options and settings in this widget. Now setup the widget according to your need. See the below image.
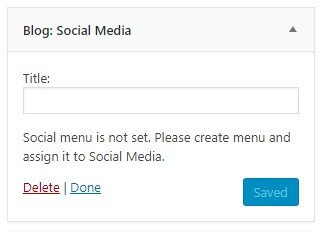
- Blog: Social Media : You will find options and settings in this widget. Now setup the widget according to your need. See the below image.
8.Colors
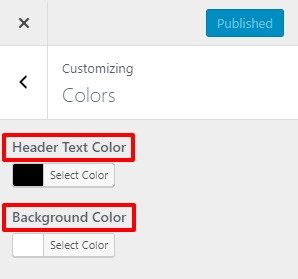
Go to Appearance > Customize > color. where you can see Header Text Colour & Background Colour Options sections.
- Header Text Color: Select the color available in the options. If the preview is fine, click on Publish to apply recently selected Header Text Colour.
- Background Color: Select the color available in the options. If the preview is fine, click on Publish to apply recently selected Background Colour.
9.Header Image
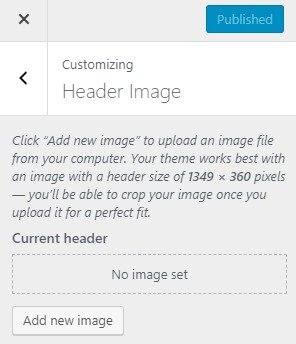
Go to Appearance > Customize > Header Image. From where you can change the Header Image for your site. Select the header image of your choice.If the preview is fine, click on Publish to apply the recently selected image as the Header image.
10.Background Image
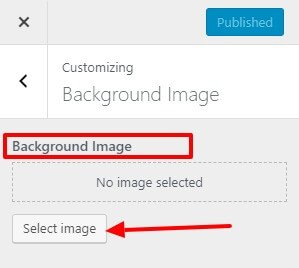
Go to Appearance > Customize > Background Image.Select the image for Background available on media library or upload from the other location.If the preview is fine, click on Publish to apply recently selected/uploaded image as Background Image.
11.Additional CSS
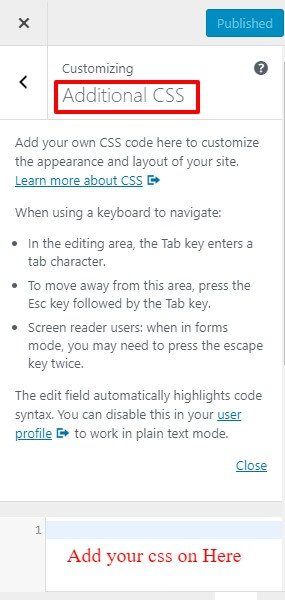
This is the option which will allow you to add your custom CSS. From Customize > Additional CSS. Additional CSS you will see: