Career Portfolio Pro
Version 1.0.0
Career Portfolio Pro theme that you can absolutely use for publishing your portfolio,business,blog etc.
Career Portfolio Pro theme that you can absolutely use for publishing your portfolio,business,blog etc.
Career Portfolio Pro theme that you can absolutely use for publishing your personal or company portfolio, news, blog, magazine, health, education, etc. This theme is very flexible and includes options that make website development an easy task.
Follow the steps below to get started with your WordPress Theme
When you click on “Activate” button to activate Career Portfolio Pro Theme, you will see the a notice offering you to install required and recommended plugins.
Click “Begin installing plugins“, on the screen that appears, next select the plugins you want to be installed, pick “Install” in Bulk Actions select box and click “Apply” button. For optimal user experience install and activate all recommended plugins.
We are providing our own demo importing plugin so if you like and want to demo like website in your site then you can easily import the demo and set up on your site.
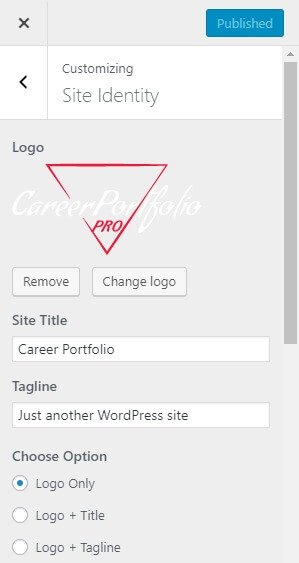
This option allow you to define the site-title and logo , fav icon for your site and with various various options related to site identity
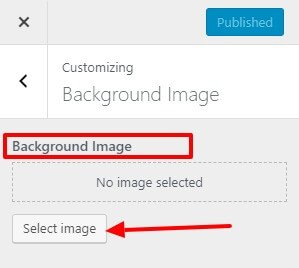
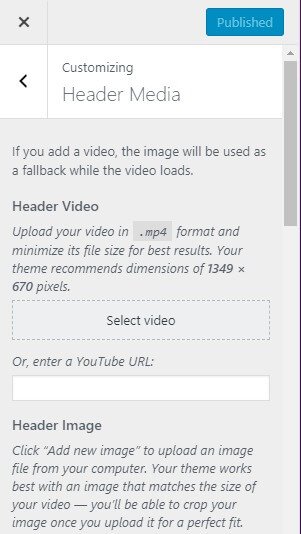
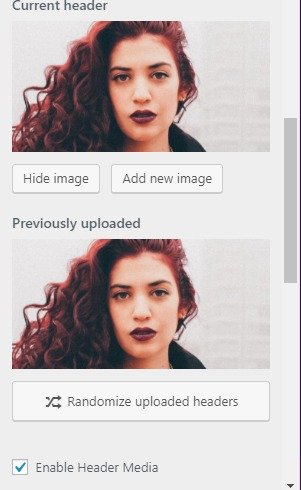
Go to Appearance > Customize >Header Media. From where you can change the Header Image and video for your site. Select the header image of your choice.If the preview is fine, click on Publish to apply the recently selected image as the Header image. similarly select the header video for your site and if preview is fine ,click publish to apply on header part.and Here you will get more option for header media which is listed out below.
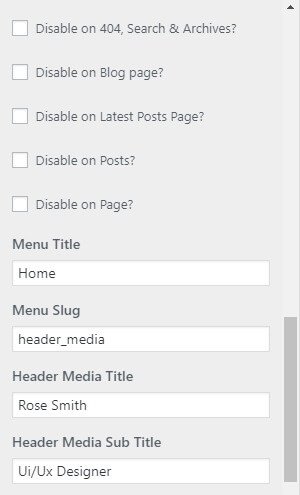

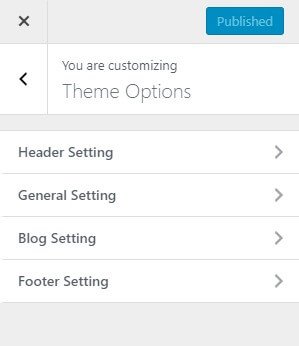
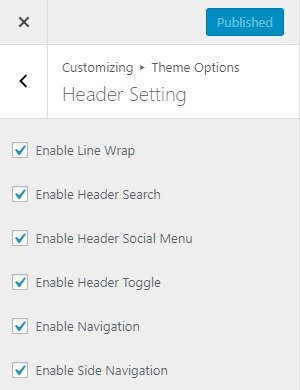
Header setting will give you options to control the looks of the header part of your site.
General Setting will give you options to control the looks of the General Setting of your site. Go to Appearance > Customize > Theme Options > General Setting.
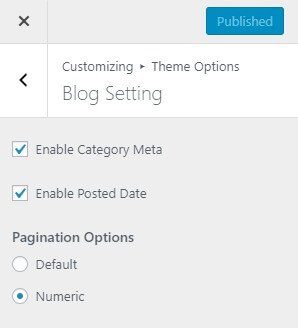
Blog setting will give you options to control the looks of the Blog part of your site. Go to Appearance > Customize > Theme Options >Blog Setting.
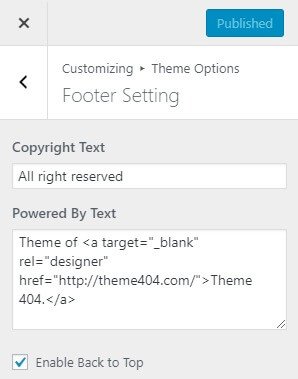
Footer setting will give you options to control the looks of the Footer part of your site.
Front Page Options will give you options to control the looks of the your Home page setting.
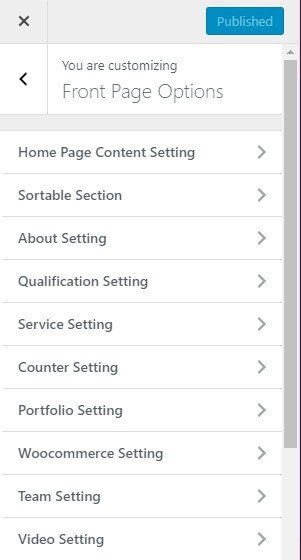
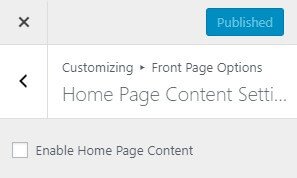
Home Page Content Setting will give you options to control the looks of the home page contents.
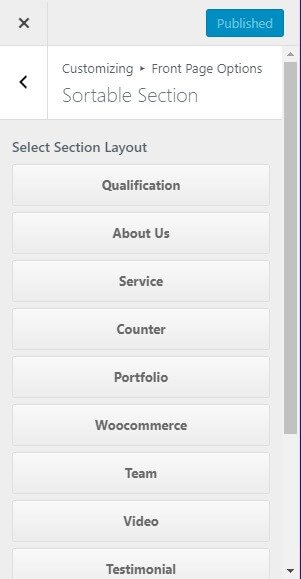
Sortable Section will give you options to sortable the section in your home page.

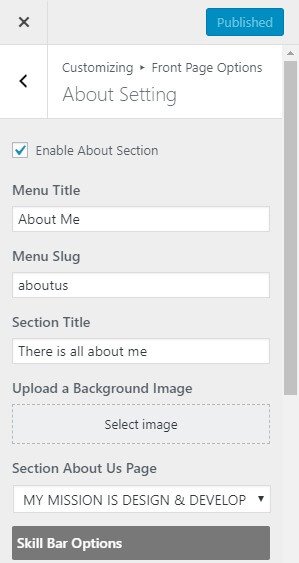
About Setting will give you options to control the looks of the home page about us section in your site.Go to Appearance > Customize > Front Page Options> About Setting .
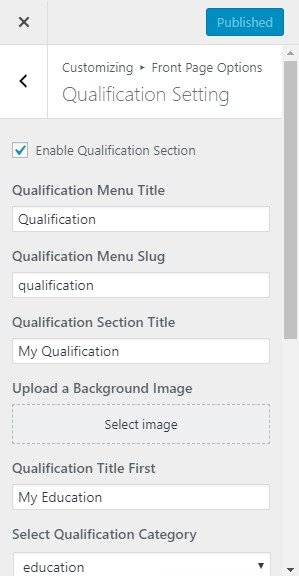
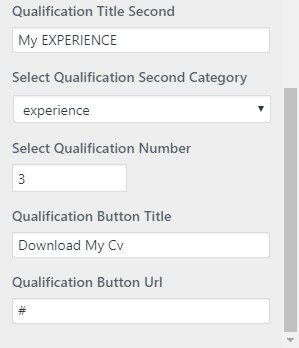
Qualification Setting will give you options to control the looks of the qualification section of home page.Go to Appearance > Customize > Front Page Options> Qualification Setting.
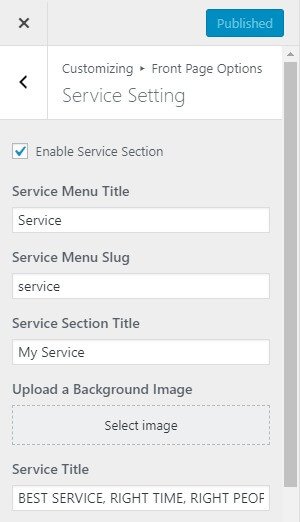
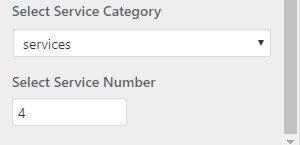
Service Setting will give you options to control the looks of the service section of home page.Go to Appearance > Customize > Front Page Options>Service Setting.
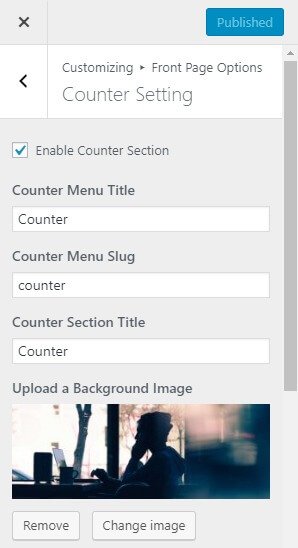
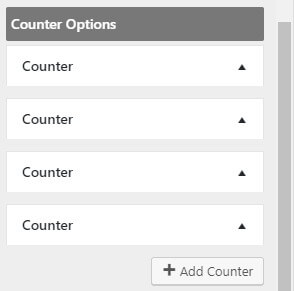
Counter Setting will give you options to control the looks of the Counter section of home page.Go to Appearance > Customize > Front Page Options>Counter Setting.
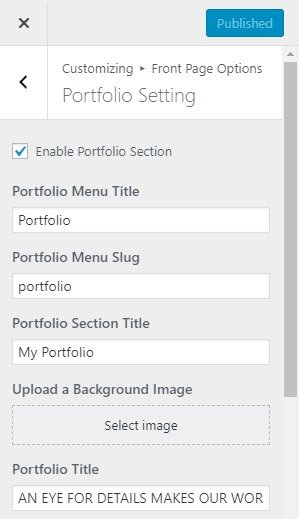
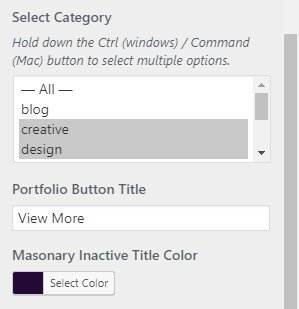
Portfolio Setting will give you options to control the looks of the Portfolio section of home page.Go to Appearance > Customize > Front Page Options>Portfolio Setting.
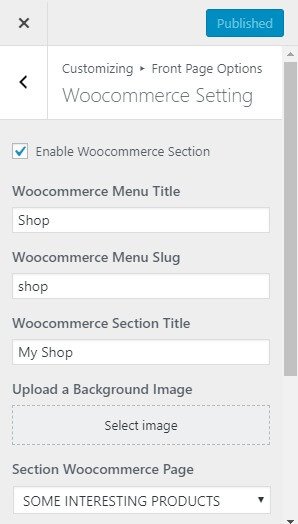
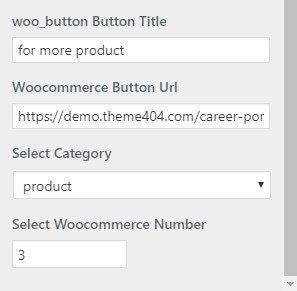
Woo Commerce Setting will give you options to control the looks of the Woo Commerce section of home page.Go to Appearance > Customize > Front Page Options>Woo Commerce Setting.
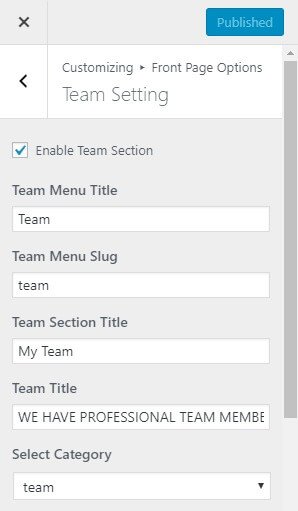
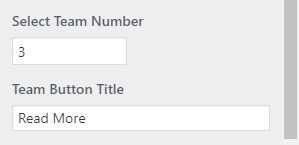
Team Setting will give you options to control the looks of the Team section of home page.Go to Appearance > Customize > Front Page Options>Team Setting.
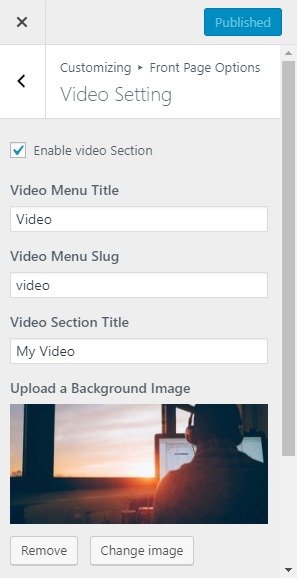
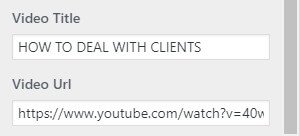
Video Setting will give you options to control the looks of the Video section of home page.Go to Appearance > Customize > Front Page Options>Video Setting.
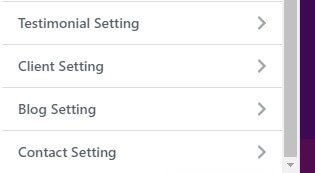
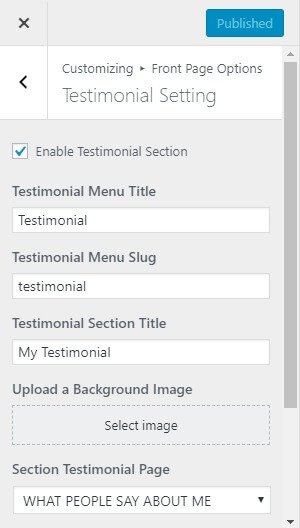
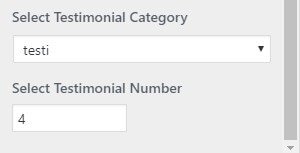
Testimonial Setting will give you options to control the looks of the Testimonial section of home page.Go to Appearance > Customize > Front Page Options>Testimonial Setting.
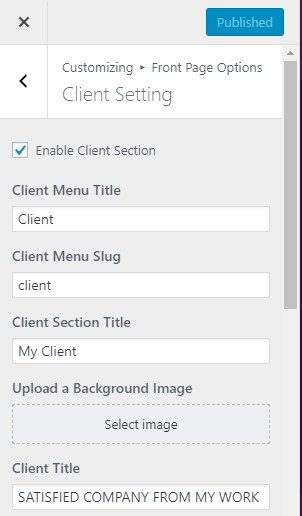
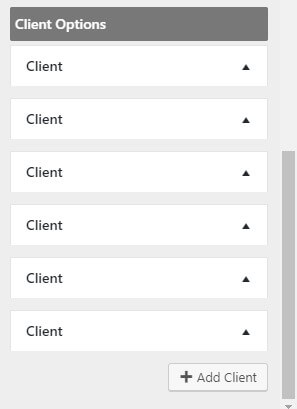
Client Setting will give you options to control the looks of the Client section of home page.Go to Appearance > Customize > Front Page Options>Client Setting.
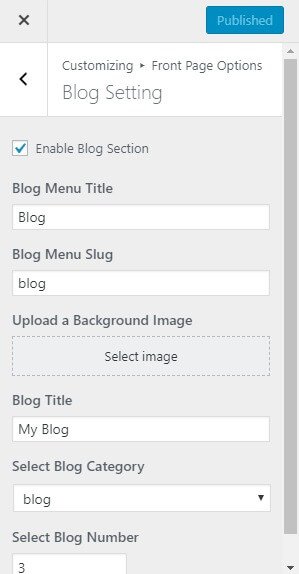
Blog Setting will give you options to control the looks of the Blog section of home page.Go to Appearance > Customize > Front Page Options>Blog Setting.
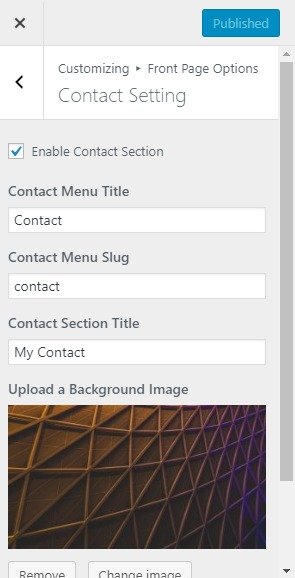
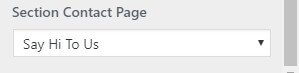
Contact Setting will give you options to control the looks of the Contact section of home page.Go to Appearance > Customize > Front Page Options>Contact Setting.
Typography setting tab is one of the most important options which will allow you to customize the looks of your sites typography. It allows to set font family, font size and font color for your sites general use. It also allows you to choose font family and size for all header types . You can set different font size for each head tag. This options allows you to choose font color for anchor tag and its hover/active state.
From Typography Options, you will see different sections: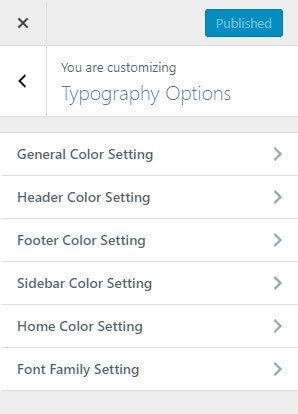
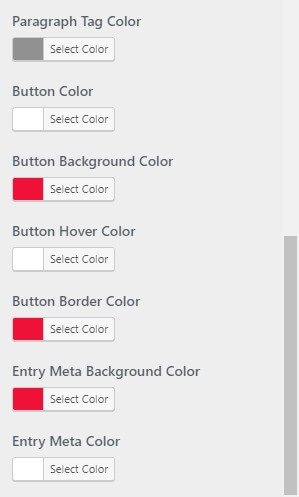
This section allow you to change overall Body color, Linear Gradient Color, Linear Gradient Color, Primary Color, Hover Color, Header Tag Color, Paragraph Tag Color, Button Color, Button Background Color, Button Hover Color, Button Border Color, Entry Meta Background Color and Entry Meta Color according to your choice in your site.
go to Appearance > Customizing > Typography Options > General Color Setting.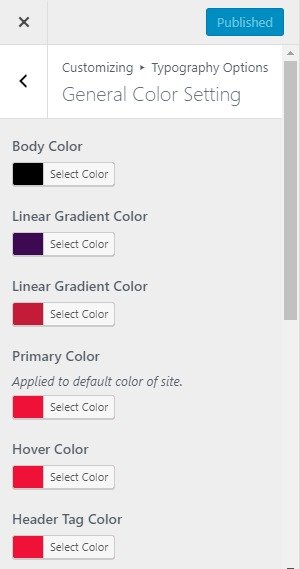
This section allows you to change Header Background Color, Header Icon Background Color,Header Toggle Background Color and Header Color.go to Appearance > Customizing > Typography Options >Header Color Setting.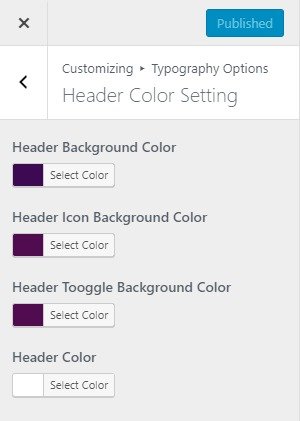
This section allows you to change Footer Background Color, Footer Color, Scroll to Top Background Color, Scroll to Top Background Hover Color and Scroll to Top Color.go to Appearance > Customizing > Typography Options > Footer Color Setting. 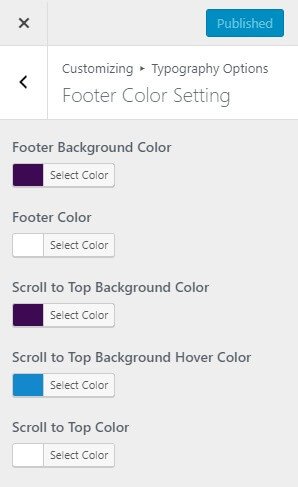
This section allows you to change Sidebar Title Color and Sidebar Text Color. go to Appearance > Customizing > Typography Options > Sidebar Color Setting.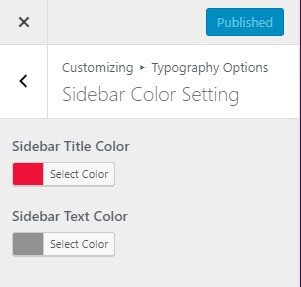
This section allows you to change Section Title Color, Title Color and Home Page Anchor Color. go to Appearance > Customizing > Typography Options >Home Color Setting.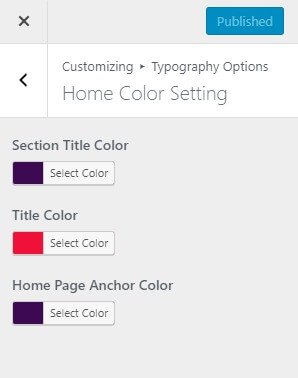
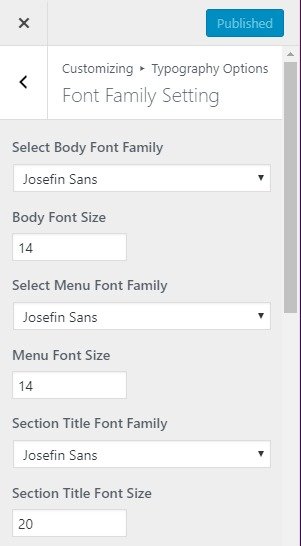
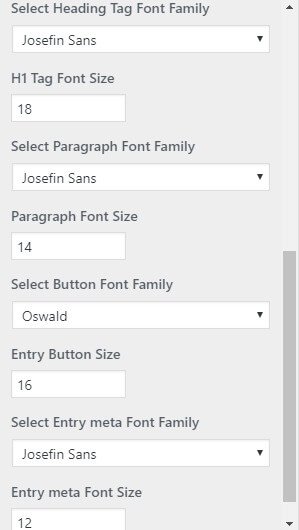
This setting allows you to customize font family, the font size for your site according to your requirement.go to Appearance > Customizing > Typography Options > Font Family Setting.
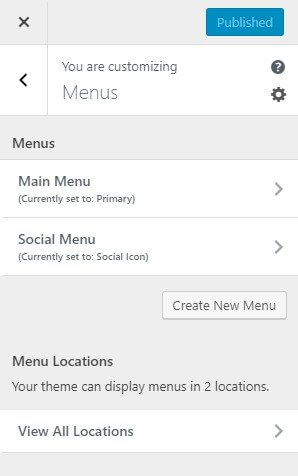
Step to create a menu
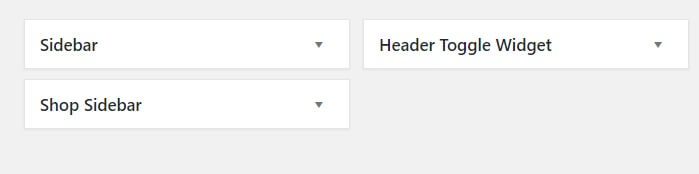
Widgets are one of the most important aspects of this theme.default widgets are specially built for the front page so that most of your content can be categorized easily and be accommodated to feature in the front page.
Available Widget Area
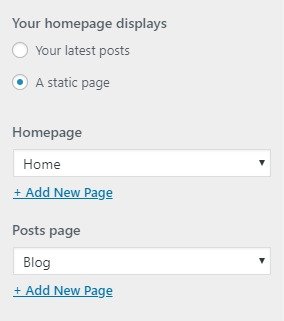
By default, your homepage will also display your post feed, listing all of your latest posts for visitors to see.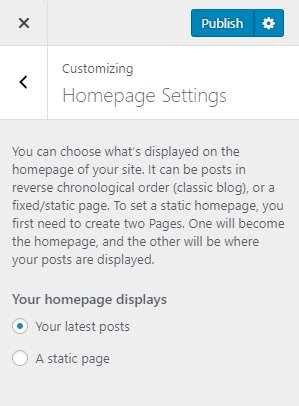
But If you would like to instead have your homepage be a static page then your front page will display the content from the page you selected as Front Page. However the page you selected in Posts Page will become your blog page..