Ecommerce Gigs is a free WordPress theme perfectly developed for eCommerce websites of
any store type. The theme is fully open up for variant customization options. Moreover,
it is smoothly integrated with WooCommerce, one of the most popular eCommerce plugins
as well as the Elementor- easy and favored editor. With this theme, you can build fast
and responsive sites of different categories, whatever your site is about. However the
theme is highly optimized, it won’t prevent you from integrating some major WordPress
plugins neither from the compatibility with the popular Gutenberg block editor.
FREE
This is the freely available limited version of astonishing features.
Start
Welcome to our theme family. Make sure that your device is eligible to run WordPress Version. Please follow these steps to install our theme:
You will be given an offer to install plugins that are required to handle sites as well as some recommended plugins by our expert after clicking the “Activate” button on the theme activations process.
Click “Begin installing plugins” on your screens which allows you to choose plugins based on your requirement then select “Install” in the Bulk Actions select box and click the “Apply” button for the installing procedure. If you want to get the optimal user experience then access all recommended plugins by installing and activating them.
We are providing our own demo importing plugin to give you options to add the website shown at a demo in case of your need. You can easily access and import the demo.
Steps to import demo data:
After activated Theme One Click Demo Import from a plugin,
you will get the Import Demo nav in your dashboard.
Click on Import Demo. You will get all the demo available:
Click on the Import and follow the process as shown in the video. The link is here:
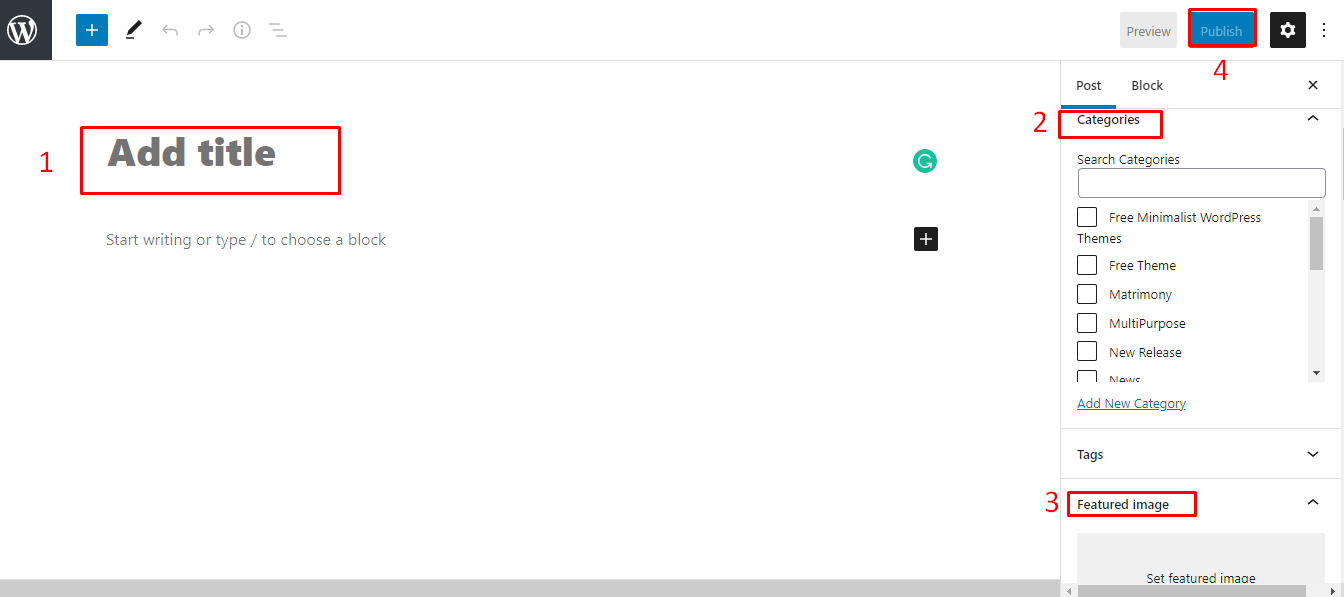
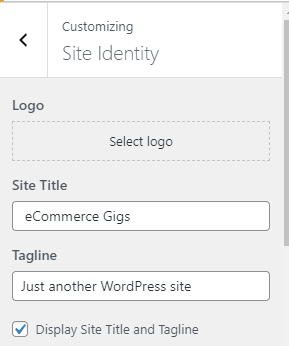
It gives you permission to define your own site-title and logo as well as Tagline in your sites by allowing numerous options with the identifications of the site.
Logo: Main logo of the site, where you can choose your likable logo by uploading through select logo options.
Site-title: Main site title of the site, where you can add any title you like.
Tagline: Tagline (i.e.Description) of the site. Just beneath the site title.
Display Site Title and Tagline: Gives you access to enable/disable display site title and Tagline.
Site-icon: Site Icon is used as a browser and app icon for your site. The icon must be square and at least 512px wide and tall, You can remove or change the managed options.
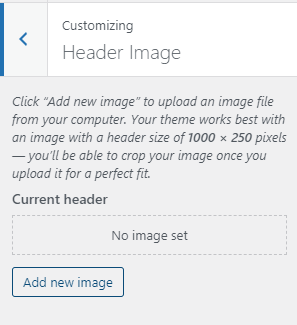
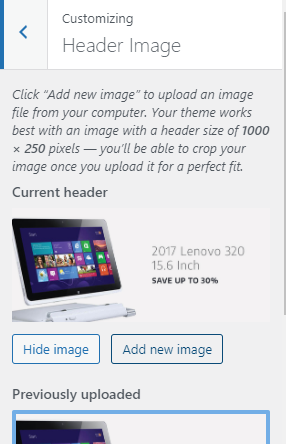
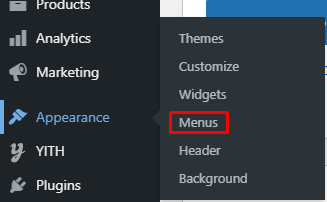
Go to the given steps: Appearance > Customize > Header Image.
You will get options like Current header and previously uploaded as shown in the below screenshot after adding a new image
Choose the image you want to put as a header image by uploading through other locations or available images on media. Once You are confirmed with your selection then click Publish to make your chose image as a background image.
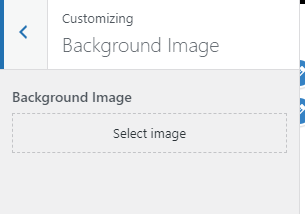
Go to the given steps: Appearance > Customize > Background Image. Click a select image button. Choose the image you want to put as a background image by uploading through other locations or available images on media. Once you are confirmed with your selection then click Publish to make your chose image as a background image.
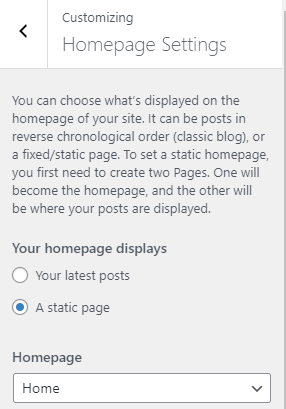
By default, your homepage will also show your post feed, listing all of your latest posts for visitors to see.
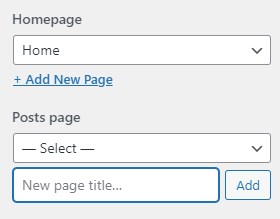
You can decide your front page is static and Dynamic as shown above screenshot. If you are fine with static then it is up to you to choose a front page from sites. Once you select a page as a front then it will show that page making it a Frontpage.
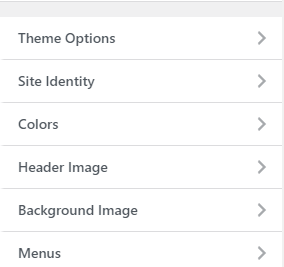
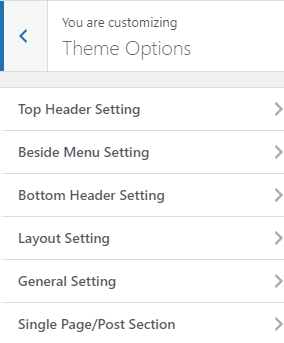
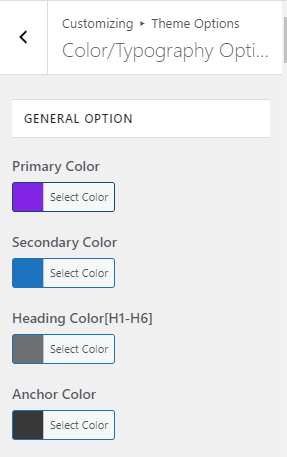
Theme Options
You can get more options after clicking the Theme Options button.
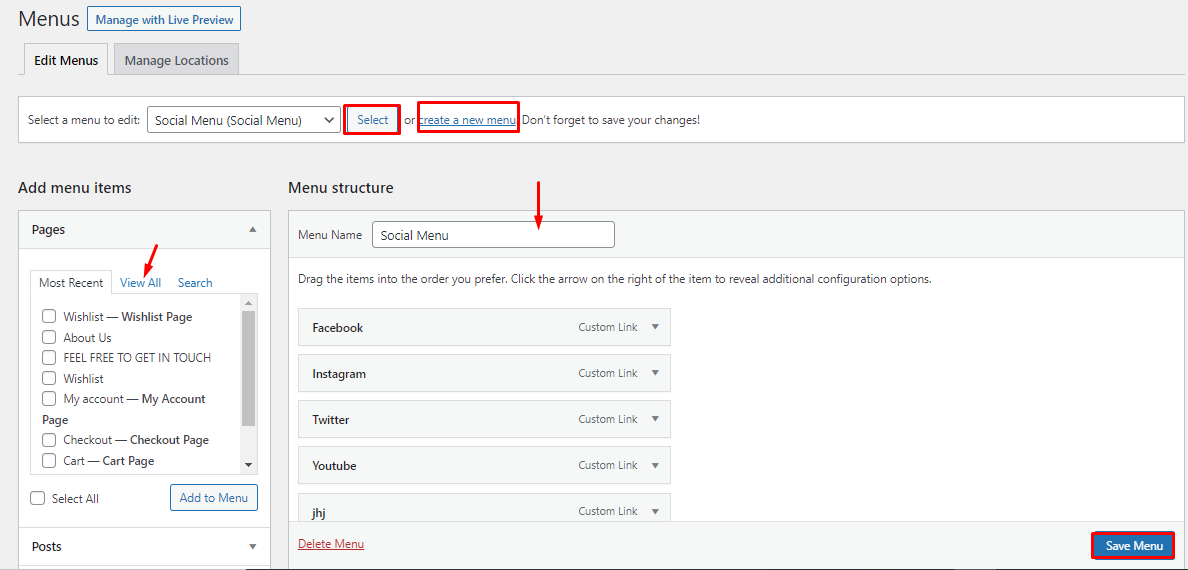
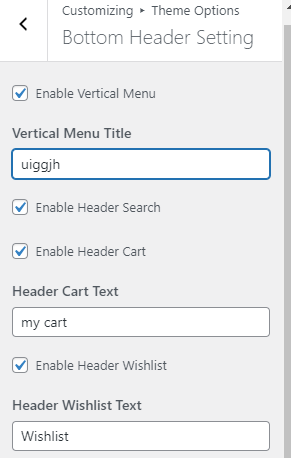
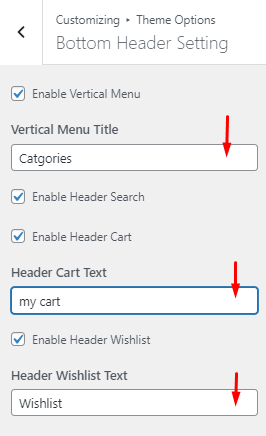
Put your Favorite Title Name for the vertical menu and select suitable options along with in Menu by given process and save the selected menu.
Do control over Header-Search and Header cart by choosing the options of Enable.
You can also add the cart text as per your wish in Header Cart Text and Header Wishlist Text.
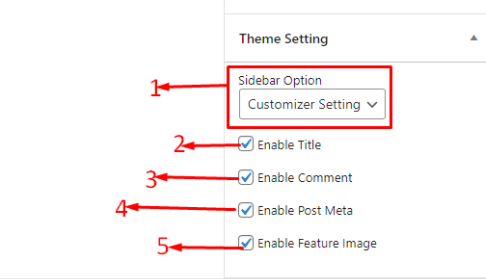
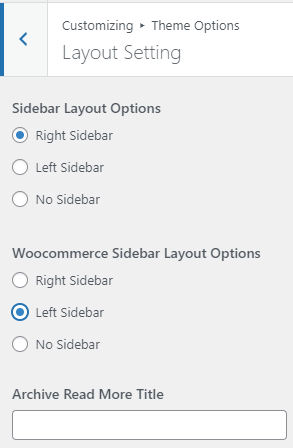
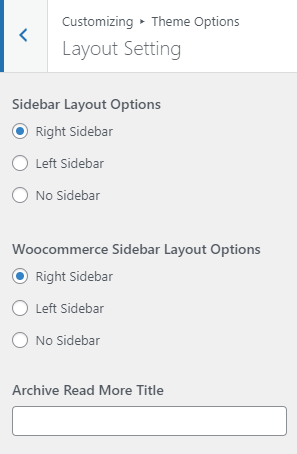
Layout Setting
Here you can add Layout on general pages and the directions of the post are depends on your choice.
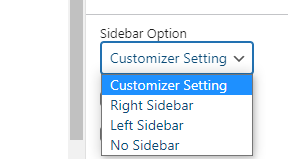
As shown in the shot you can either add the Layout on the Right side and On the left side as well as it’s up to you for No Sidebar.
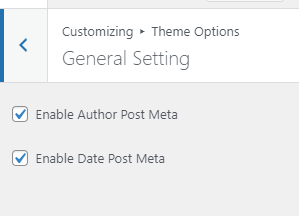
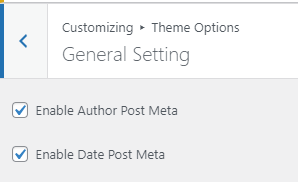
General Setting
Through these steps, You can Go into the Control Over General Setting:
Appearance> Customization> Theme Options> General Setting
Here are the Options in the general setting in shot
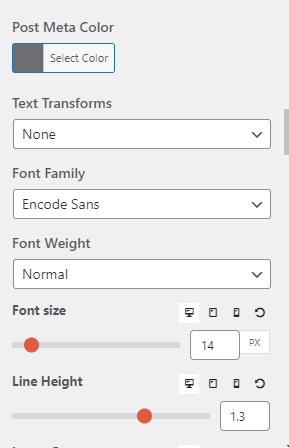
You have the right to Enable the Post meta of Author and Date.
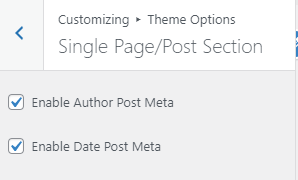
Single Page/Post Section
Here are steps to reach there:
Appearance> Customization> Theme Options> Single Page/Post Section
You Can choose the Enable Options For Author and Date Post Meta.
PRO
You can access more attributes in Pro themes which provides you more options to launch your platform: to get our Pro Version you need to follow these process:
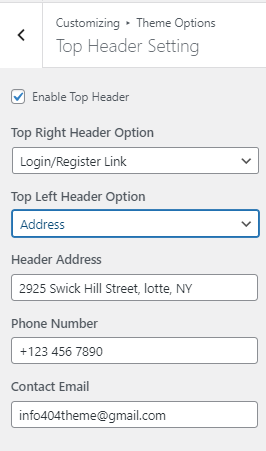
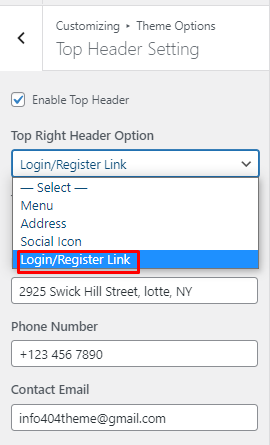
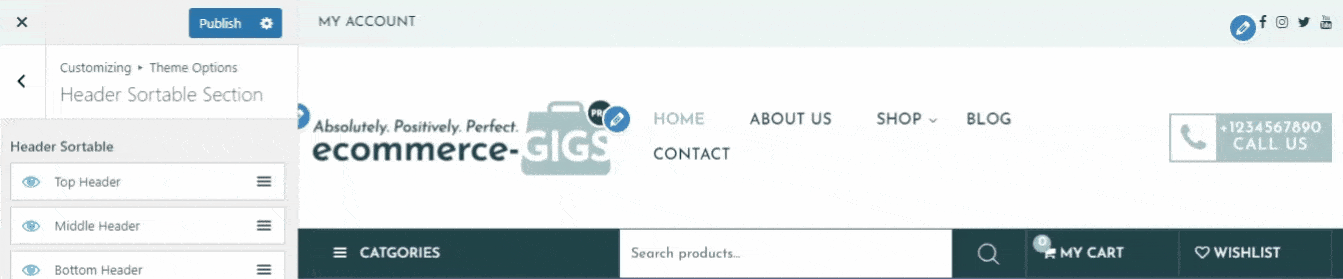
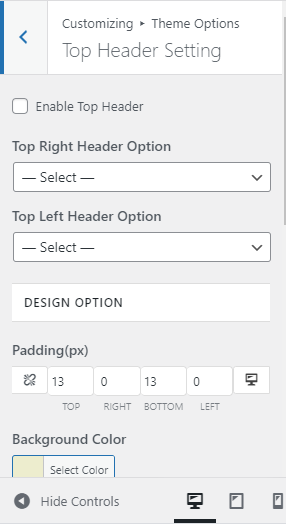
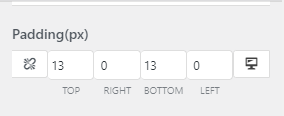
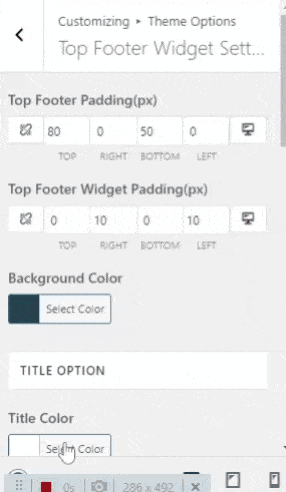
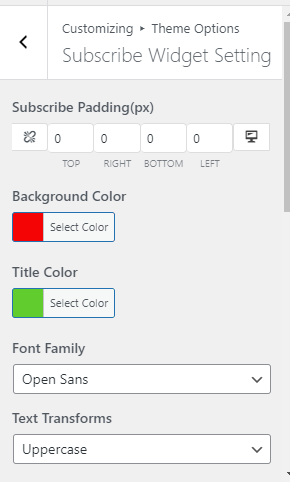
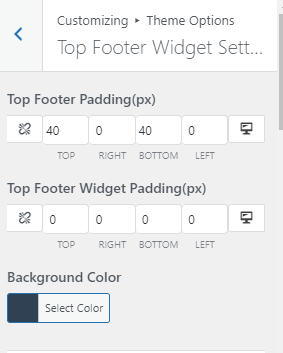
More options with the management of the Top header can be seen on the Pro version with the options inside the Design Option. Here is a list of Design to handle the Top header setting
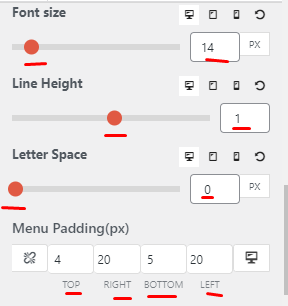
You can manage the padding on the Top, Right, Bottom, Left: and you can change the Desktop and Tab as well as another Mobile version by clicking on the Red part
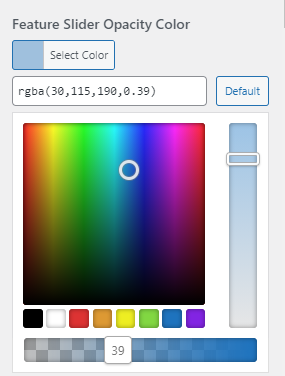
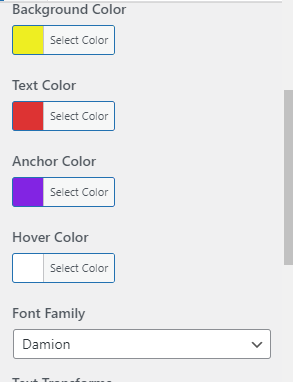
Change the Background Color for the Top Header by choosing your preferred color
Chose your favorite color for the Top Header
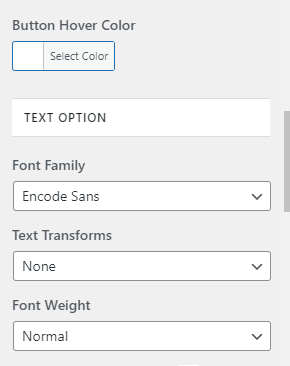
Pick Your favorite Hover color for the Top Header
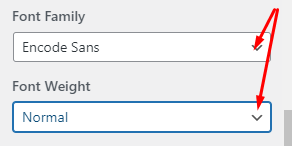
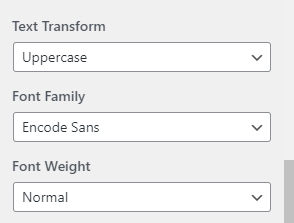
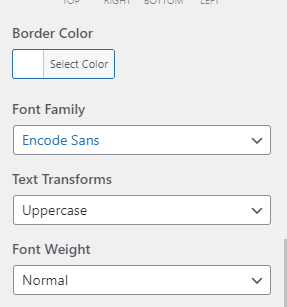
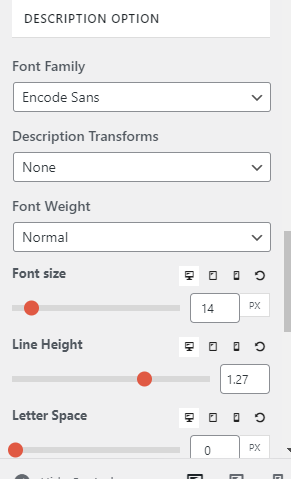
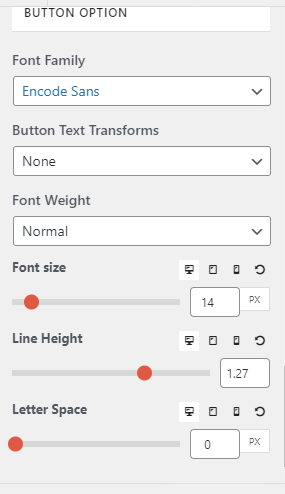
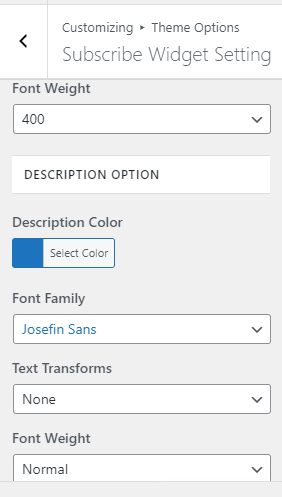
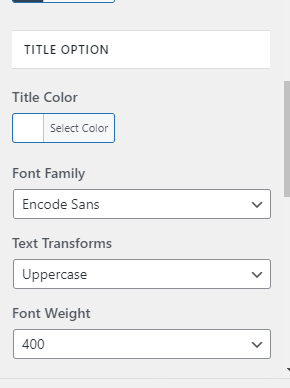
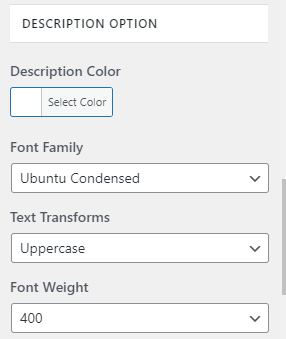
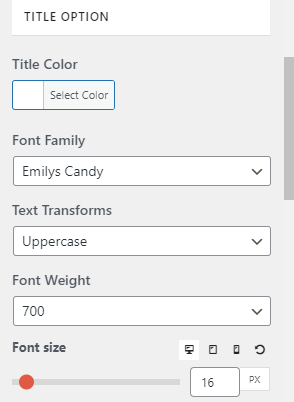
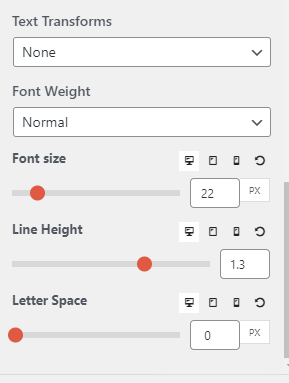
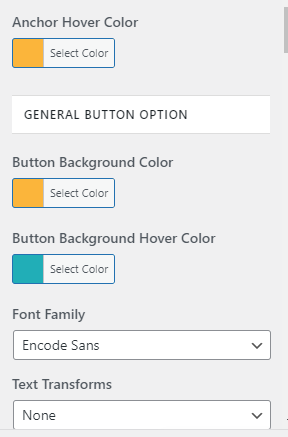
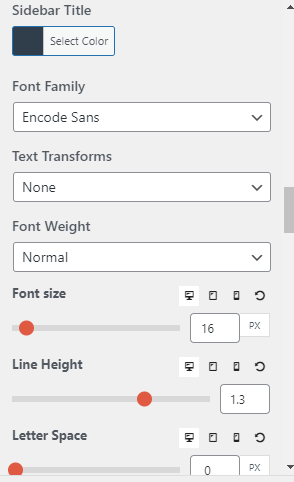
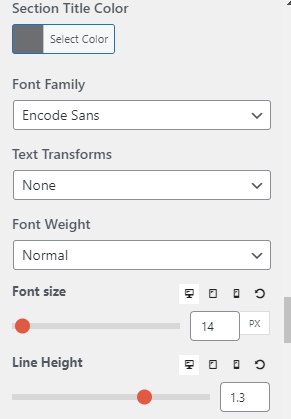
Required and suitable font family and weight can be selected as shown like in arrow:
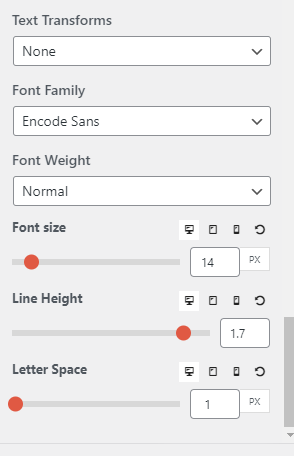
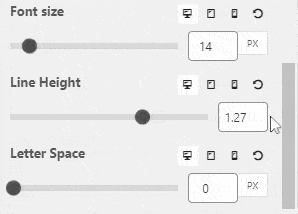
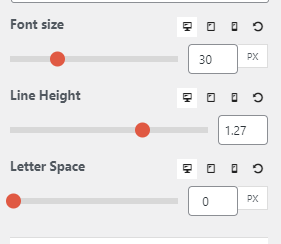
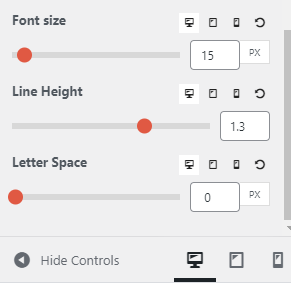
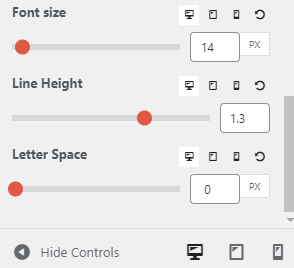
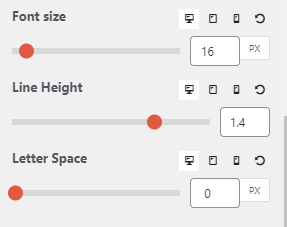
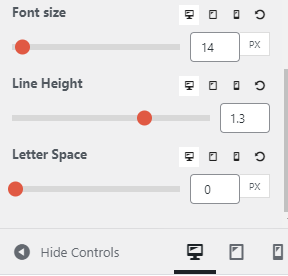
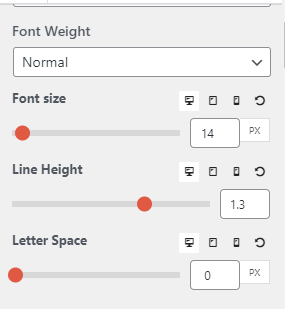
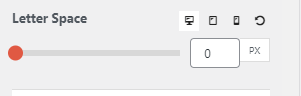
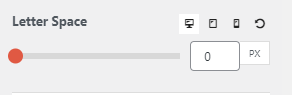
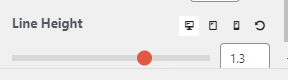
Font size, Line height, and Letter Space can be controlled as per your choice. The red box helps you to achieve your required size as given in below shot:
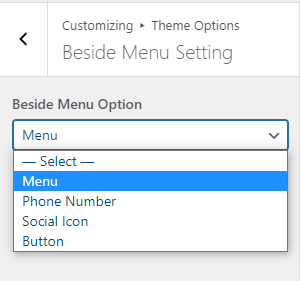
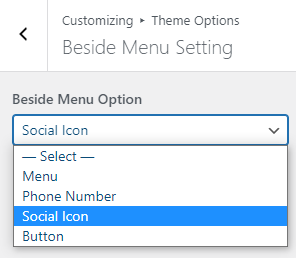
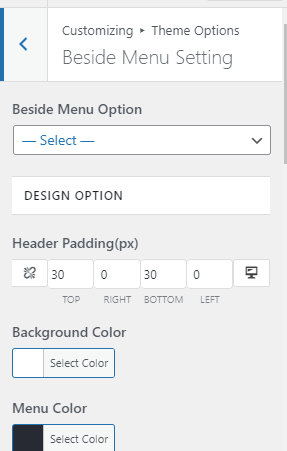
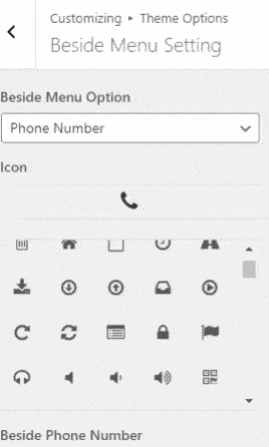
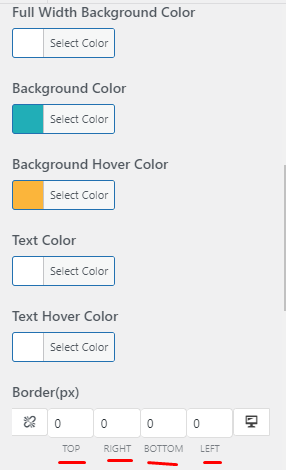
Beside Menu Setting can be seen on the Pro version with the options inside the Design Option. Here is a list of Design to handle the Beside Menu setting
You can manage the padding on the Top, Right, Bottom, Left: and you can change the Desktop and Tab as well as another Mobile version by clicking on the Red part
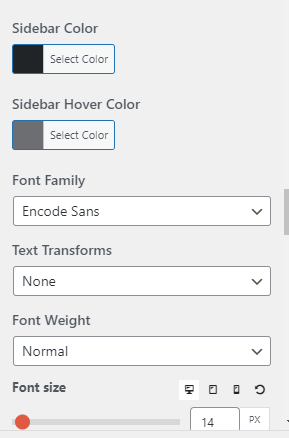
Change the Background Color for the Beside Menu by choosing your preferred color
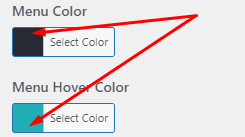
Chose your favorite color for the Menu and Menu Hover.
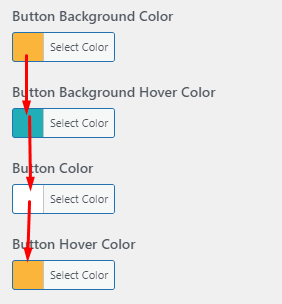
Pick Your favorite color for Button Background Color, Button Background Hover Color, Button Color, Button Hover Color:
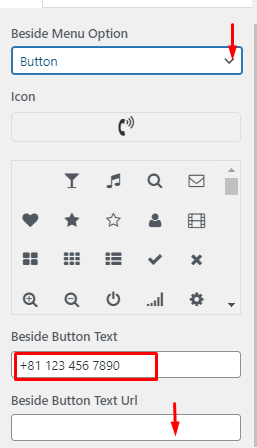
For Menu Option: You can have options like below
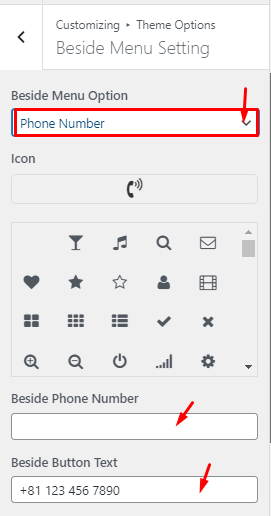
You have Options Like below In Beside Menu Options, You can take the size and style according to your wish


 and you can change the Desktop and Tab as well as another Mobile version by clicking on the Red part
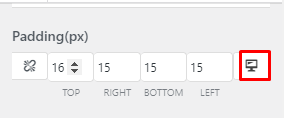


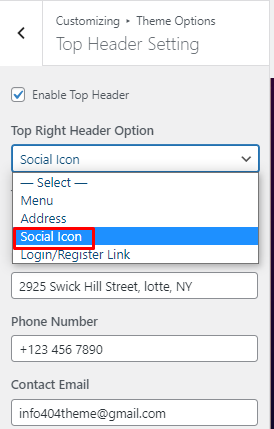
Social Icon
To add social icons as marked by an arrow on the below Screenshot, at Top Right Header Option choose your likable Social icons.