Mucha Pro
Version 1.0.0
Mucha Pro theme is the latest Elementor base page builder theme. which helps you to build multiple sites according to your choice.
Mucha Pro theme is the latest Elementor base page builder theme. which helps you to build multiple sites according to your choice.
After purchase the Mucha pro theme from the theme404 site, you have to follow the following steps to install it.
Follow the steps below to get started with your WordPress Theme
When you click on the “Activate” button to activate Mucha pro Theme, you will see the notice offering you to install required and recommended plugins.
Click “Begin installing plugins“, on the screen that appears, next select the plugins you want to be installed, pick “Install” in Bulk Actions select box and click “Apply” button. For optimal user experience install and activate all recommended plugins.
We are providing our own demo importing plugin so if you like and want to demo like website in your site then you can easily import the demo and set up on your site.
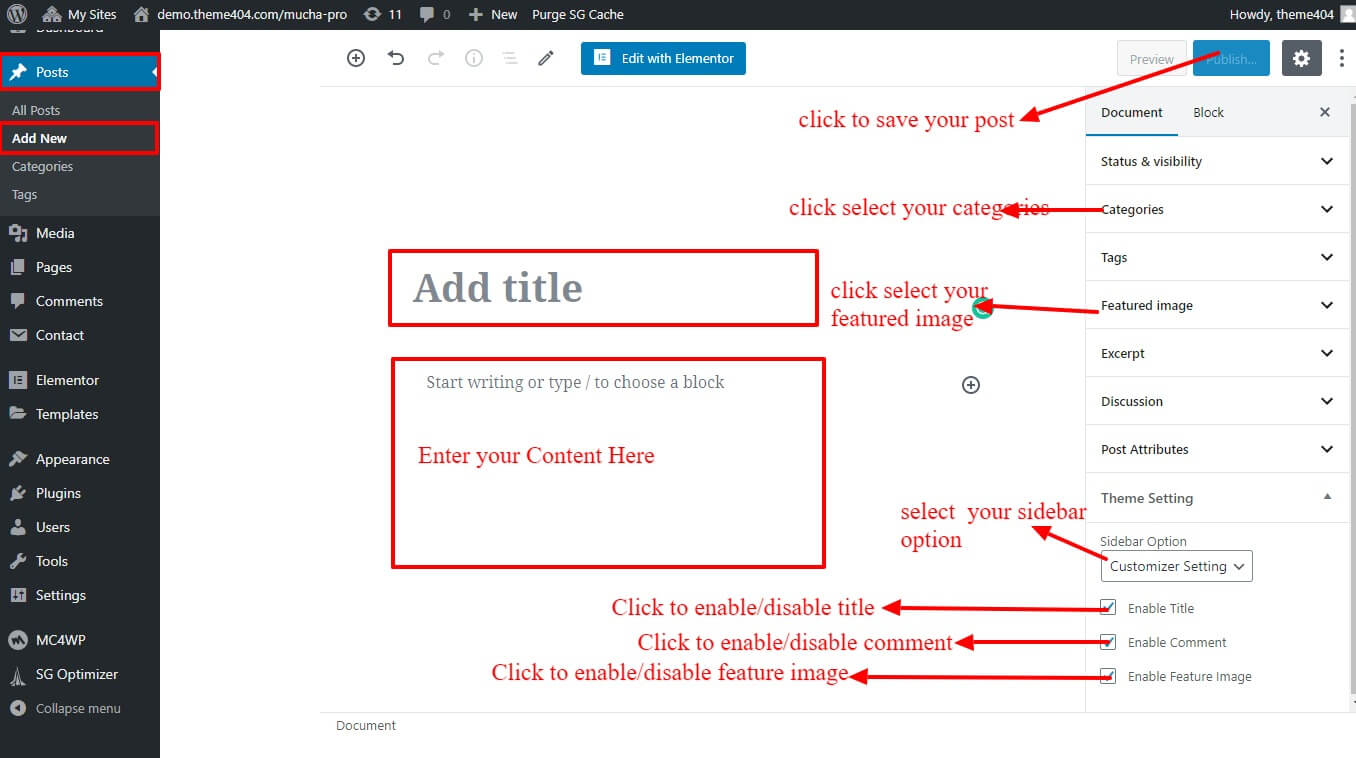
Step to Add New Post
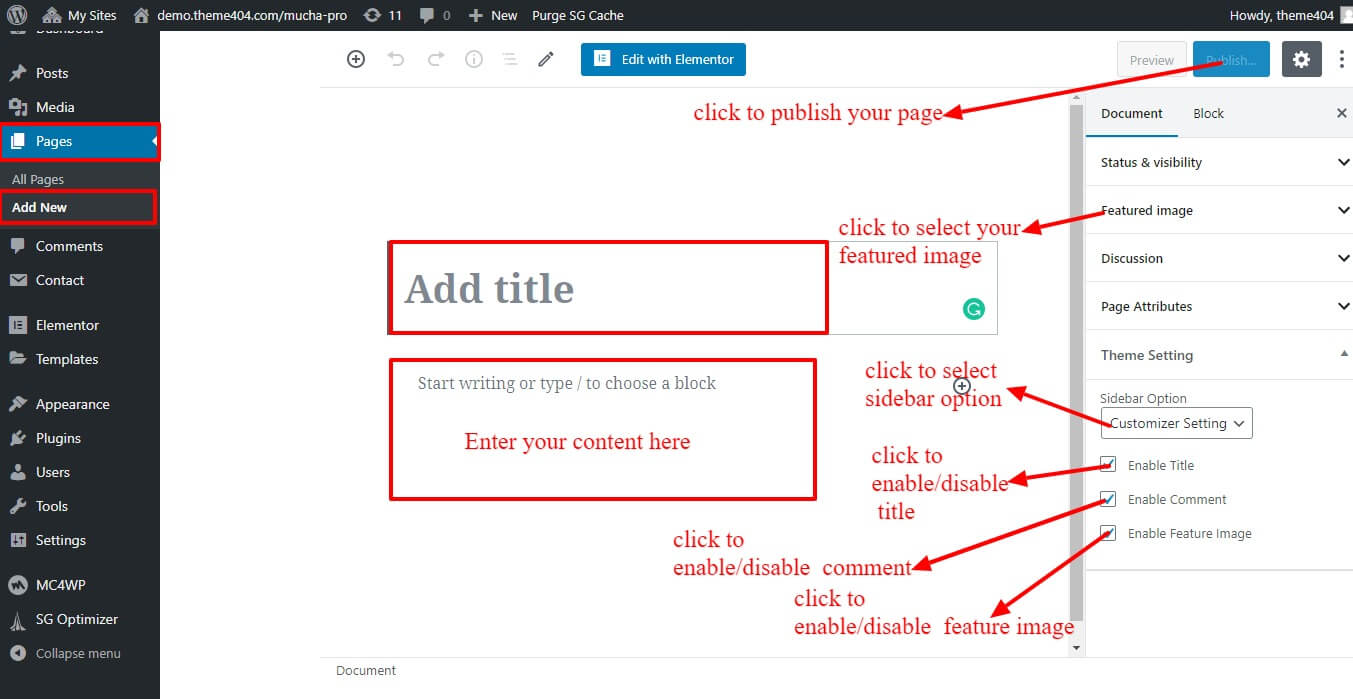
Step to Add New Page
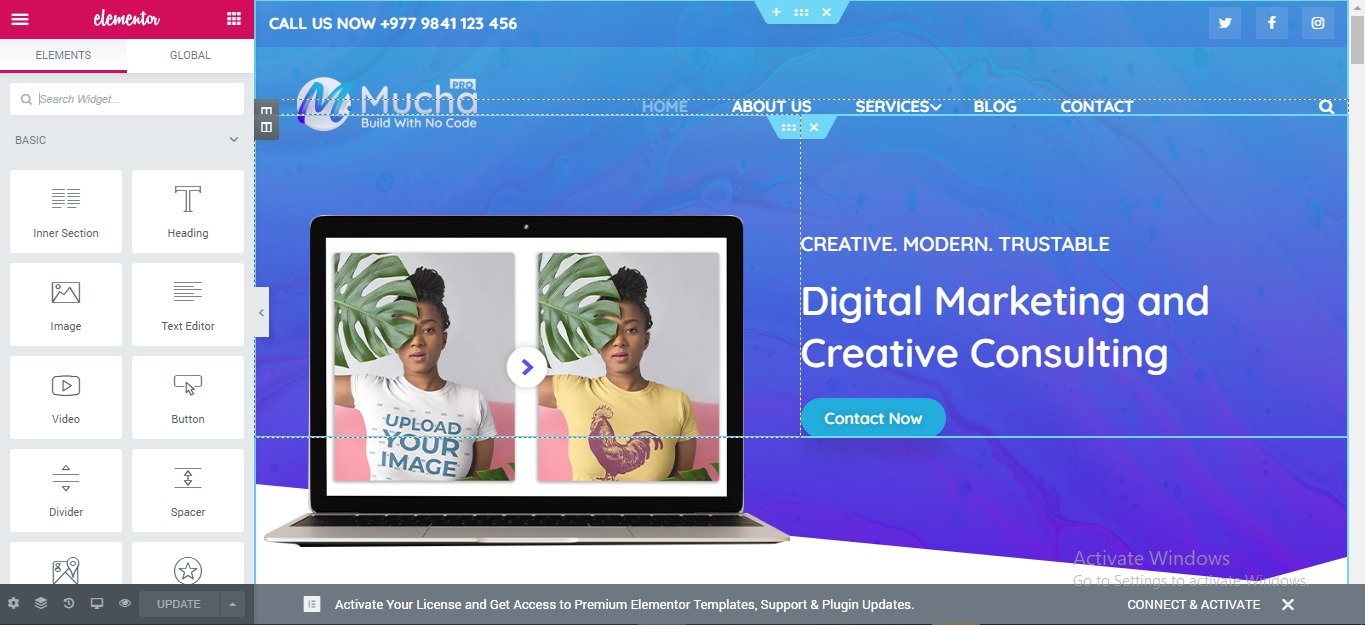
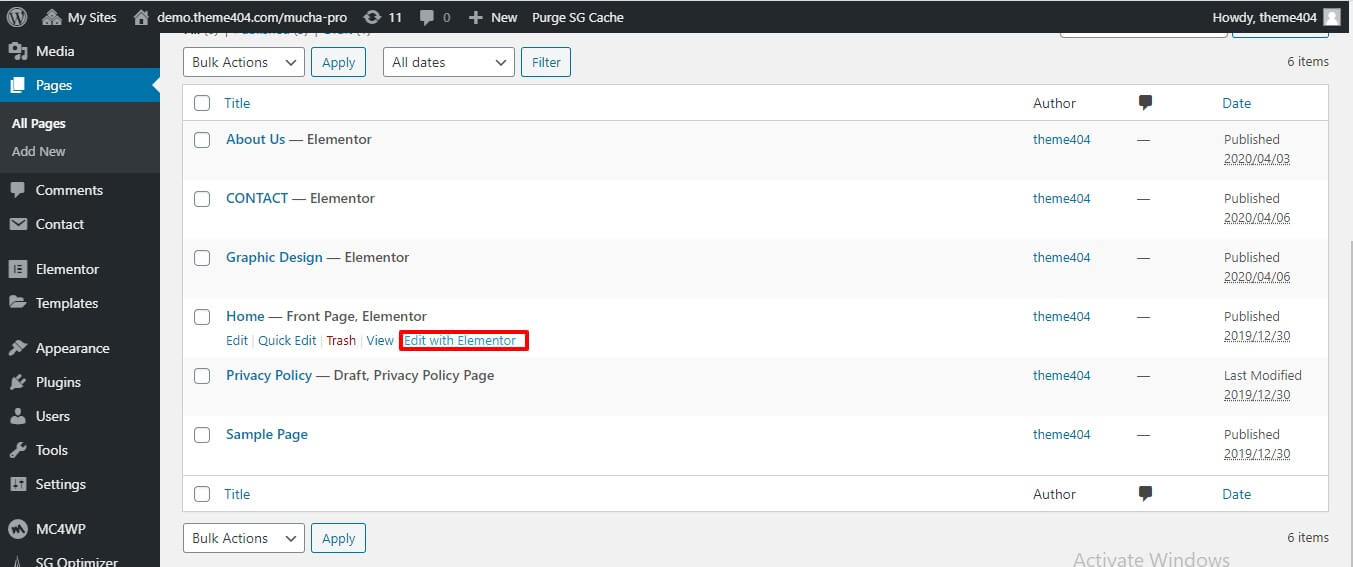
Since Mucha’s demos are based on Elementor, So you can directly customize your page with Elementor. there is two way to get the Element editor page.
OR
You can easily edit any part of your page by going to the Element Editor page.
Note: If the Edit Using Elementor option is not visible for a page on both the front page and the dashboard, it means that the page was not built using Elementor. To edit this page using the elementor, go to pages> all pages, hover over it, and click the Edit button. Now click the Edit Using Elementor above the page editor.

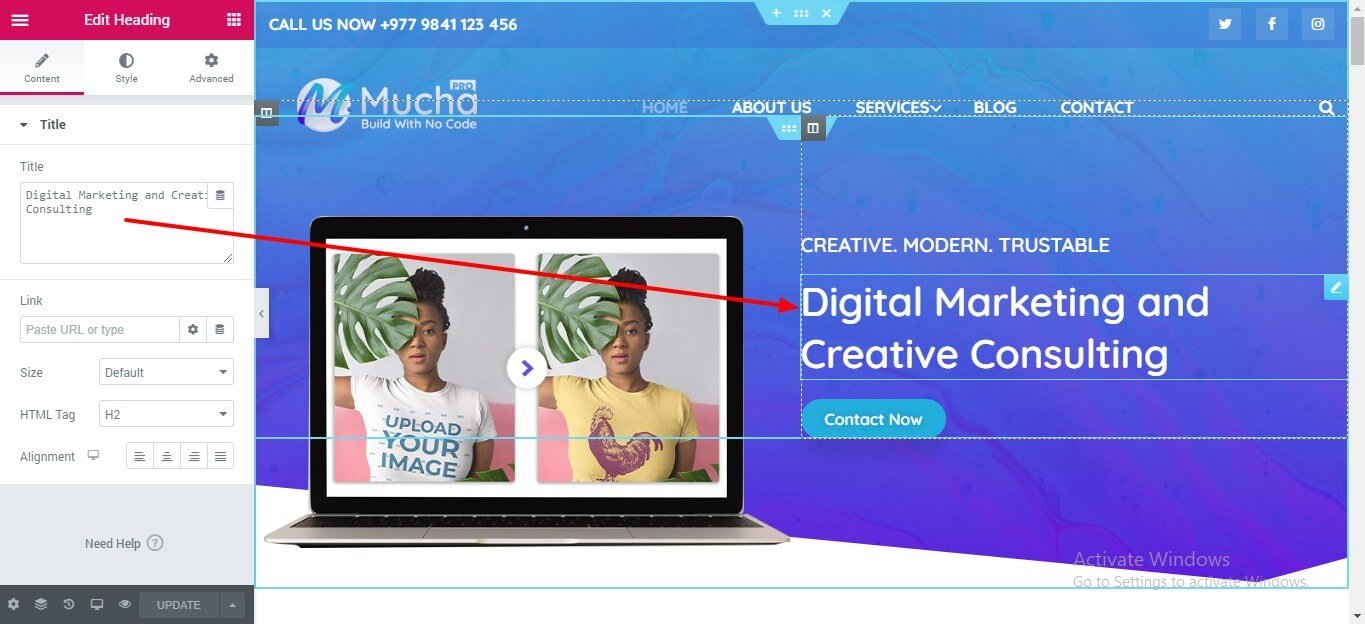
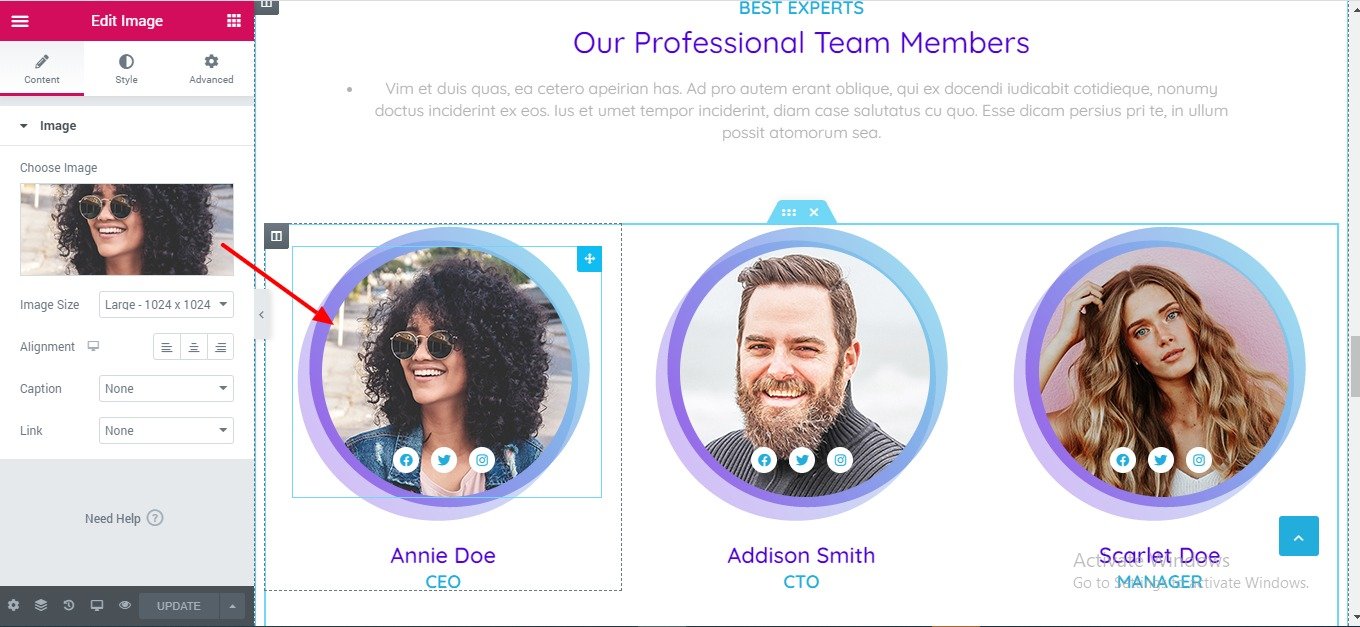
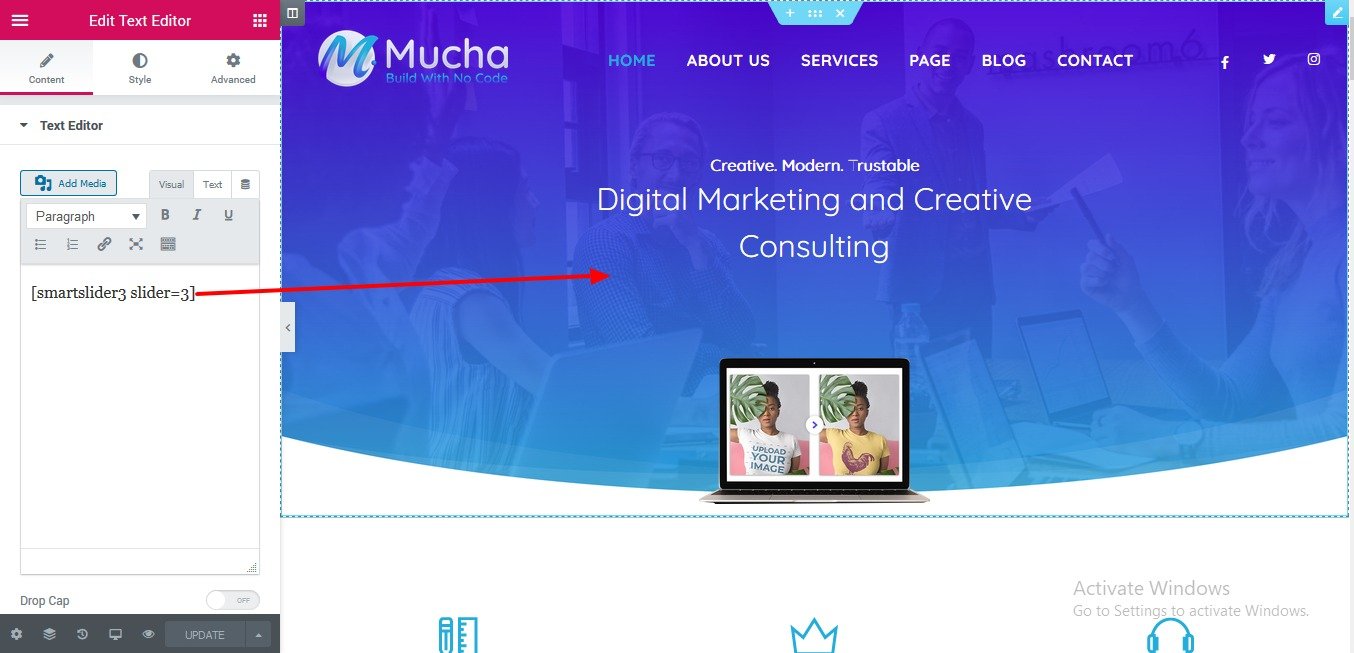
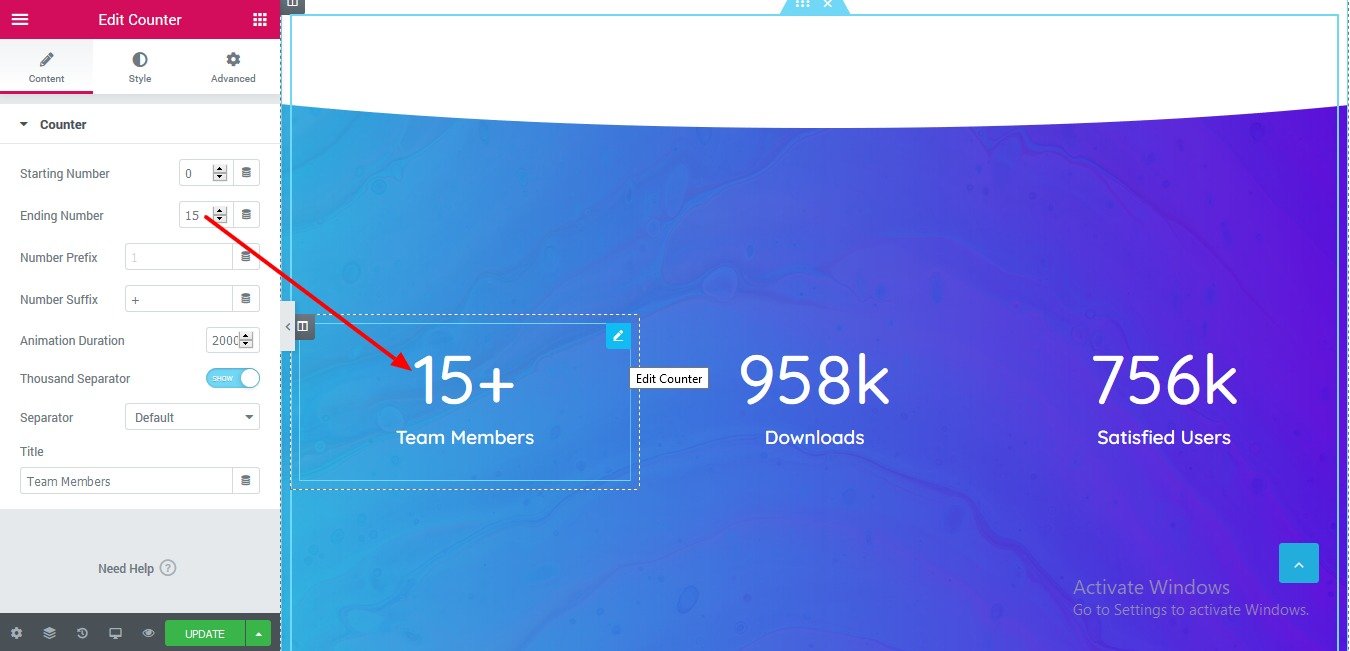
You can customize your page in Elementor using different widgets. If you click on the part you want to edit, the corresponding section of the article will appear on the left. You can then use the configuration to resolve the section.
Few of them are mention below:
Note: If you want to learn about Elementor in detail, visit their site at https://docs.elementor.com
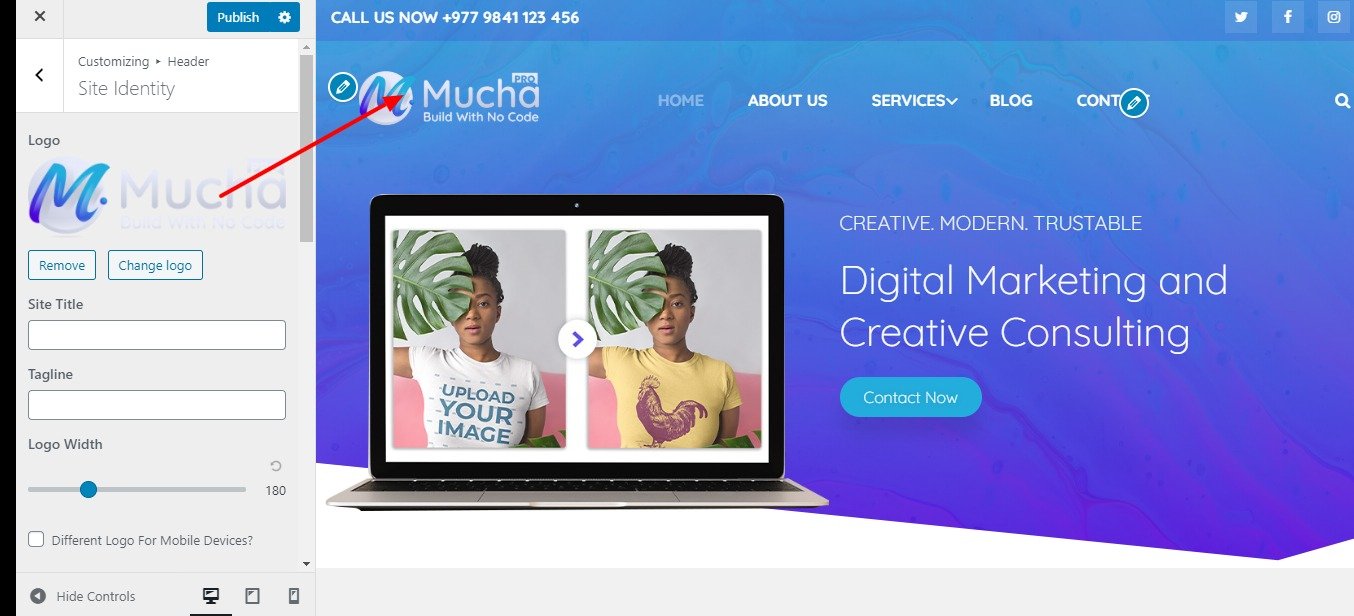
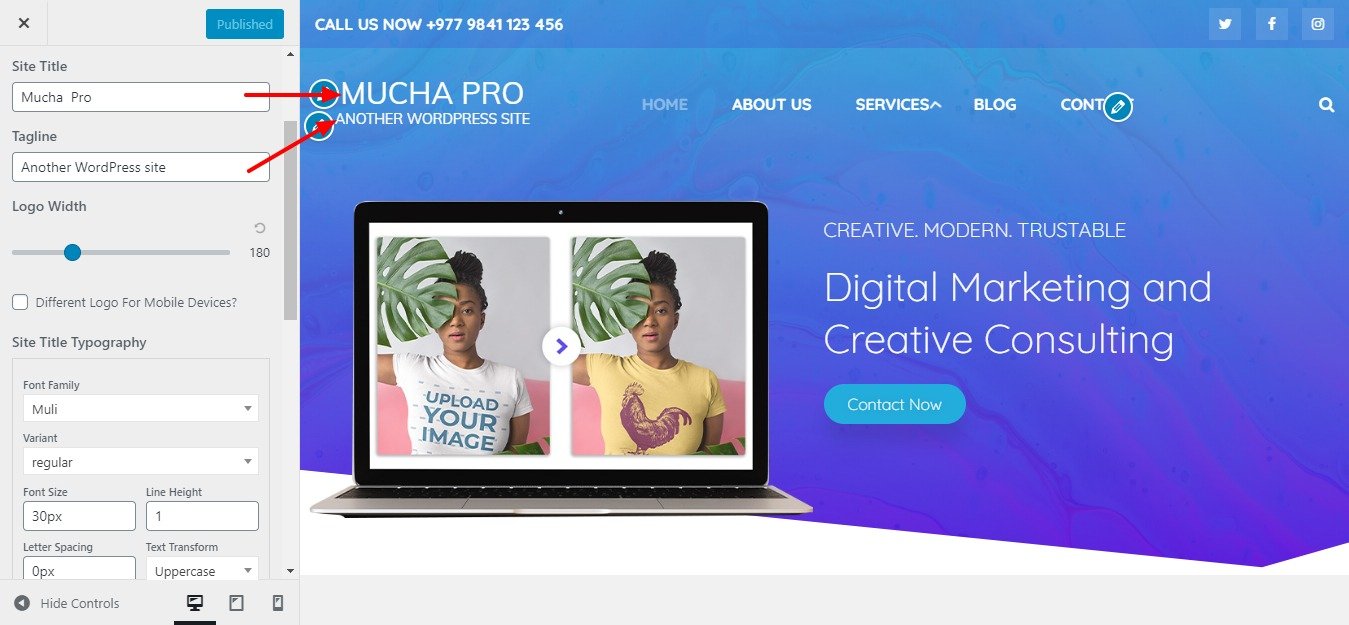
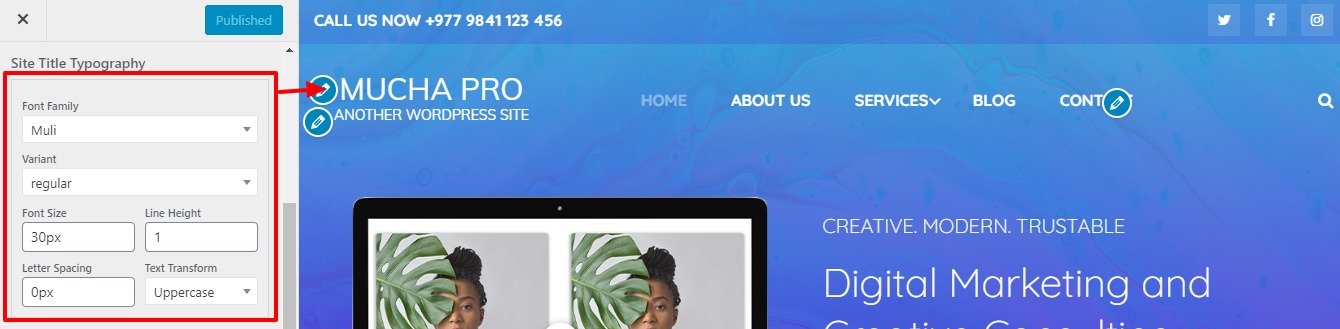
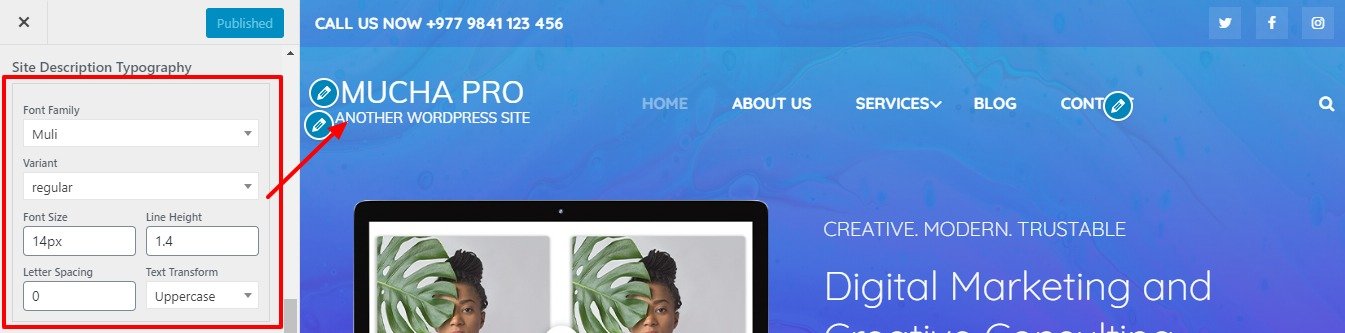
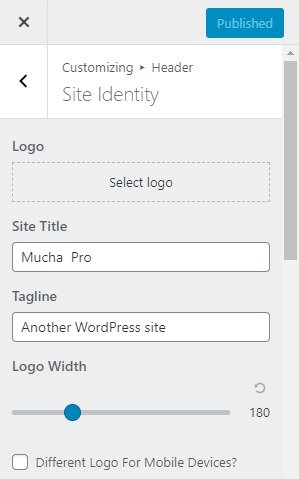
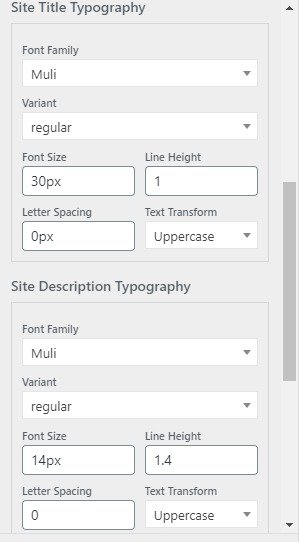
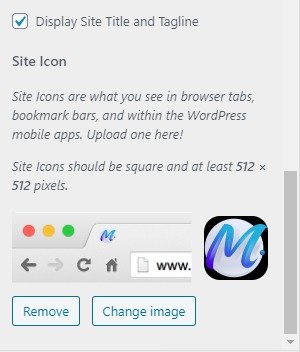
This option allows you to define the site-title and logo, favicon for your site and with various options related to site identity
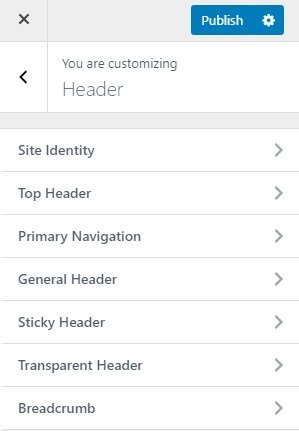
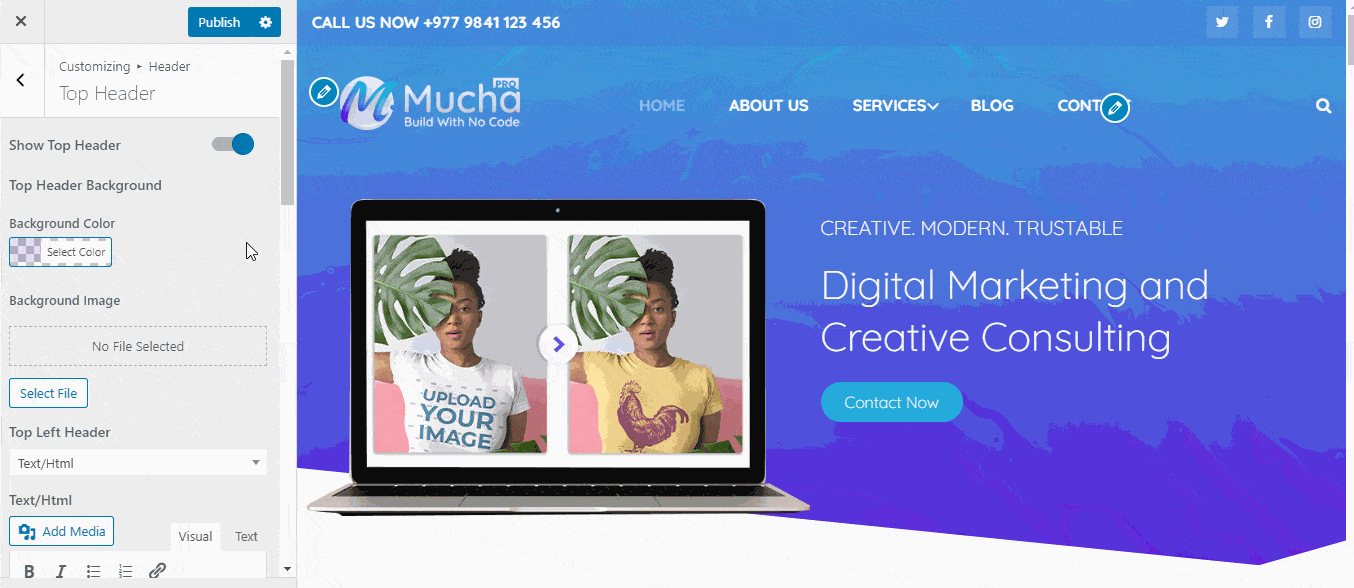
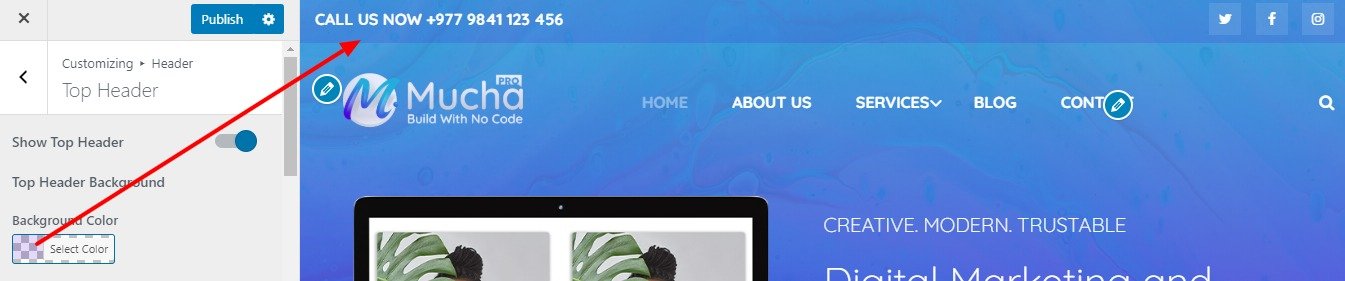
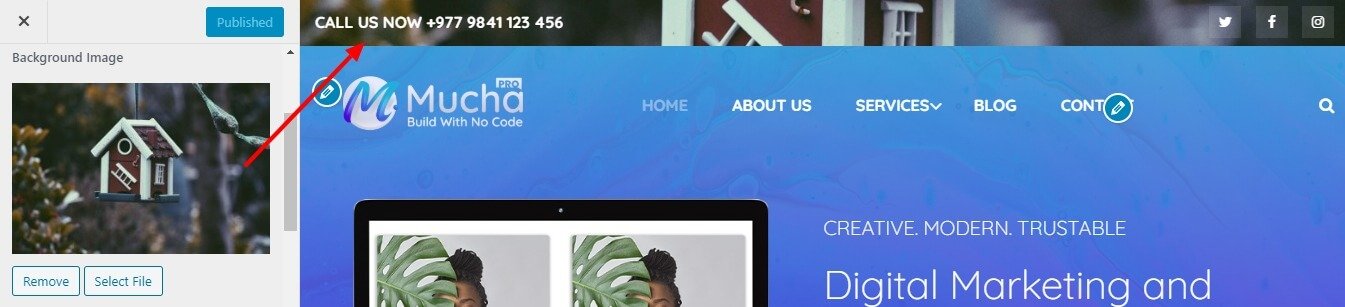
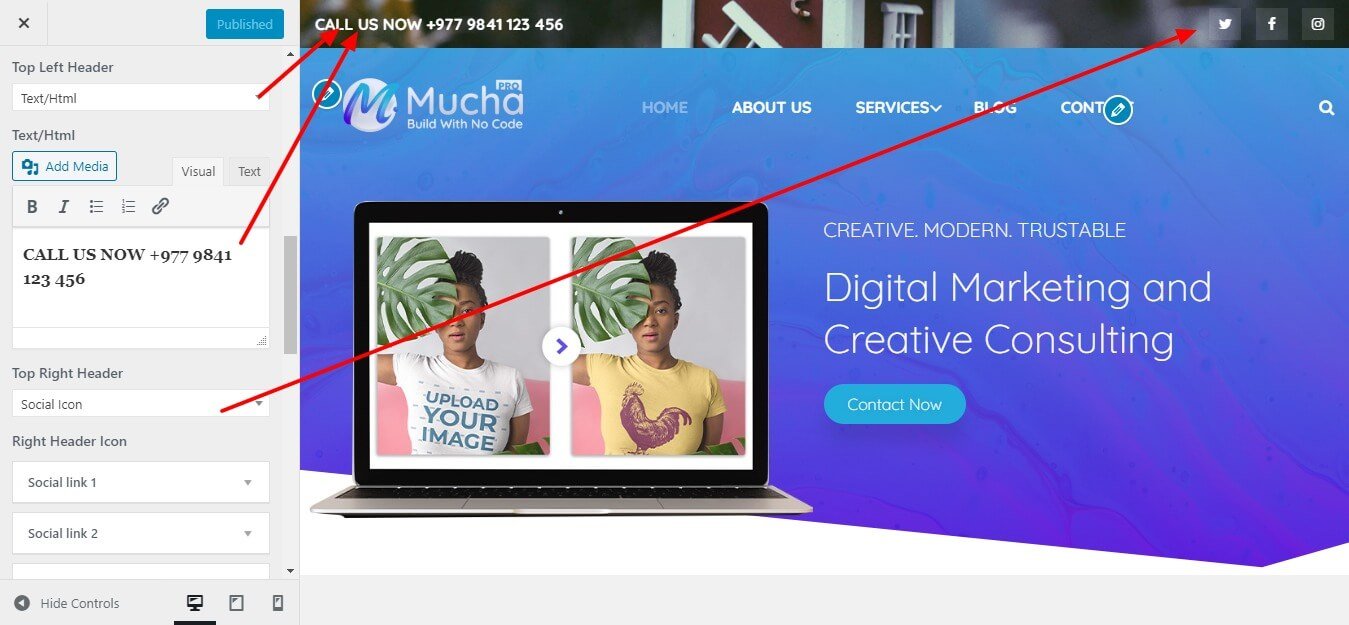
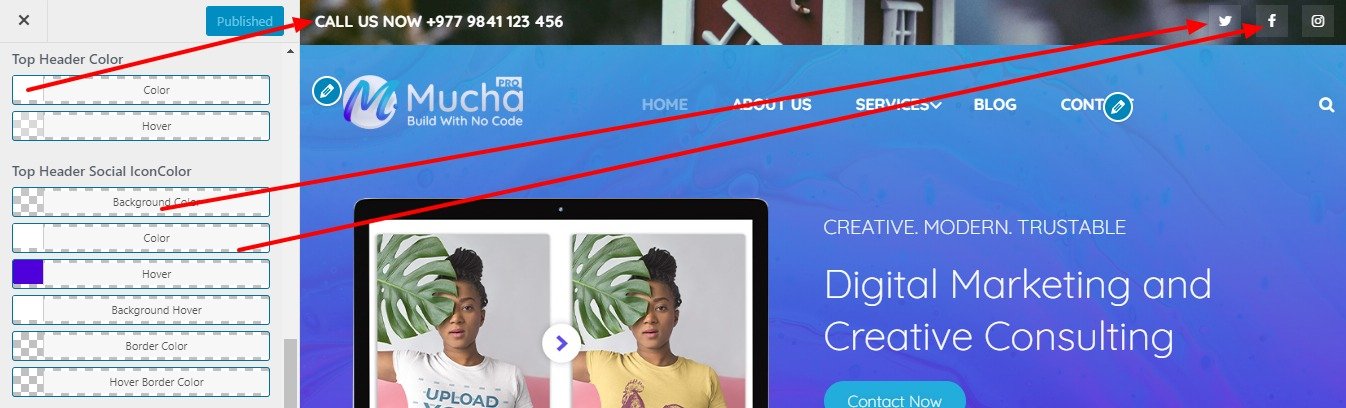
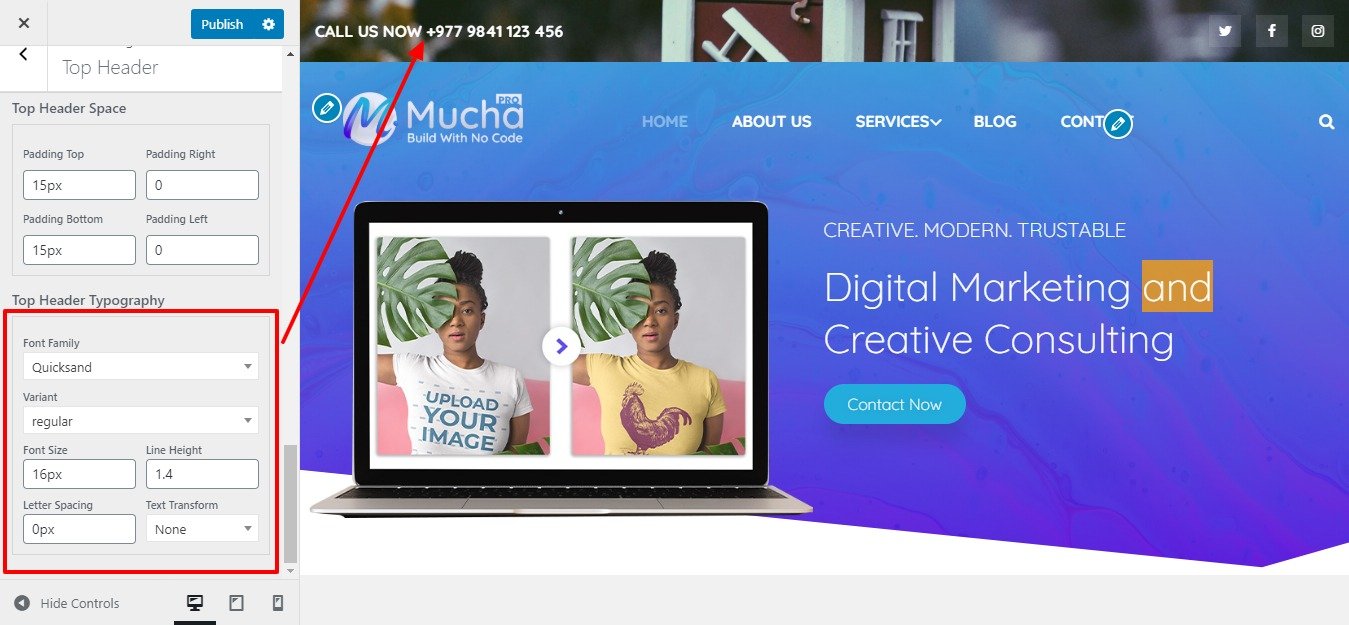
Go to Appearance > Customize > Header > Top Header.

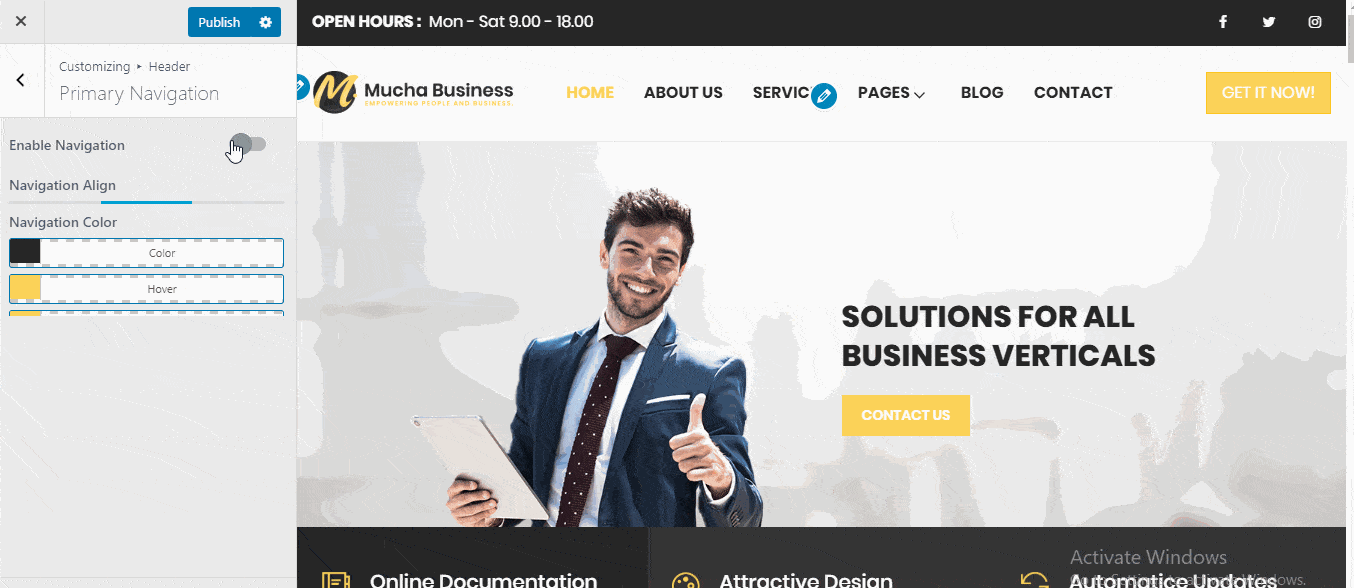
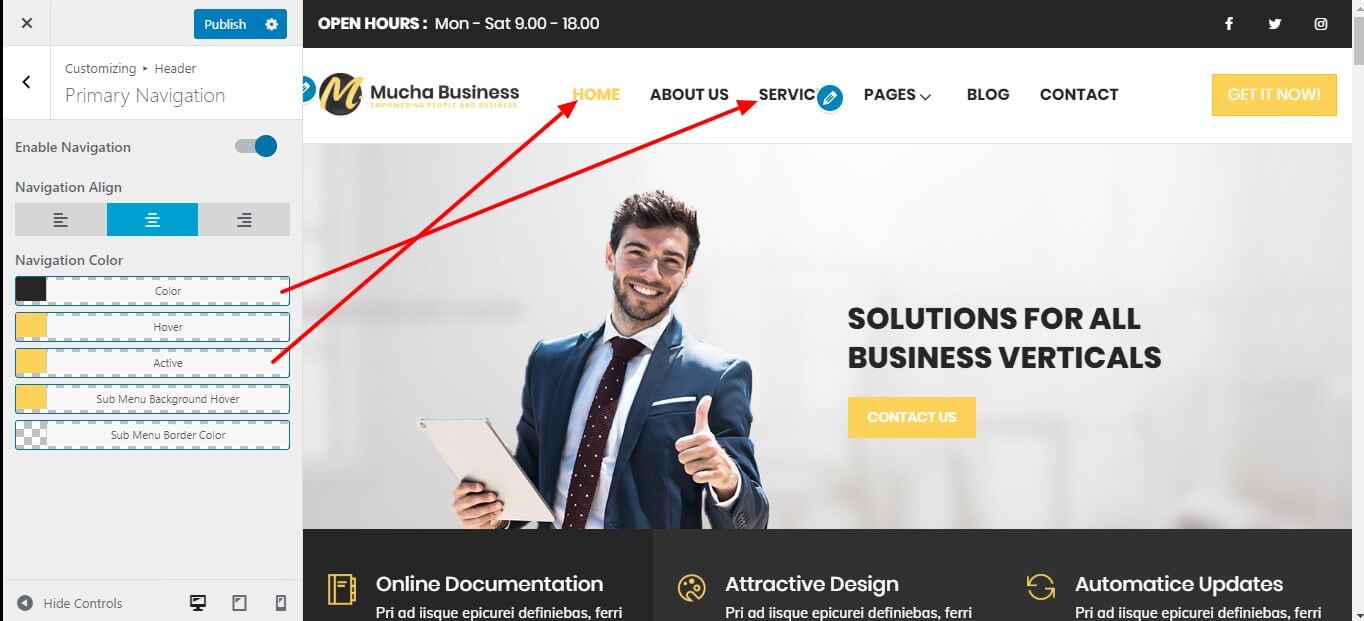
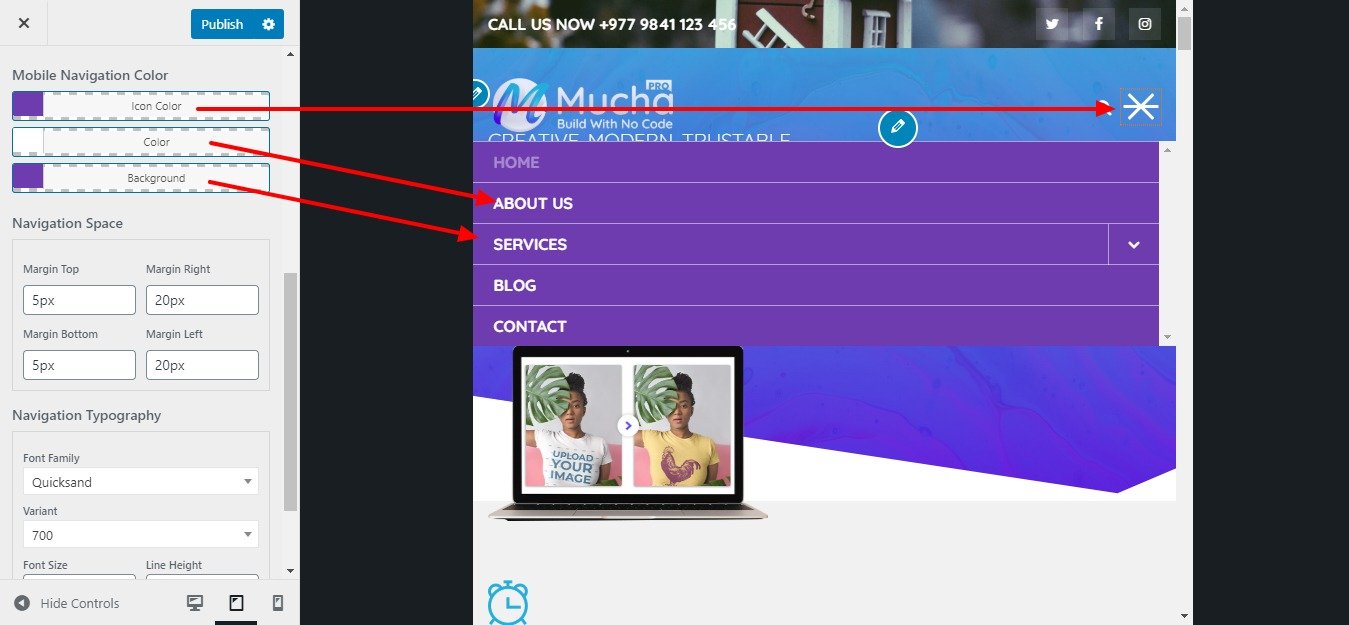
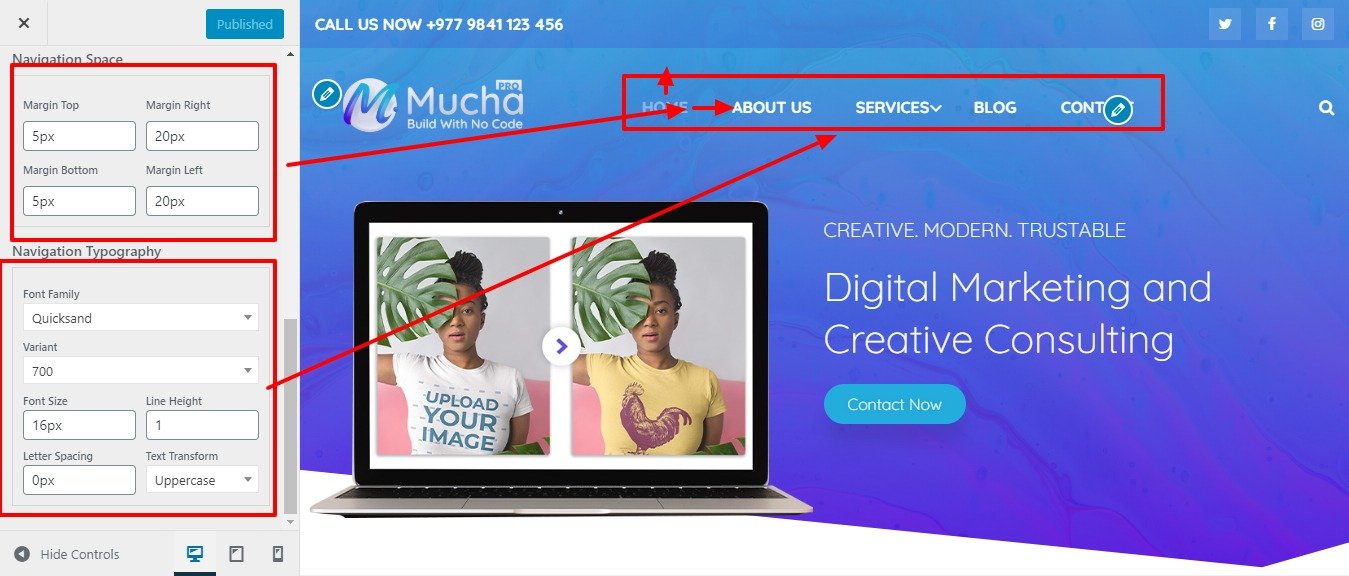
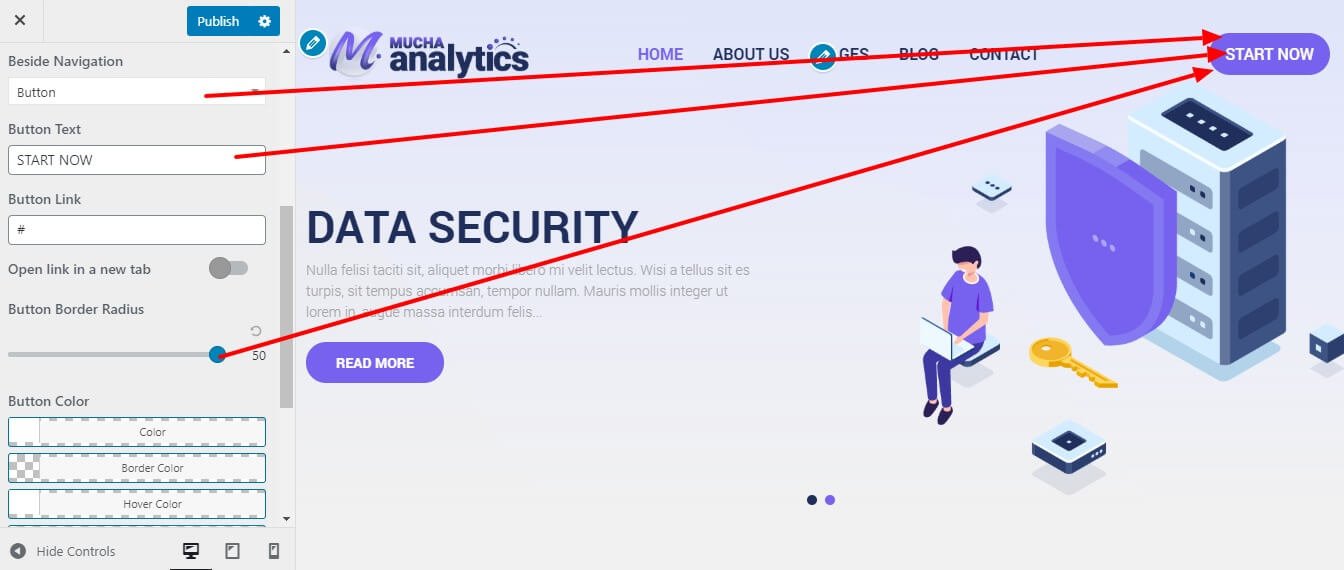
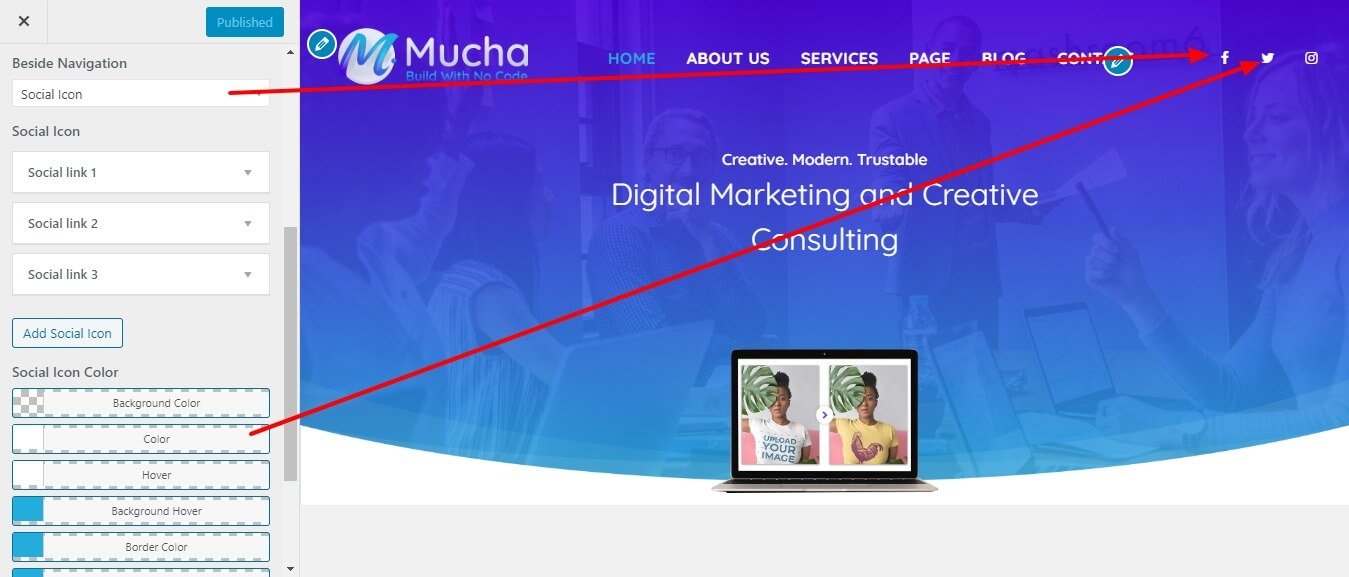
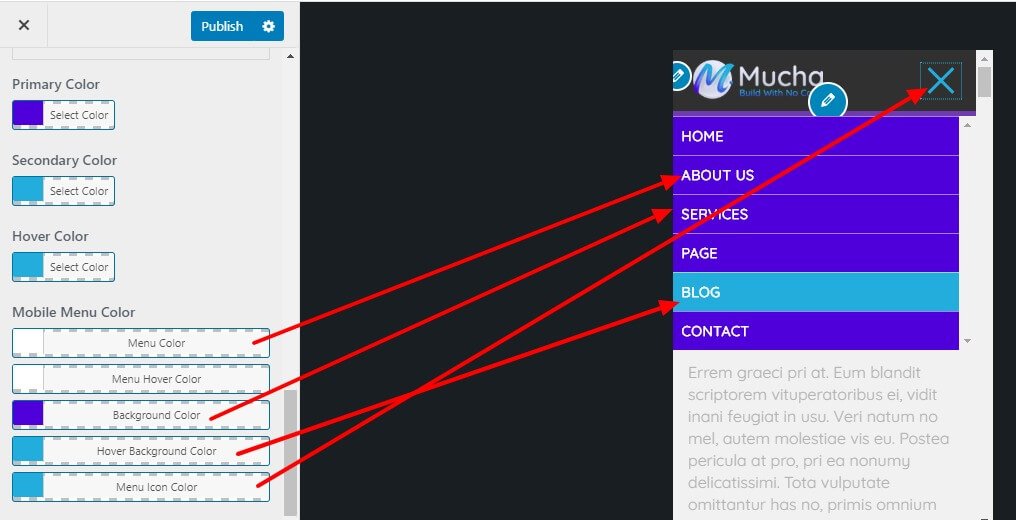
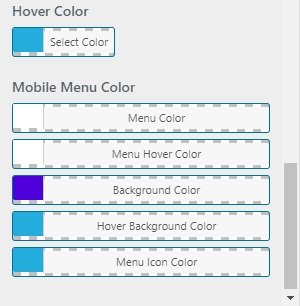
Go to Appearance > Customize > Header > Primary Navigation.
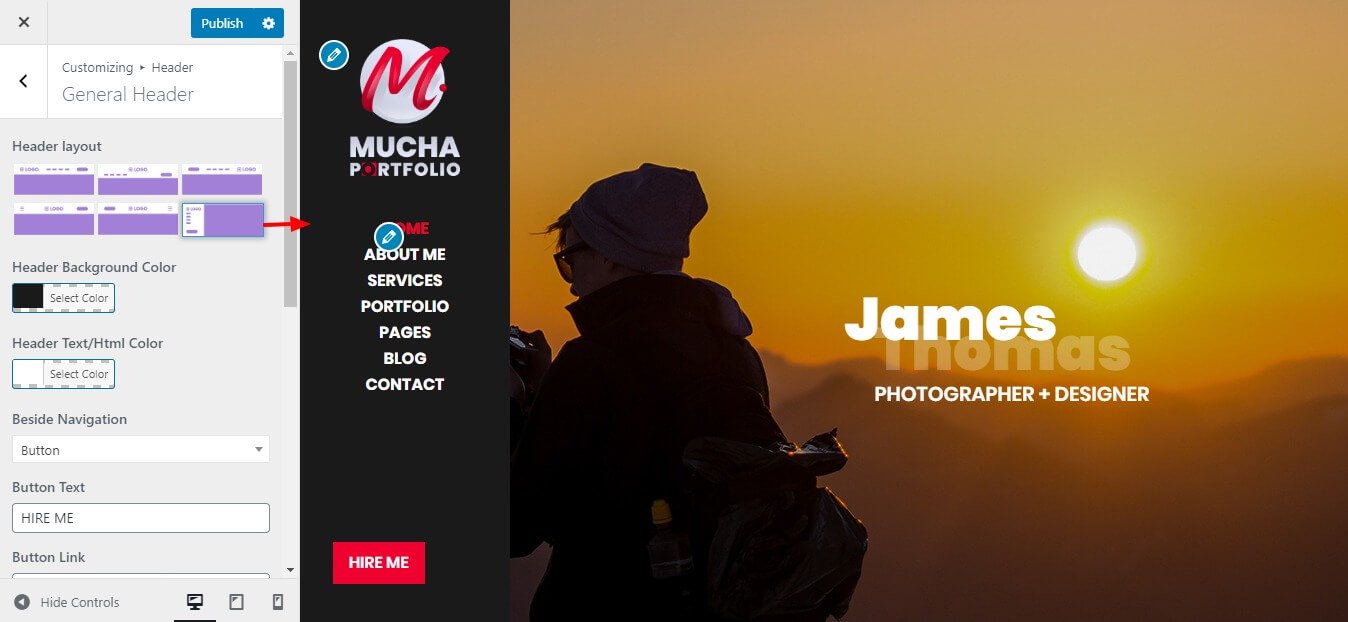
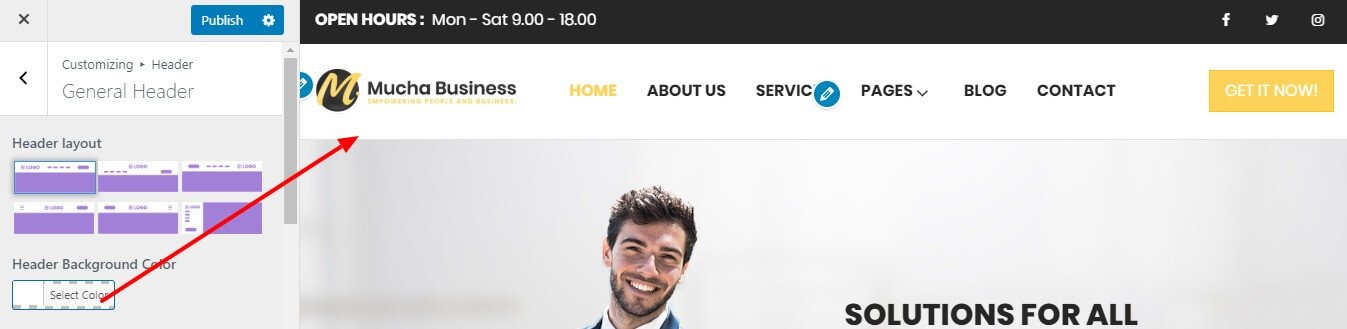
Go to Appearance > Customize > Header > General Header.
Some of the header layout mention below:


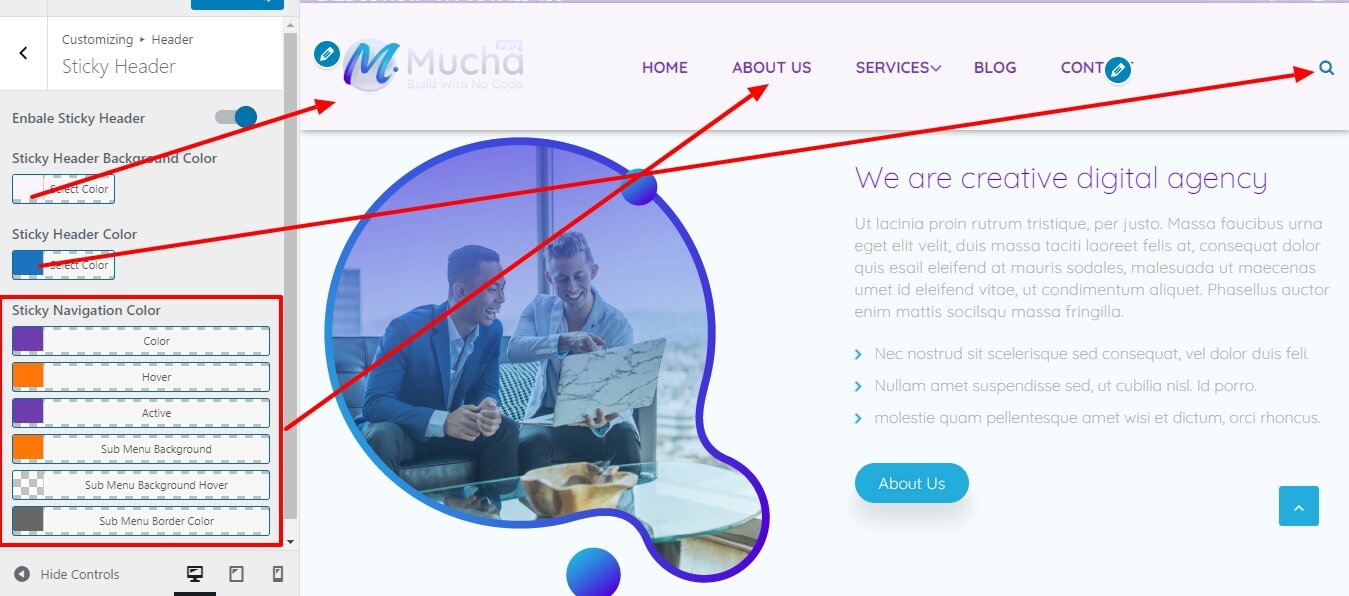
Go to Appearance > Customize > Header >Sticky Header.
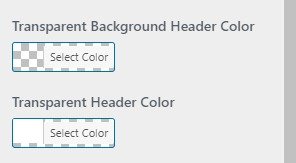
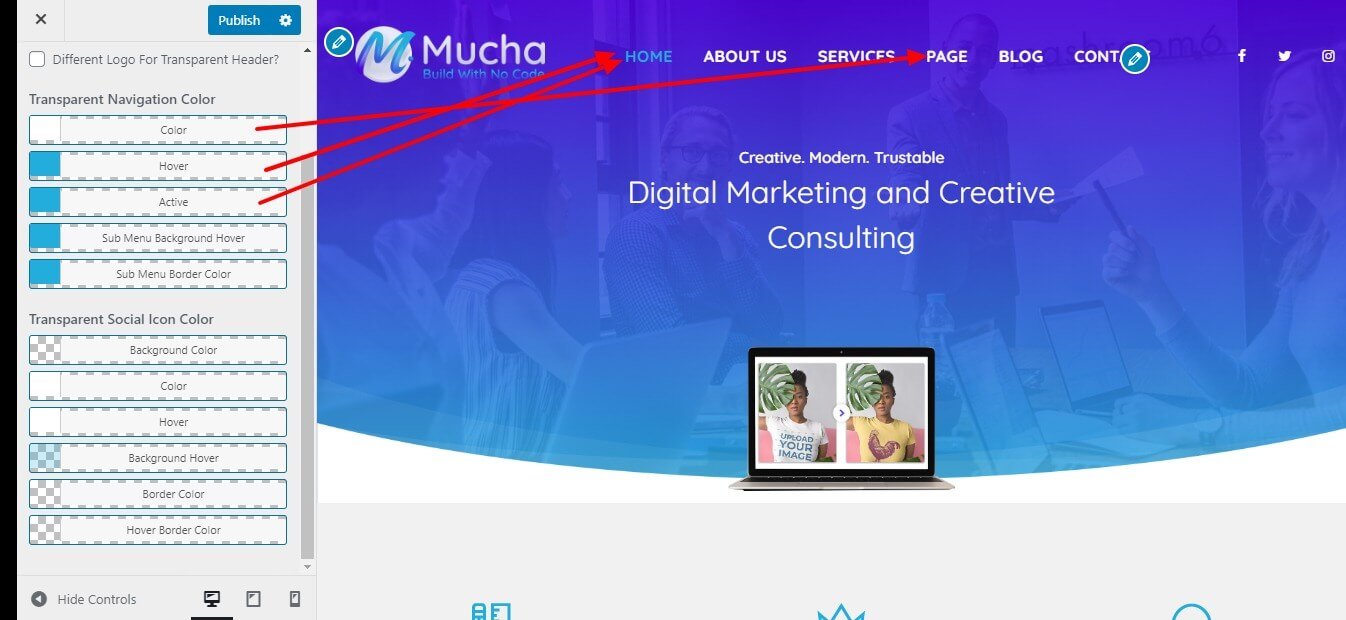
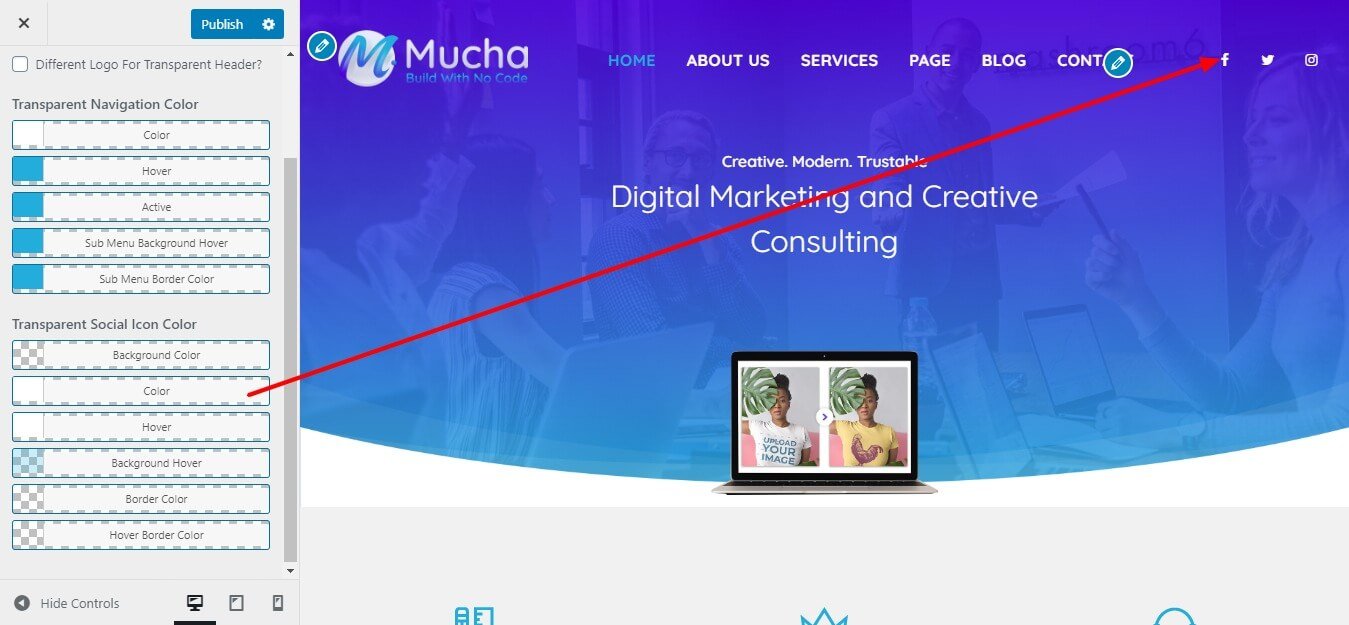
Go to Appearance > Customize > Header > Transparent Header.
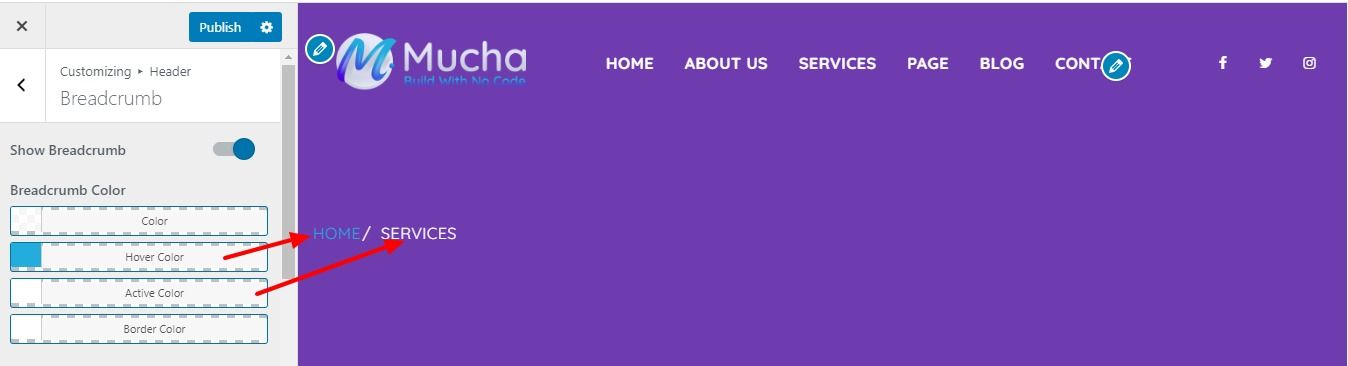
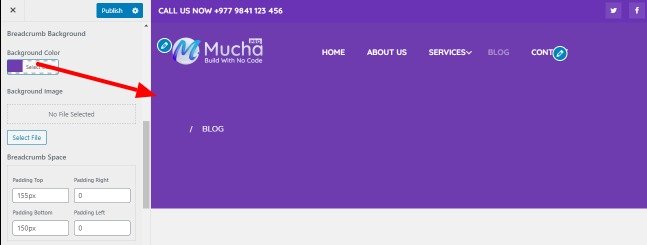
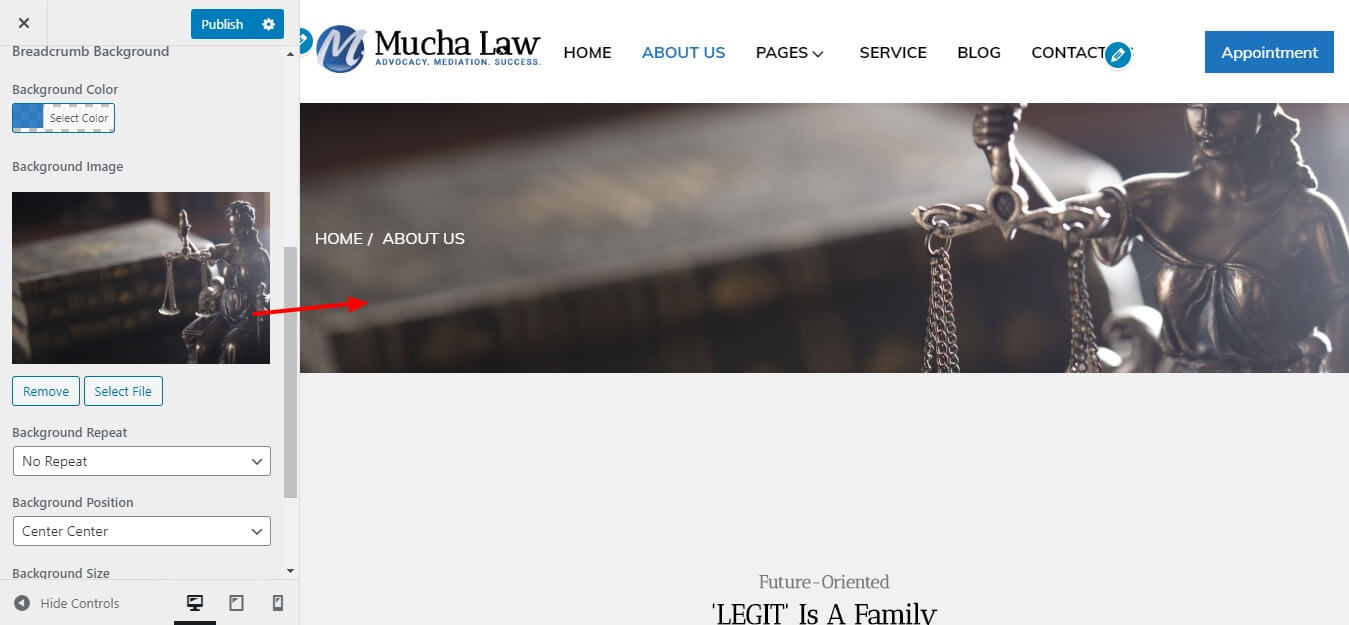
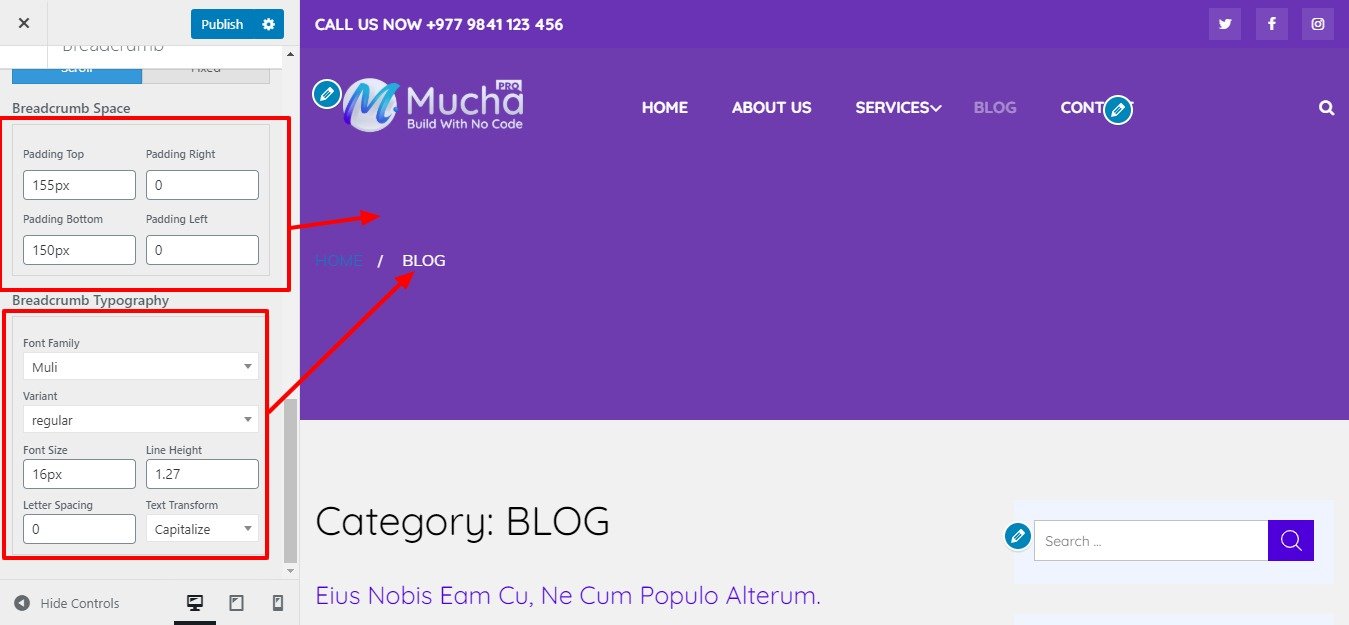
Go to Appearance > Customize > Header > Breadcrumb.


Typography will give you options to control the looks of the Typography of your site.Go to Appearance > Customize > Theme Options >Typography.


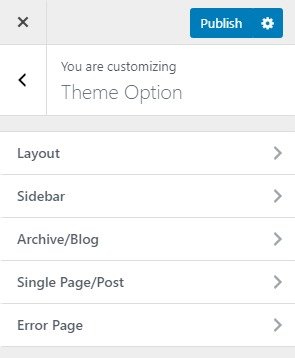
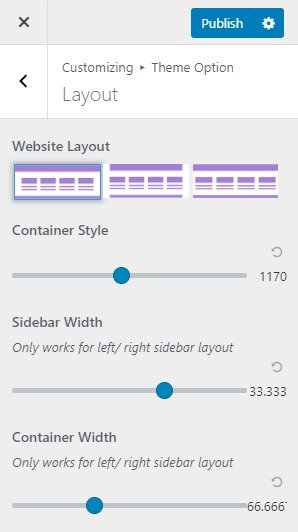
The layout will give you options to control the looks of the layout of your site. Go to Appearance > Customize > Theme Options >Layout.
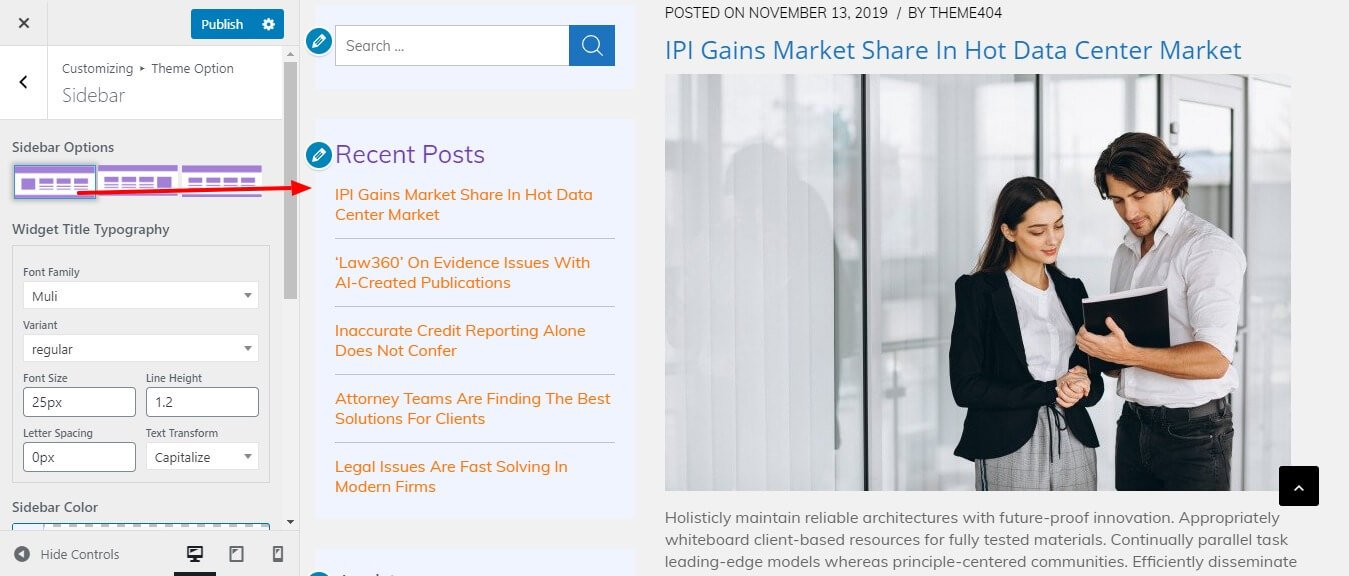
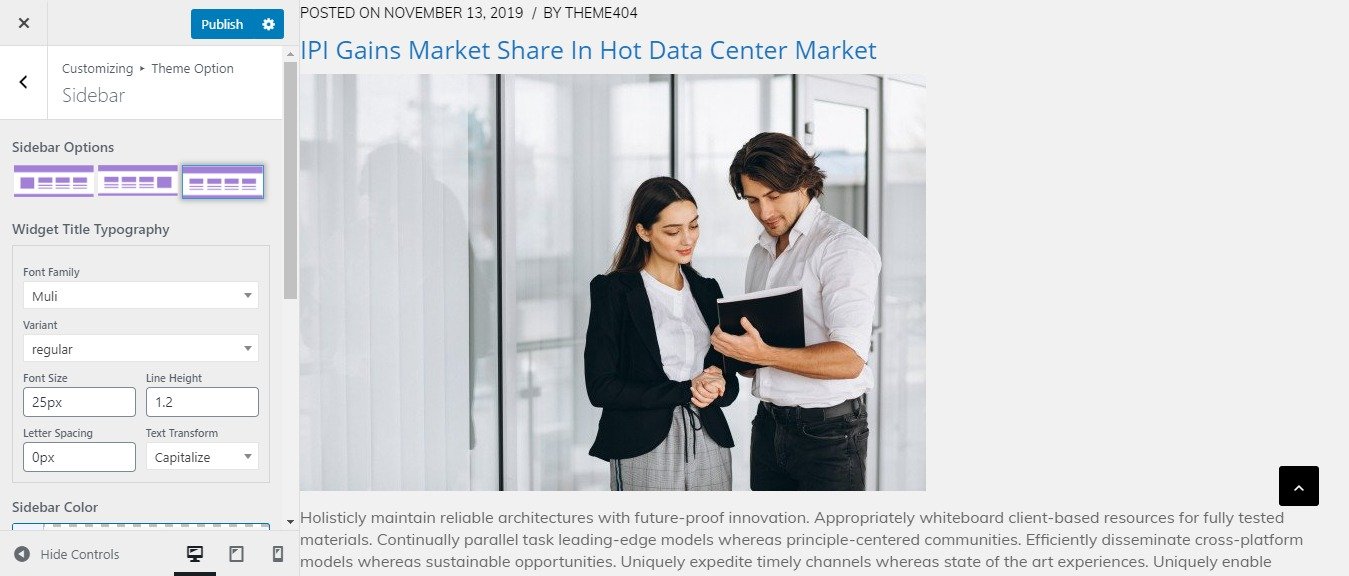
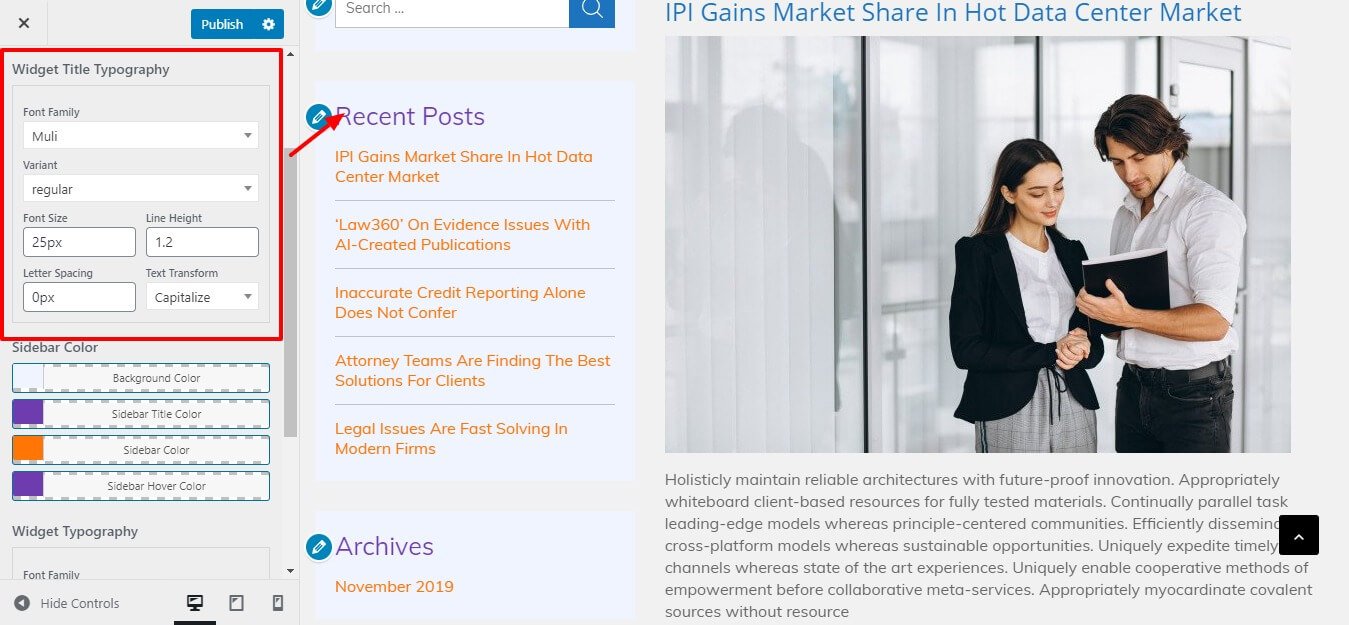
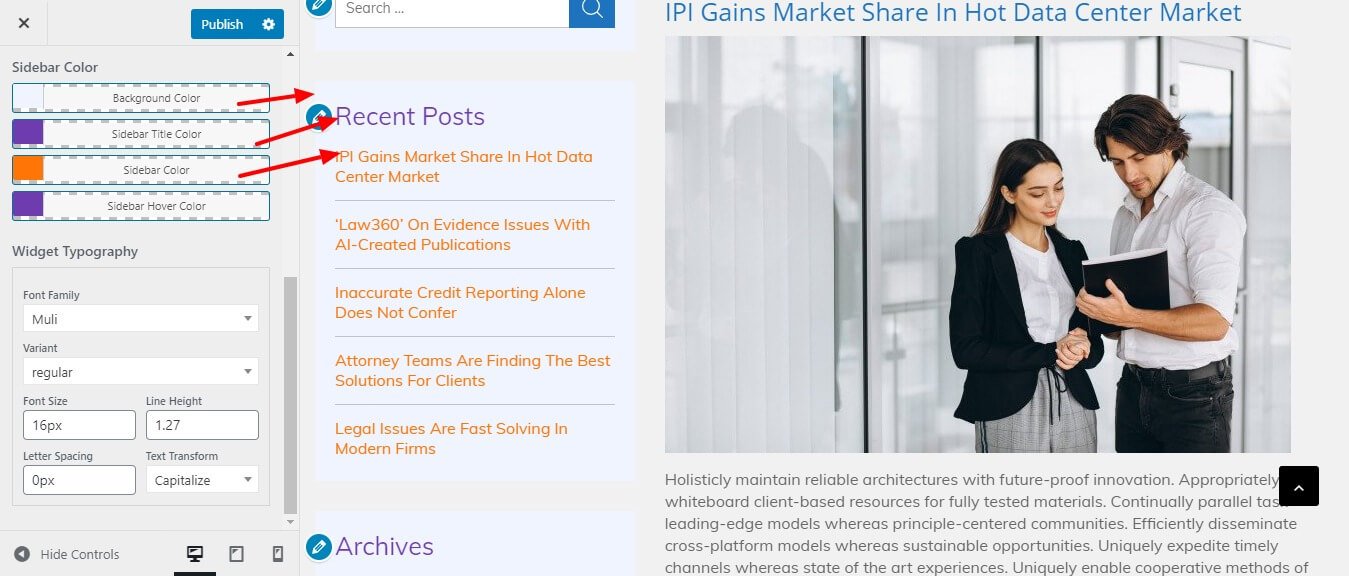
The sidebar will give you options to control the looks of the Sidebar of your site. Go to Appearance > Customize > Theme Options >Sidebar.

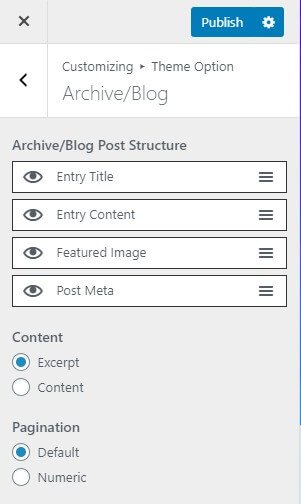
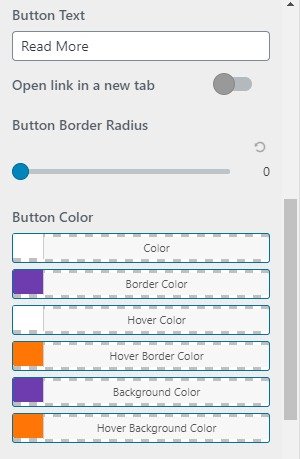
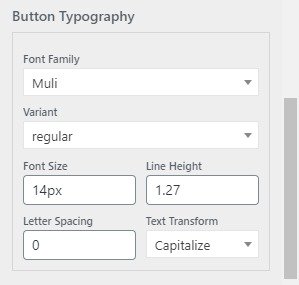
Archive/Blog will give you options to control the looks of the Archive/Blog of your site.Go to Appearance > Customize > Theme Options >Archive/Blog.

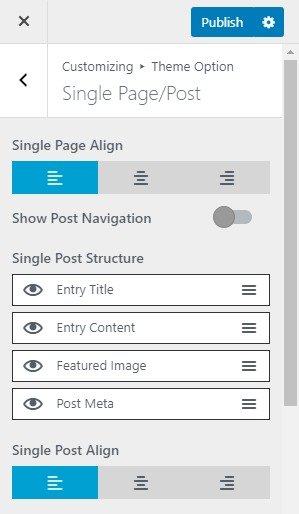
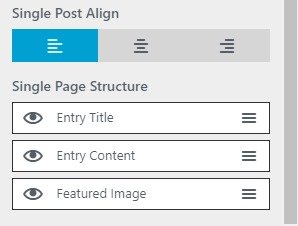
Single Page/Post will give you options to control the looks of the Single Page/Post of your site.Go to Appearance > Customize > Theme Options >Single Page/Post.


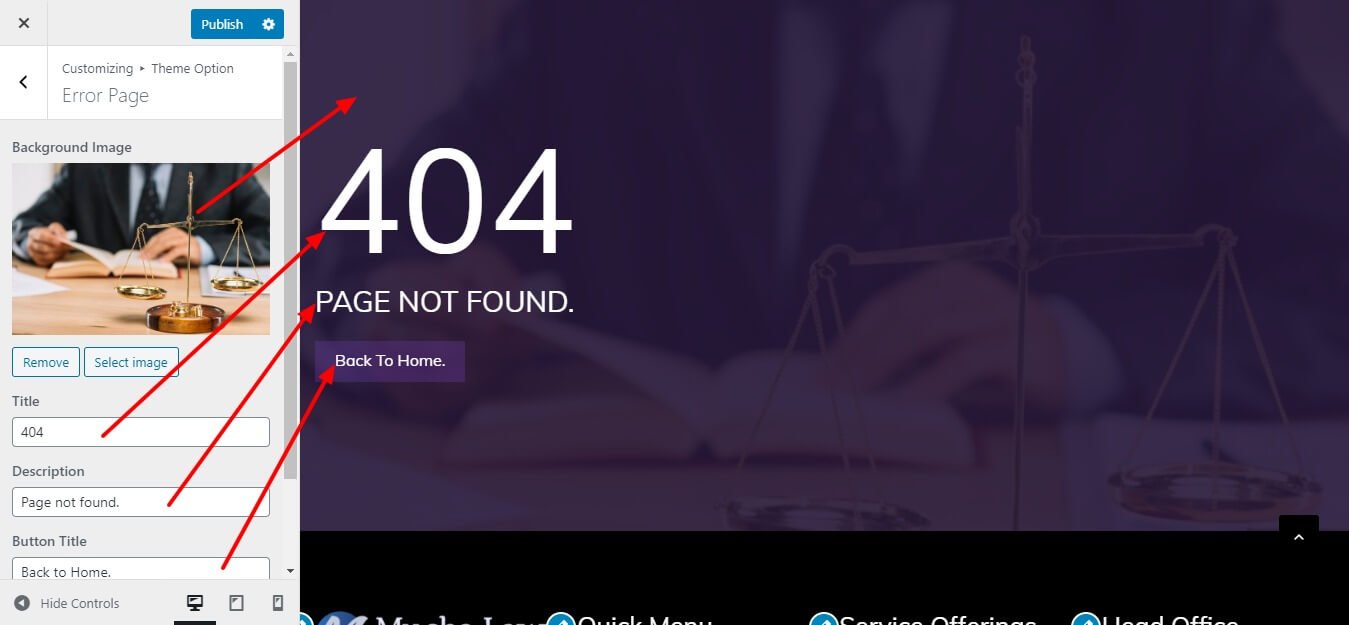
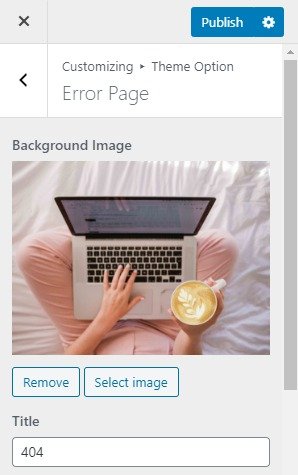
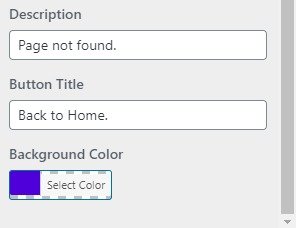
Error Page will give you options to control the looks of the Error Page of your site.Go to Appearance > Customize > Theme Options >Error Page.


Typography will give you options to control the looks of the Typography and color of your site.

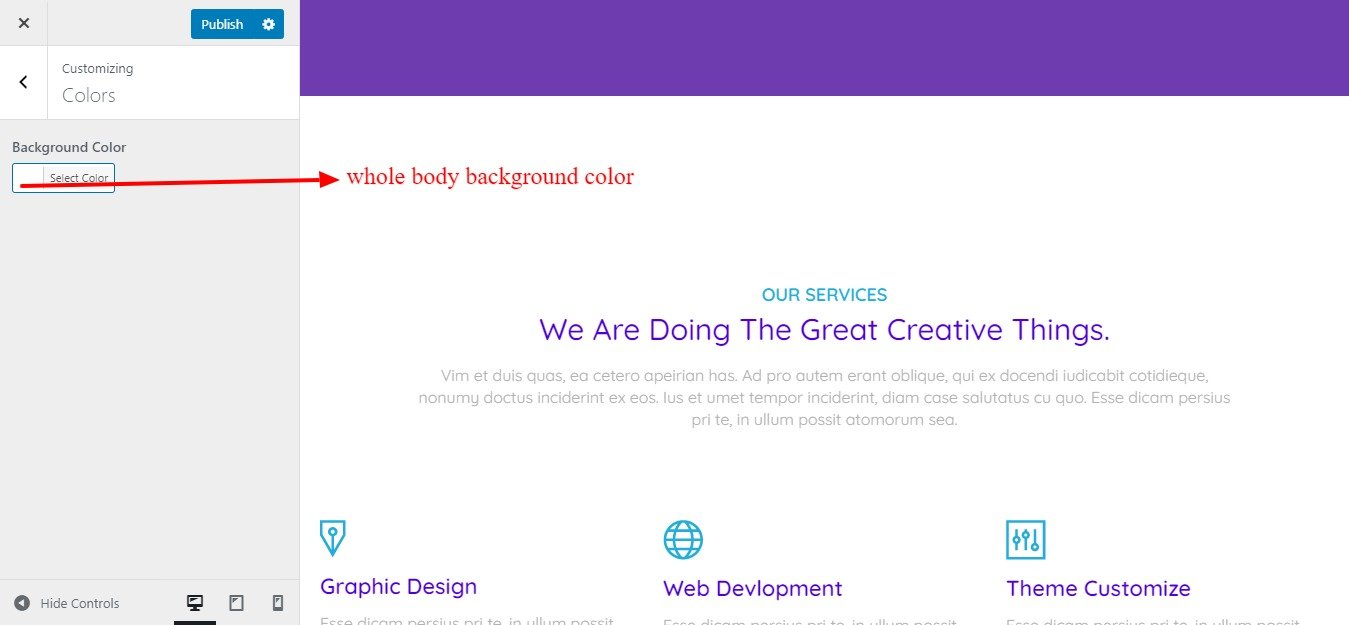
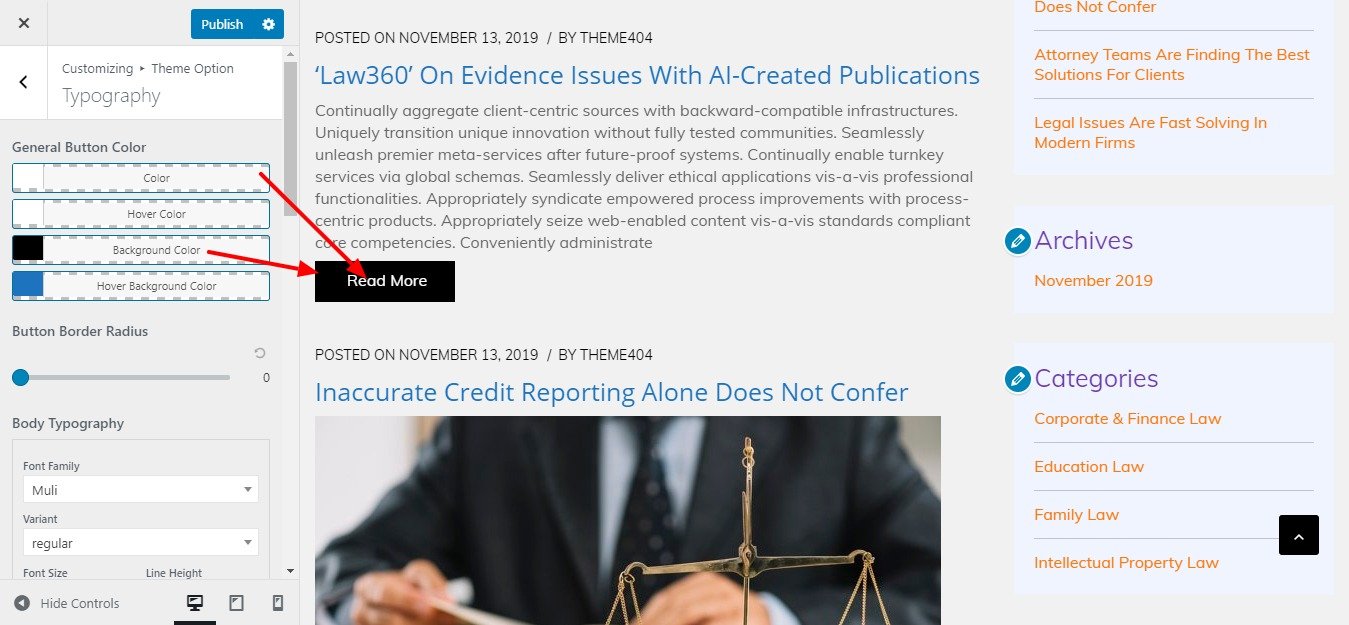
Go to Appearance > Customize > Typography>General Color.Here you can change the whole site’s primary color, a secondary color, heading color, general button color.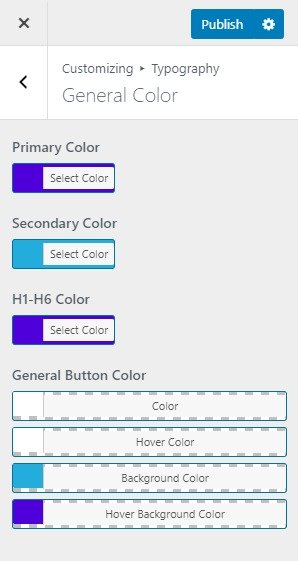
Go to Appearance > Customize > Typography>Mailchimp Color.Here you can change the overall color of MailChimp for your site like(bg, border, text… etc).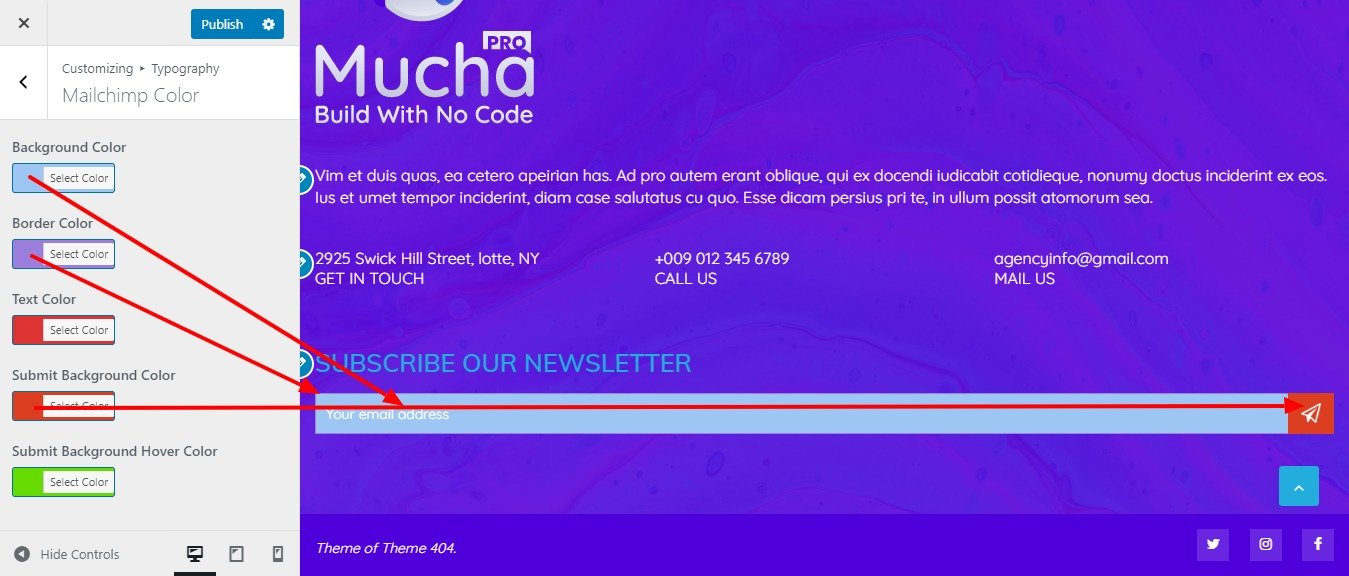
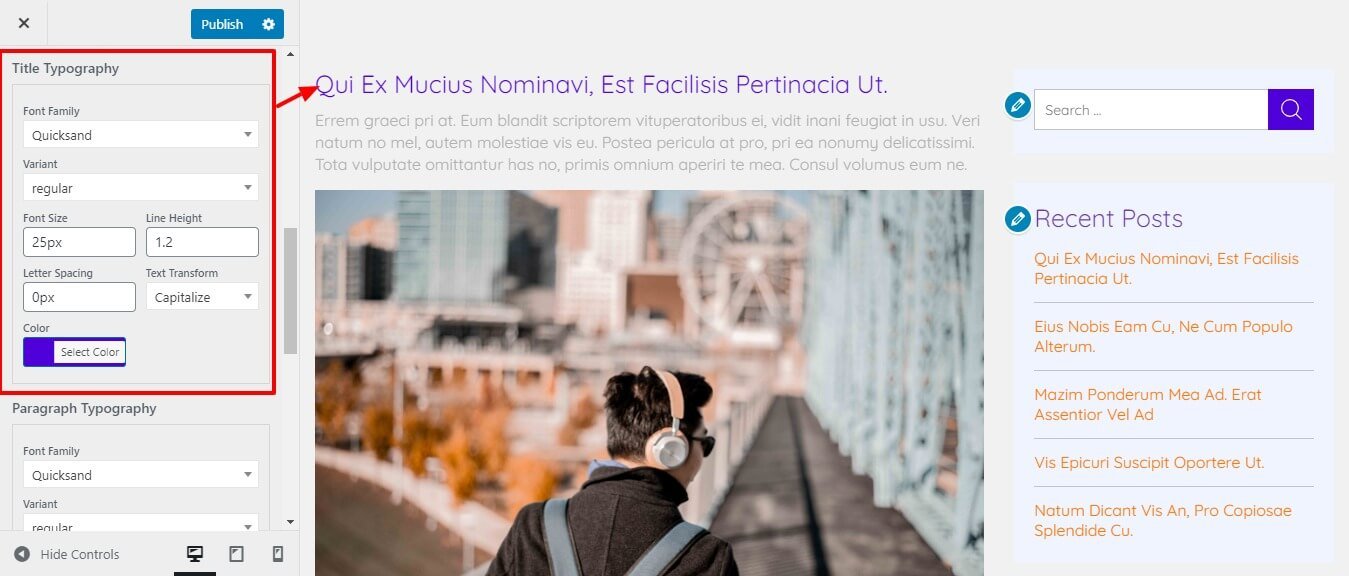
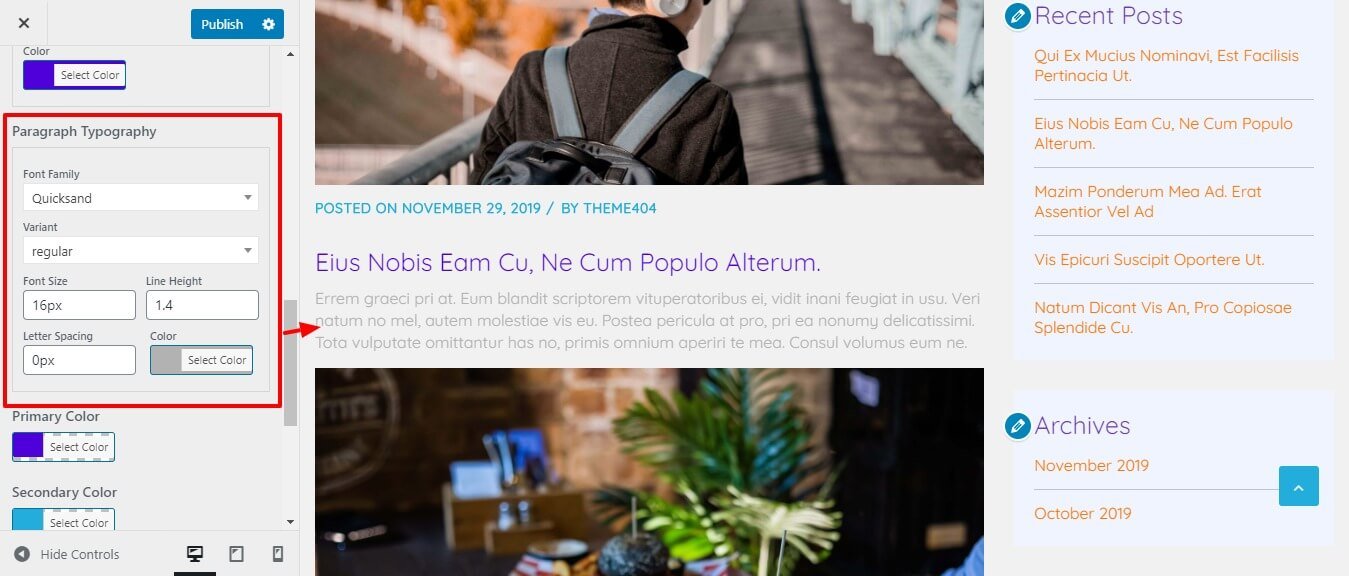
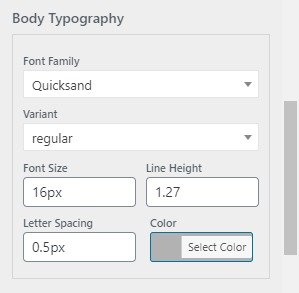
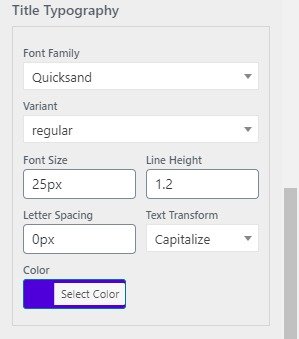
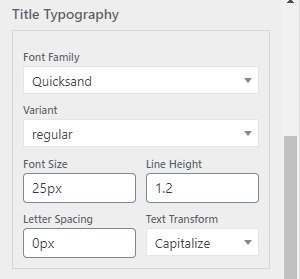
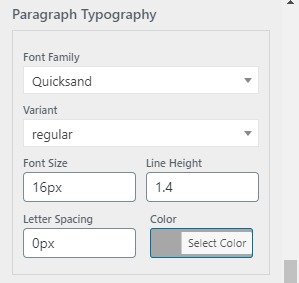
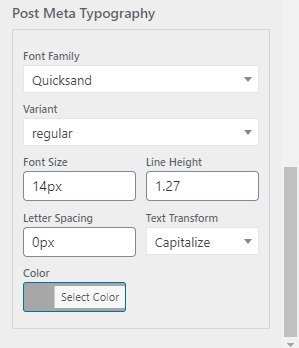
Go to Appearance > Customize > Typography>General Typography.This option helps you to choose the typography of the whole site like a body, Title, paragraph, post meta, etc.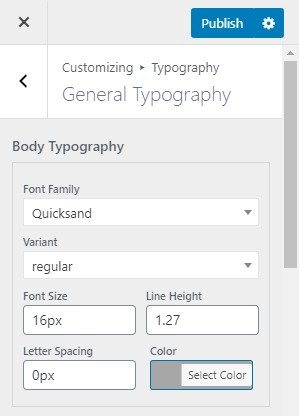
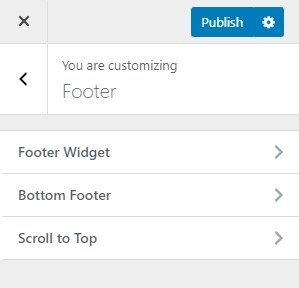

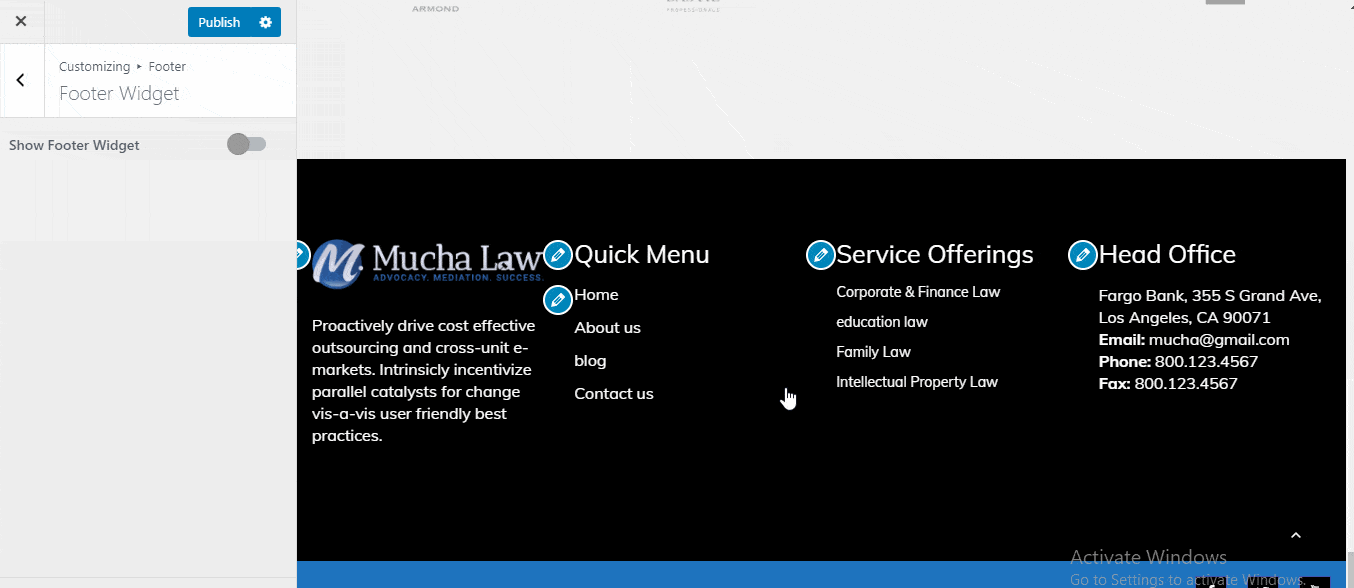
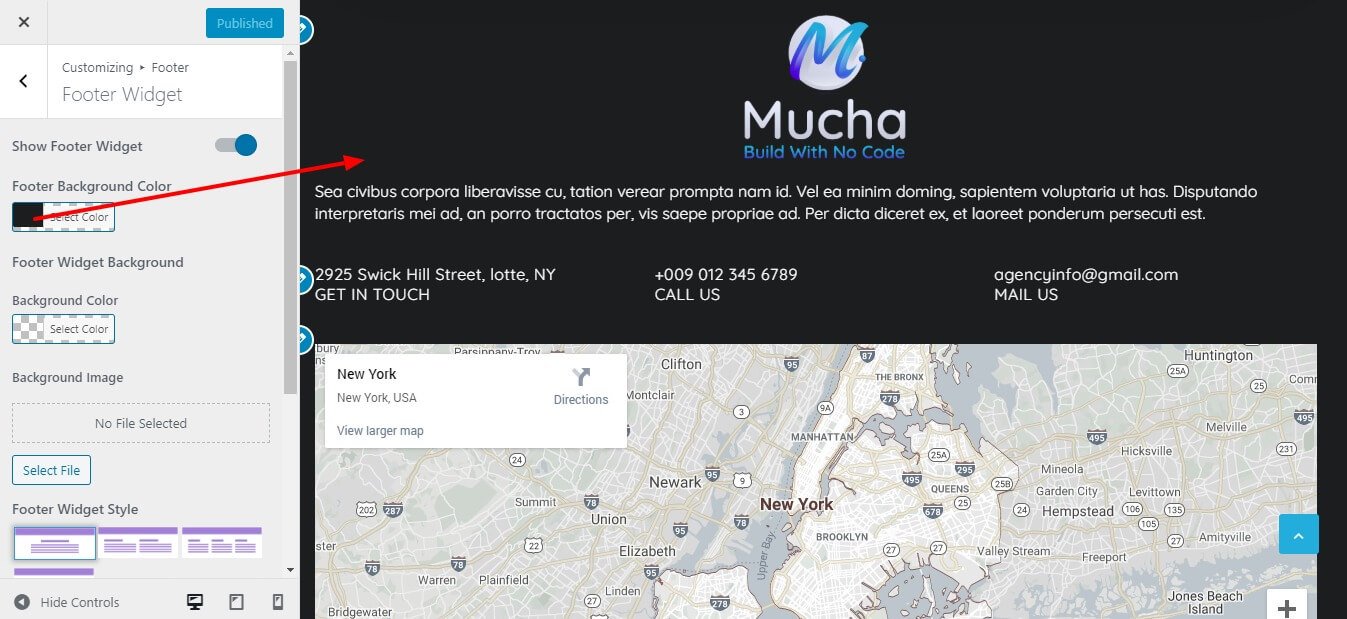
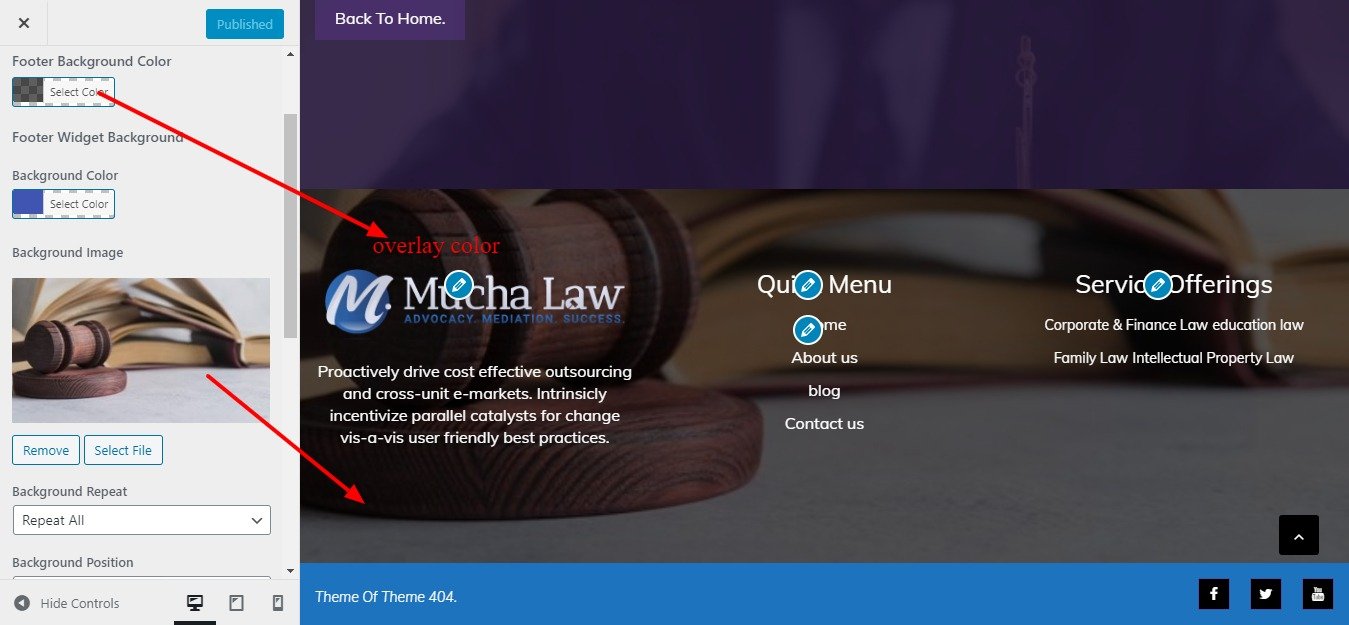
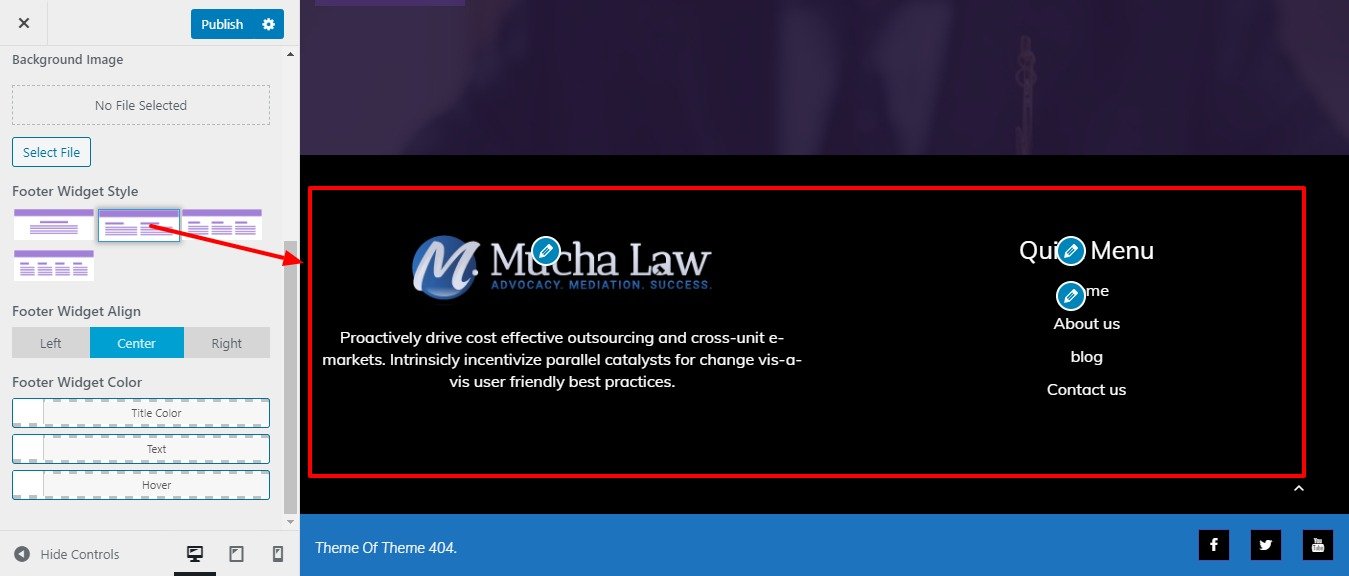
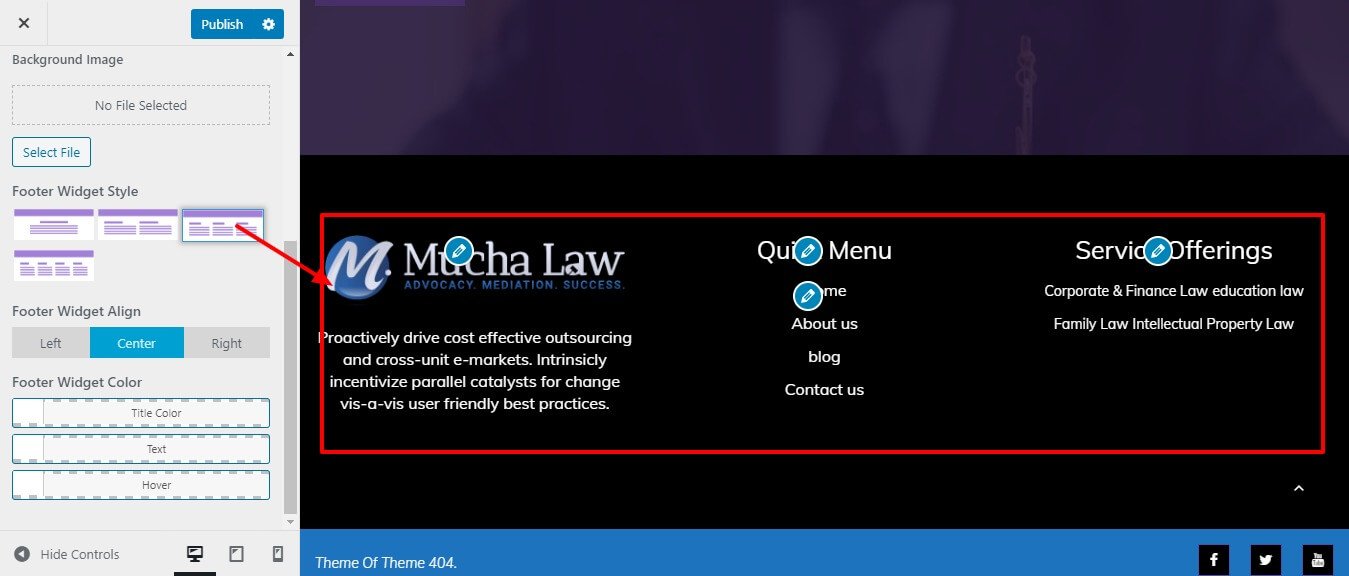
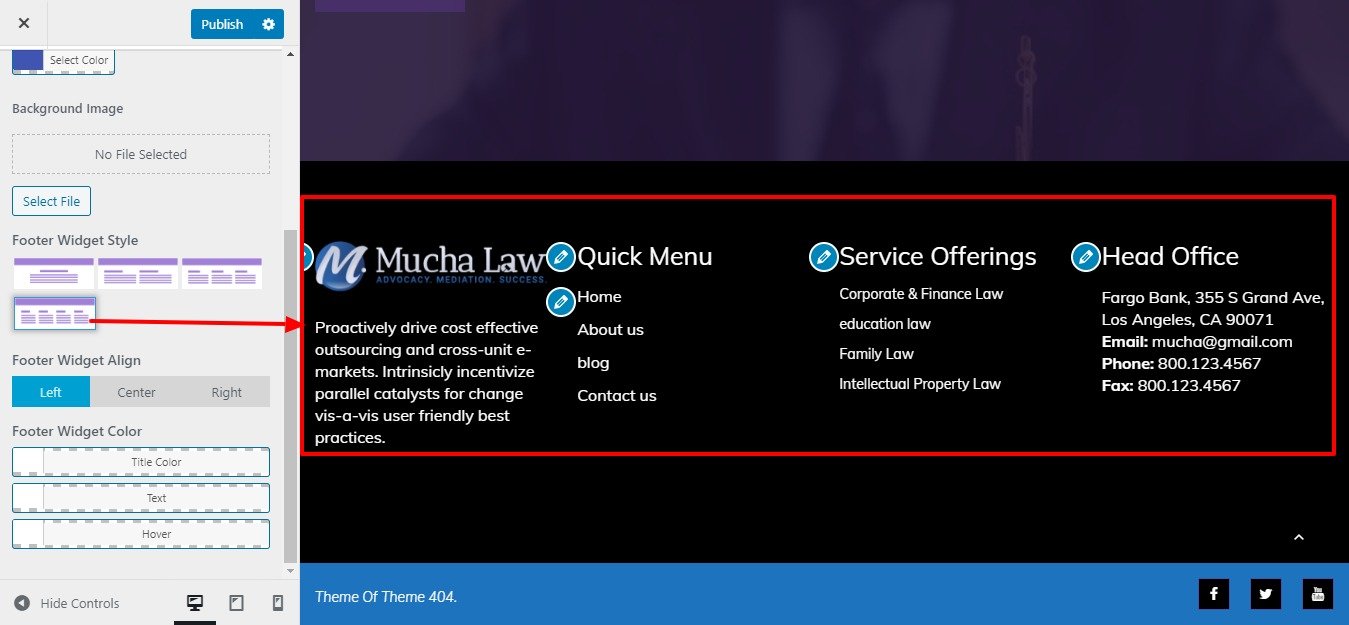
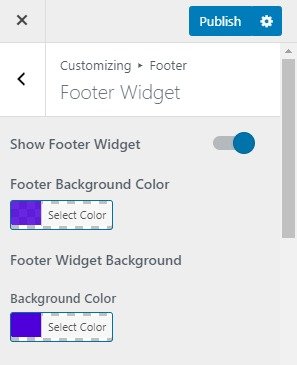
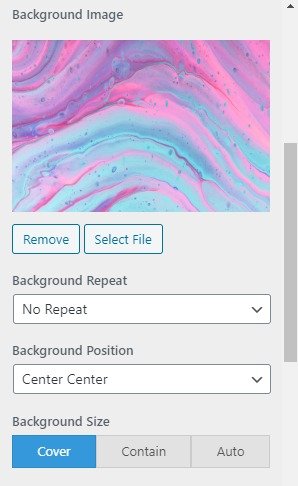
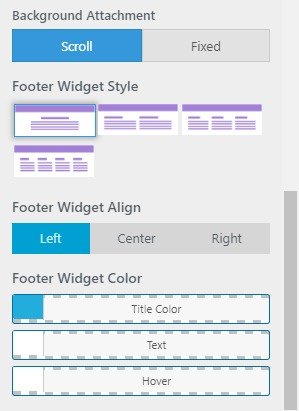
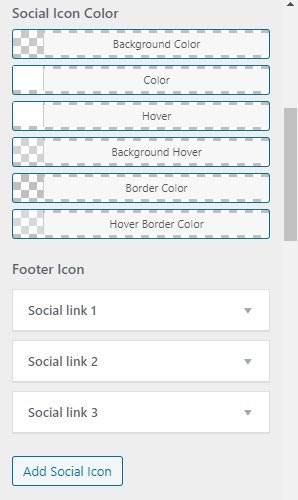
Footer Widget will give you options to control the looks of the Footer Widget of your site.Go to Appearance > Customize > Footer >Footer Widget.


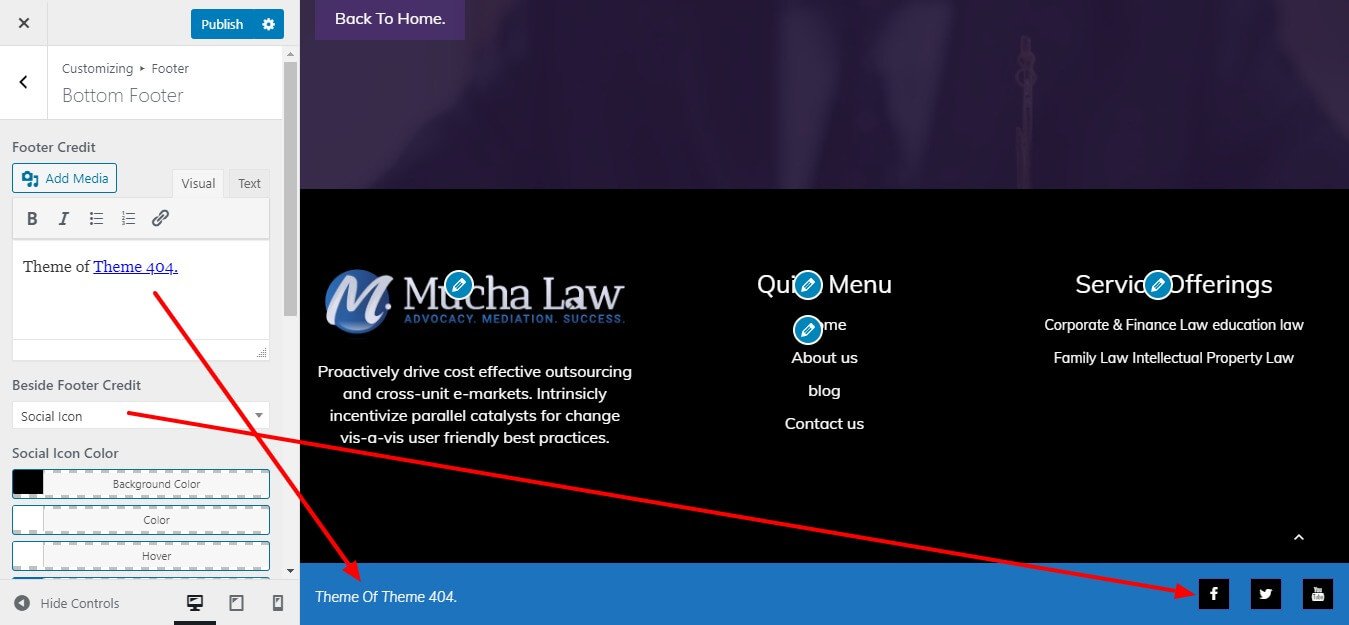
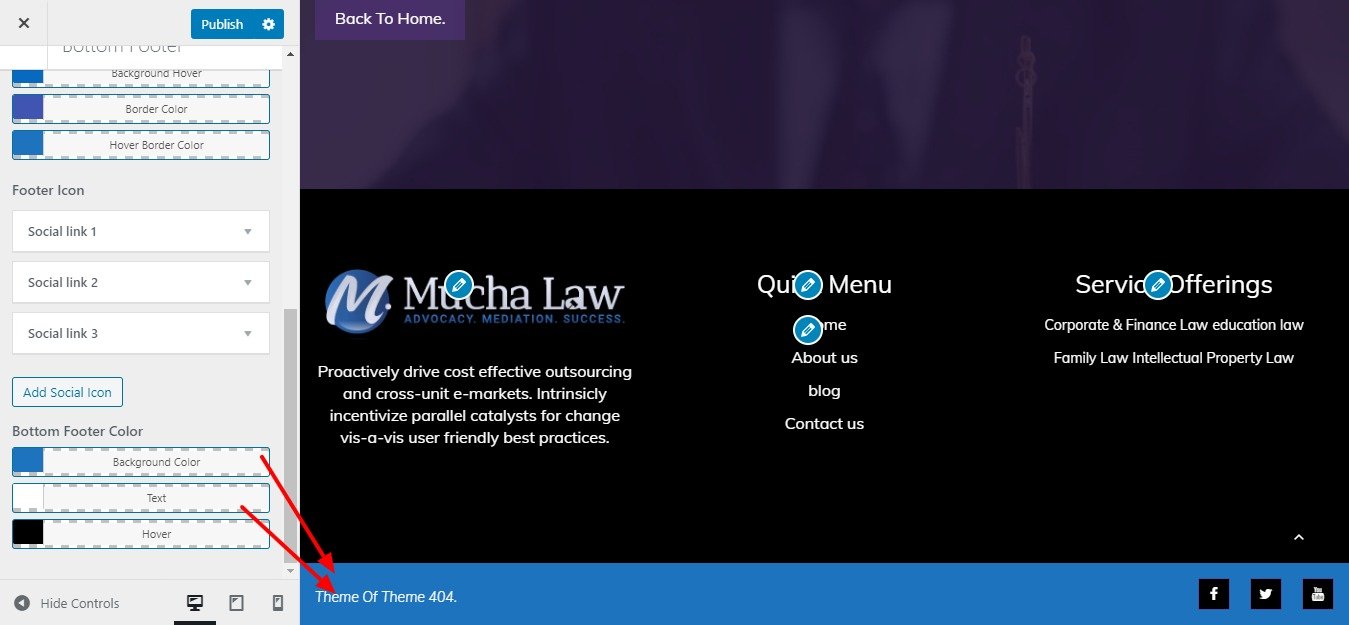
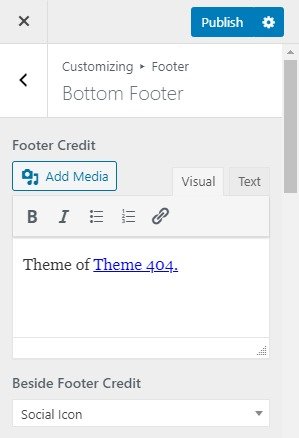
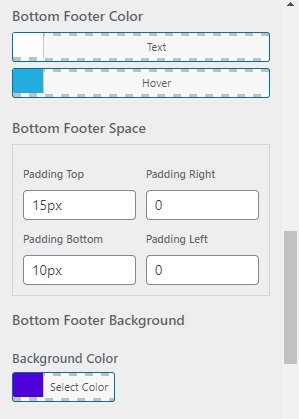
Bottom Footer will give you options to control the looks of the Bottom Footer of your site.Go to Appearance > Customize > Footer >Bottom Footer.
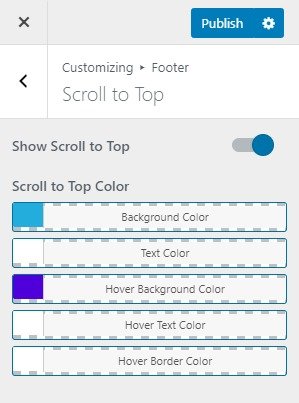
Scroll to Top will give you options to control the looks of the Scroll to Top of your site.Go to Appearance > Customize > Footer >Scroll to Top.

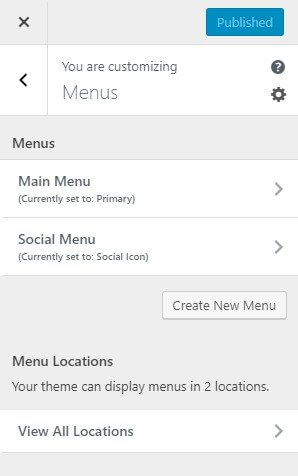
Step to create a menu
Widgets are one of the most important aspects of this theme.
Available Widget Area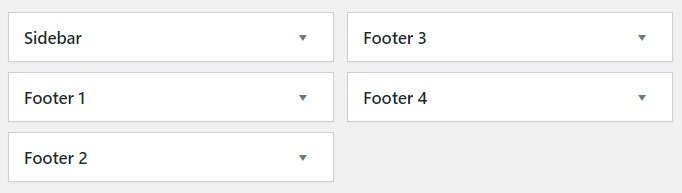

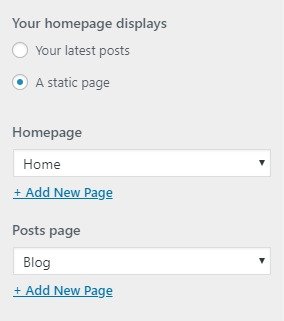
By default, your homepage will also display your post feed, listing all of your latest posts for visitors to see.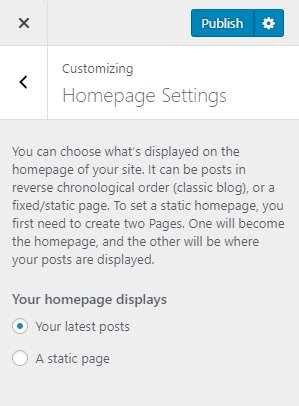
But If you would like to instead have your homepage be a static page then your front page will display the content from the page you selected as Front Page. However the page you selected in Posts Page will become your blog page..